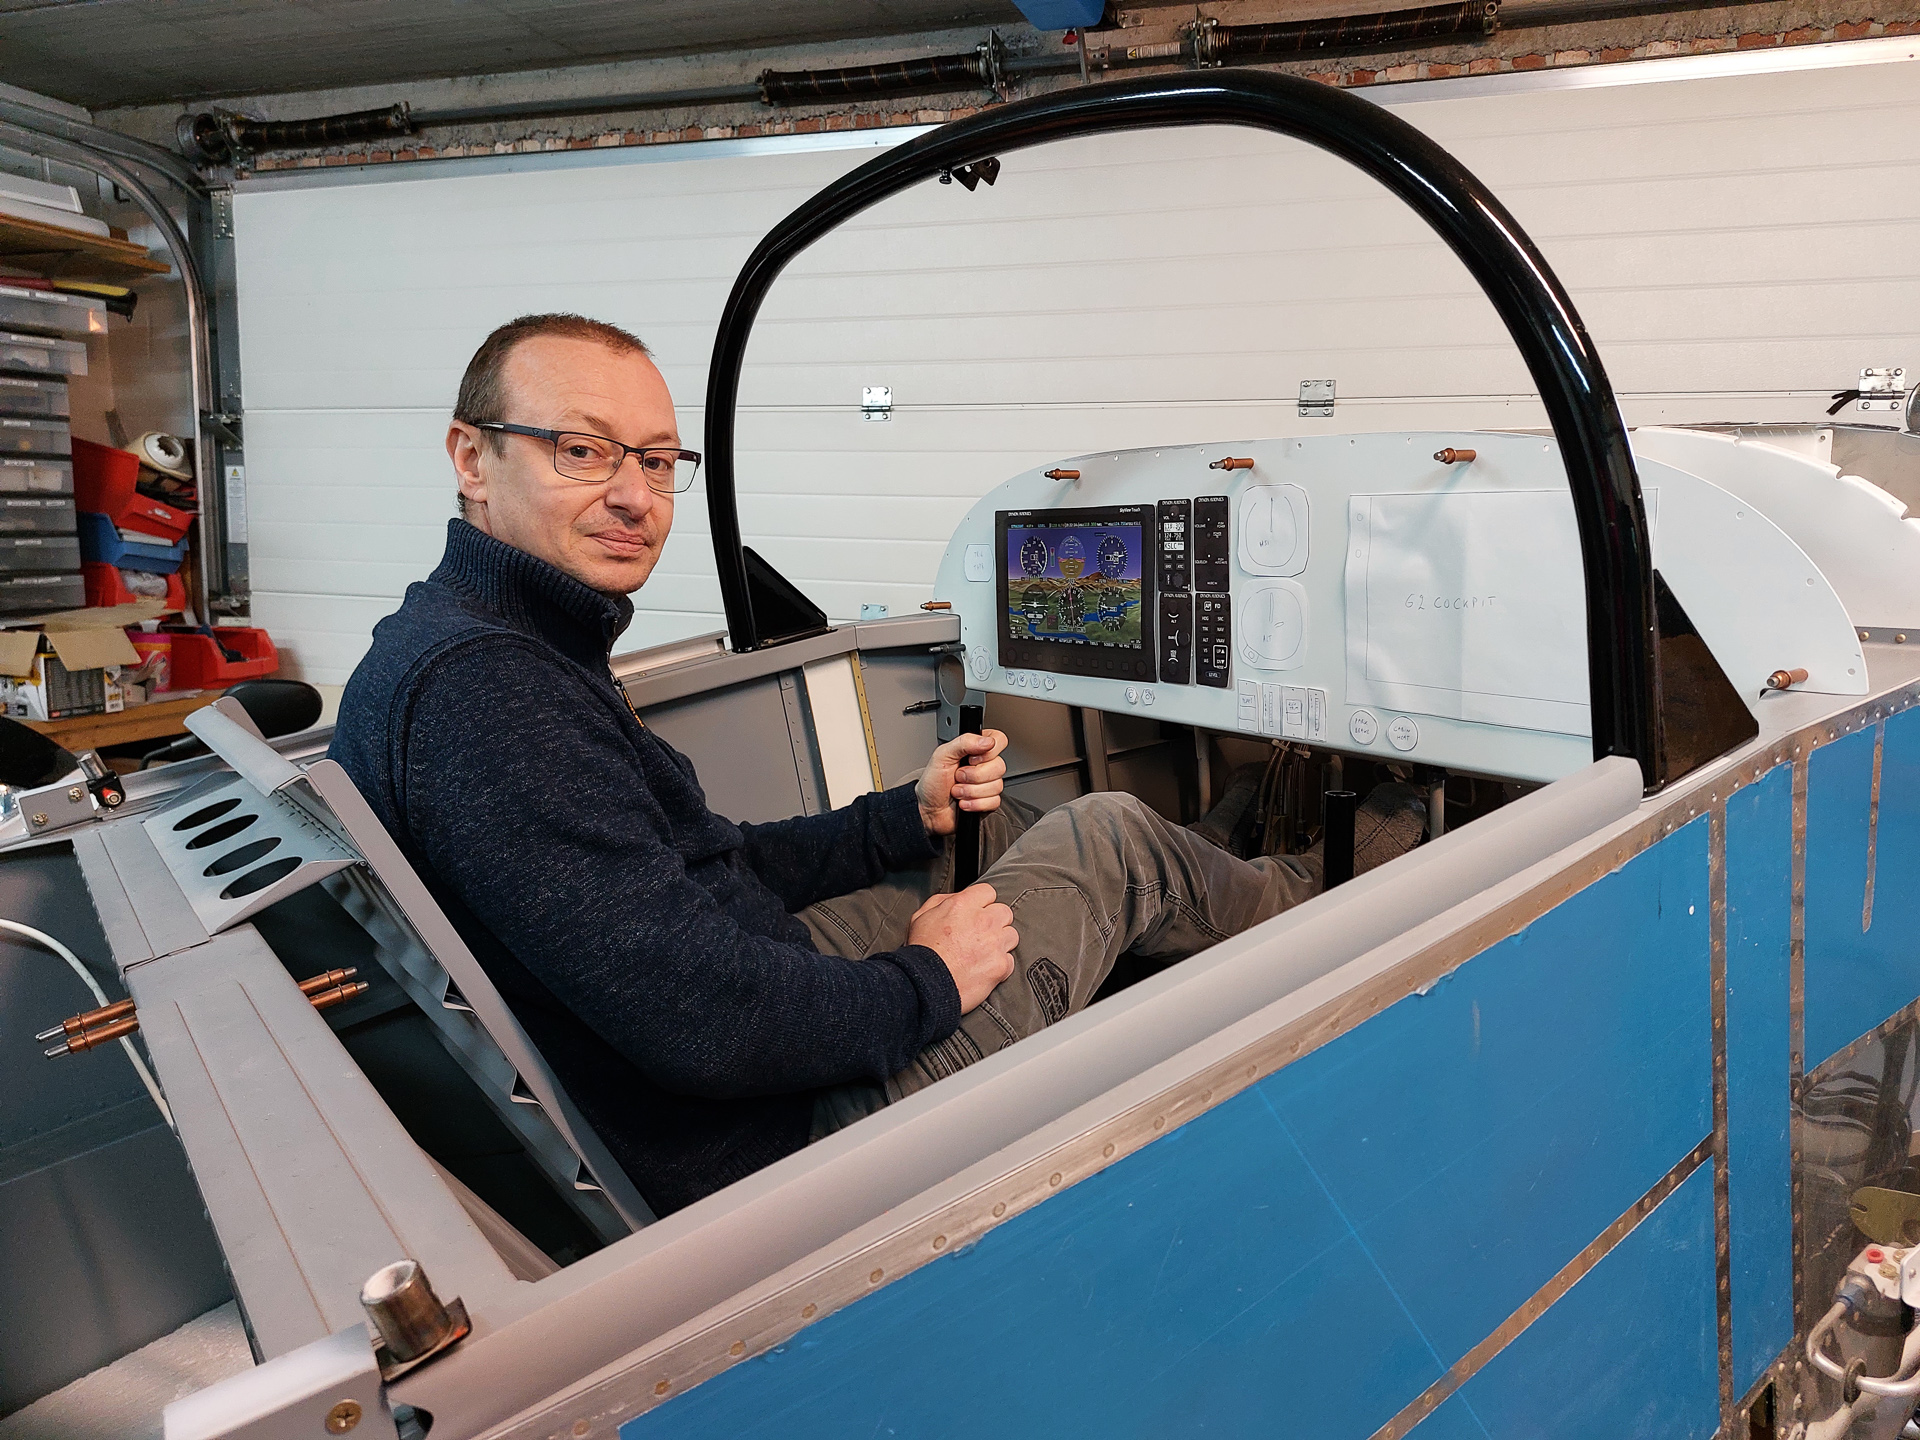
Evolution is progress. Small kids grow. While we get older day by day.
There's always that moment in life where they stand on their own legs and start walking.
Today was my baby's first "standing on own legs" moment.
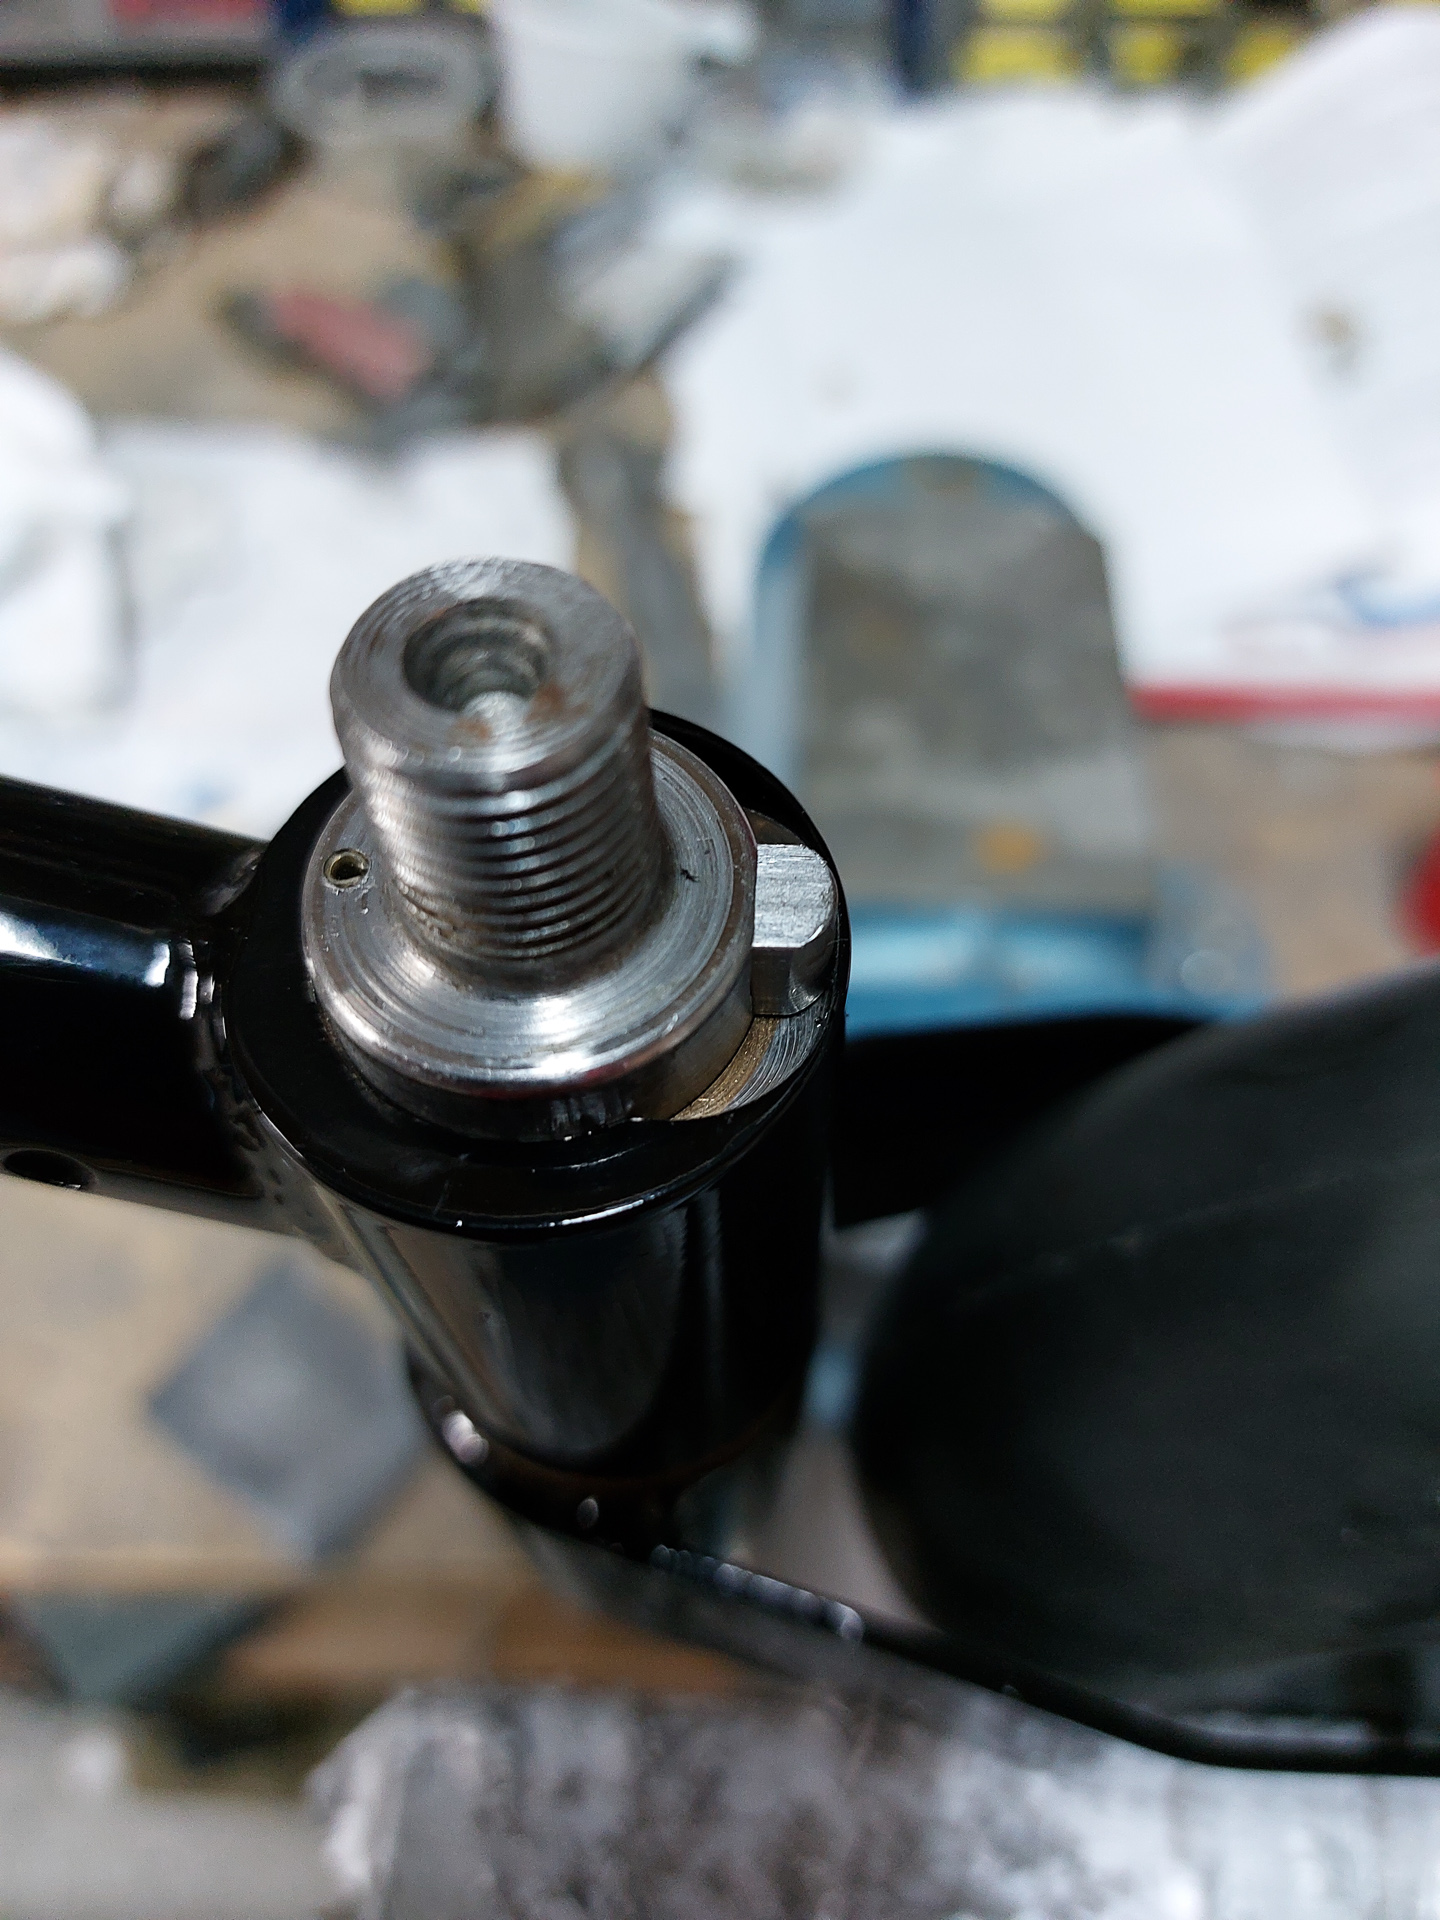
I hung the mount yesterday and still had to make the final connections for the tailwheel such as installing the AN6-30 bolt holding U tail wheel in the fork.
It's kind of hard to imagine what the drag has to be on this. After a couple of flights, this will "set-in" and loosen so you might not want to make it to loose. However, the wheel should be still possible to rotate without chafing of rubber.

The top of the tail wheel has a spring mount key that slides in a notch on the tailwheel spring. The key is installed inside the axle of the tailfork that slides into the tail spring.
it ensures a locked position within the range of the rudder pedal push range. (you can't push the pedals to go further than the range of the noth with the pin out.
But when applying brakes on one side only, the pin will push in and the tailwheel will give full deflection so that you could make a 360° turn on one wheel.
There is however no control with the pedals on this exceeded turn rate. as soon as the wheel straightens out again, the pin will click out and the pedals have control again.
Below is an image of the mechanism and you see the pin on the axle at the right side.
With the tail wheel inserted in the rear fuselage, the big moment has come to put the main landing gear on.
I had to think this over before actually doing it. It involves people to help and some heavy lifting so you better prepare well.
The only way I could see this would be easy was to put lifting straps on the engine mount and use the engine crane to lift the front of the fuselage while in the back, somebody holds the tail up.
Two people in front keep the fuselage balanced as 1 person in the back had put his knee under the tailcone. That last part seemed to be a bit heavier than initially estimated but we managed to do it in the end.

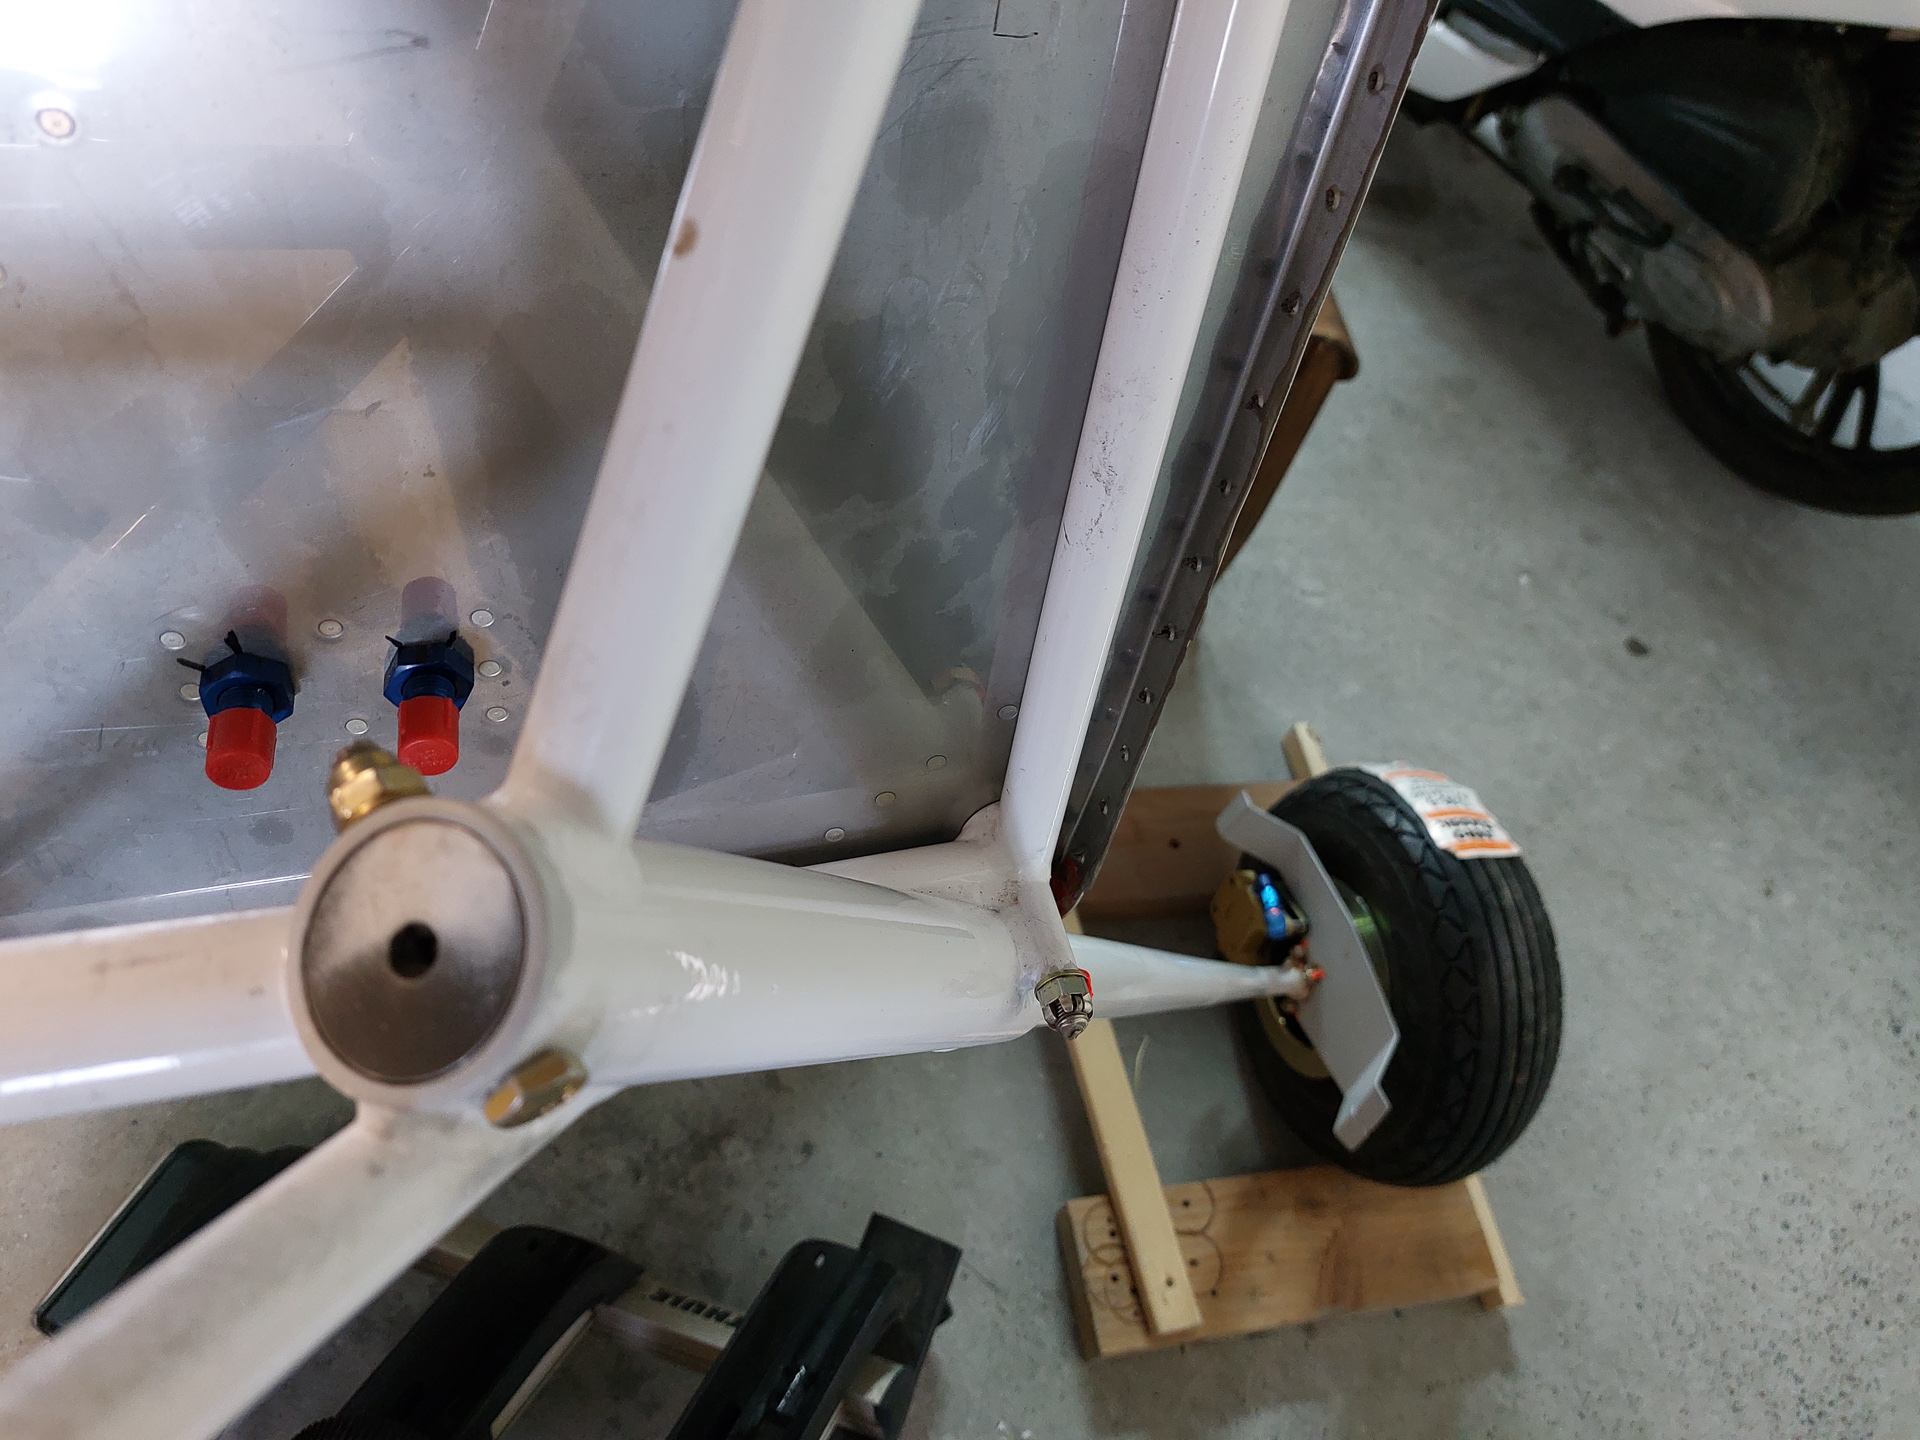
Applied some aeroshell grease on the inside of the landinggear legs, cleaned the spill grease up, inserted the two bolts and torqued.
The bolts used are AN5-21A with a MS21045-5 all metal lock nut. It get's hot in the engine compartment so no nylon nuts here.
AN5 has a torque range of 100-140 in/lbs so I could torque those with my regular torque wrench. I torqued it to 135 in/lbs.
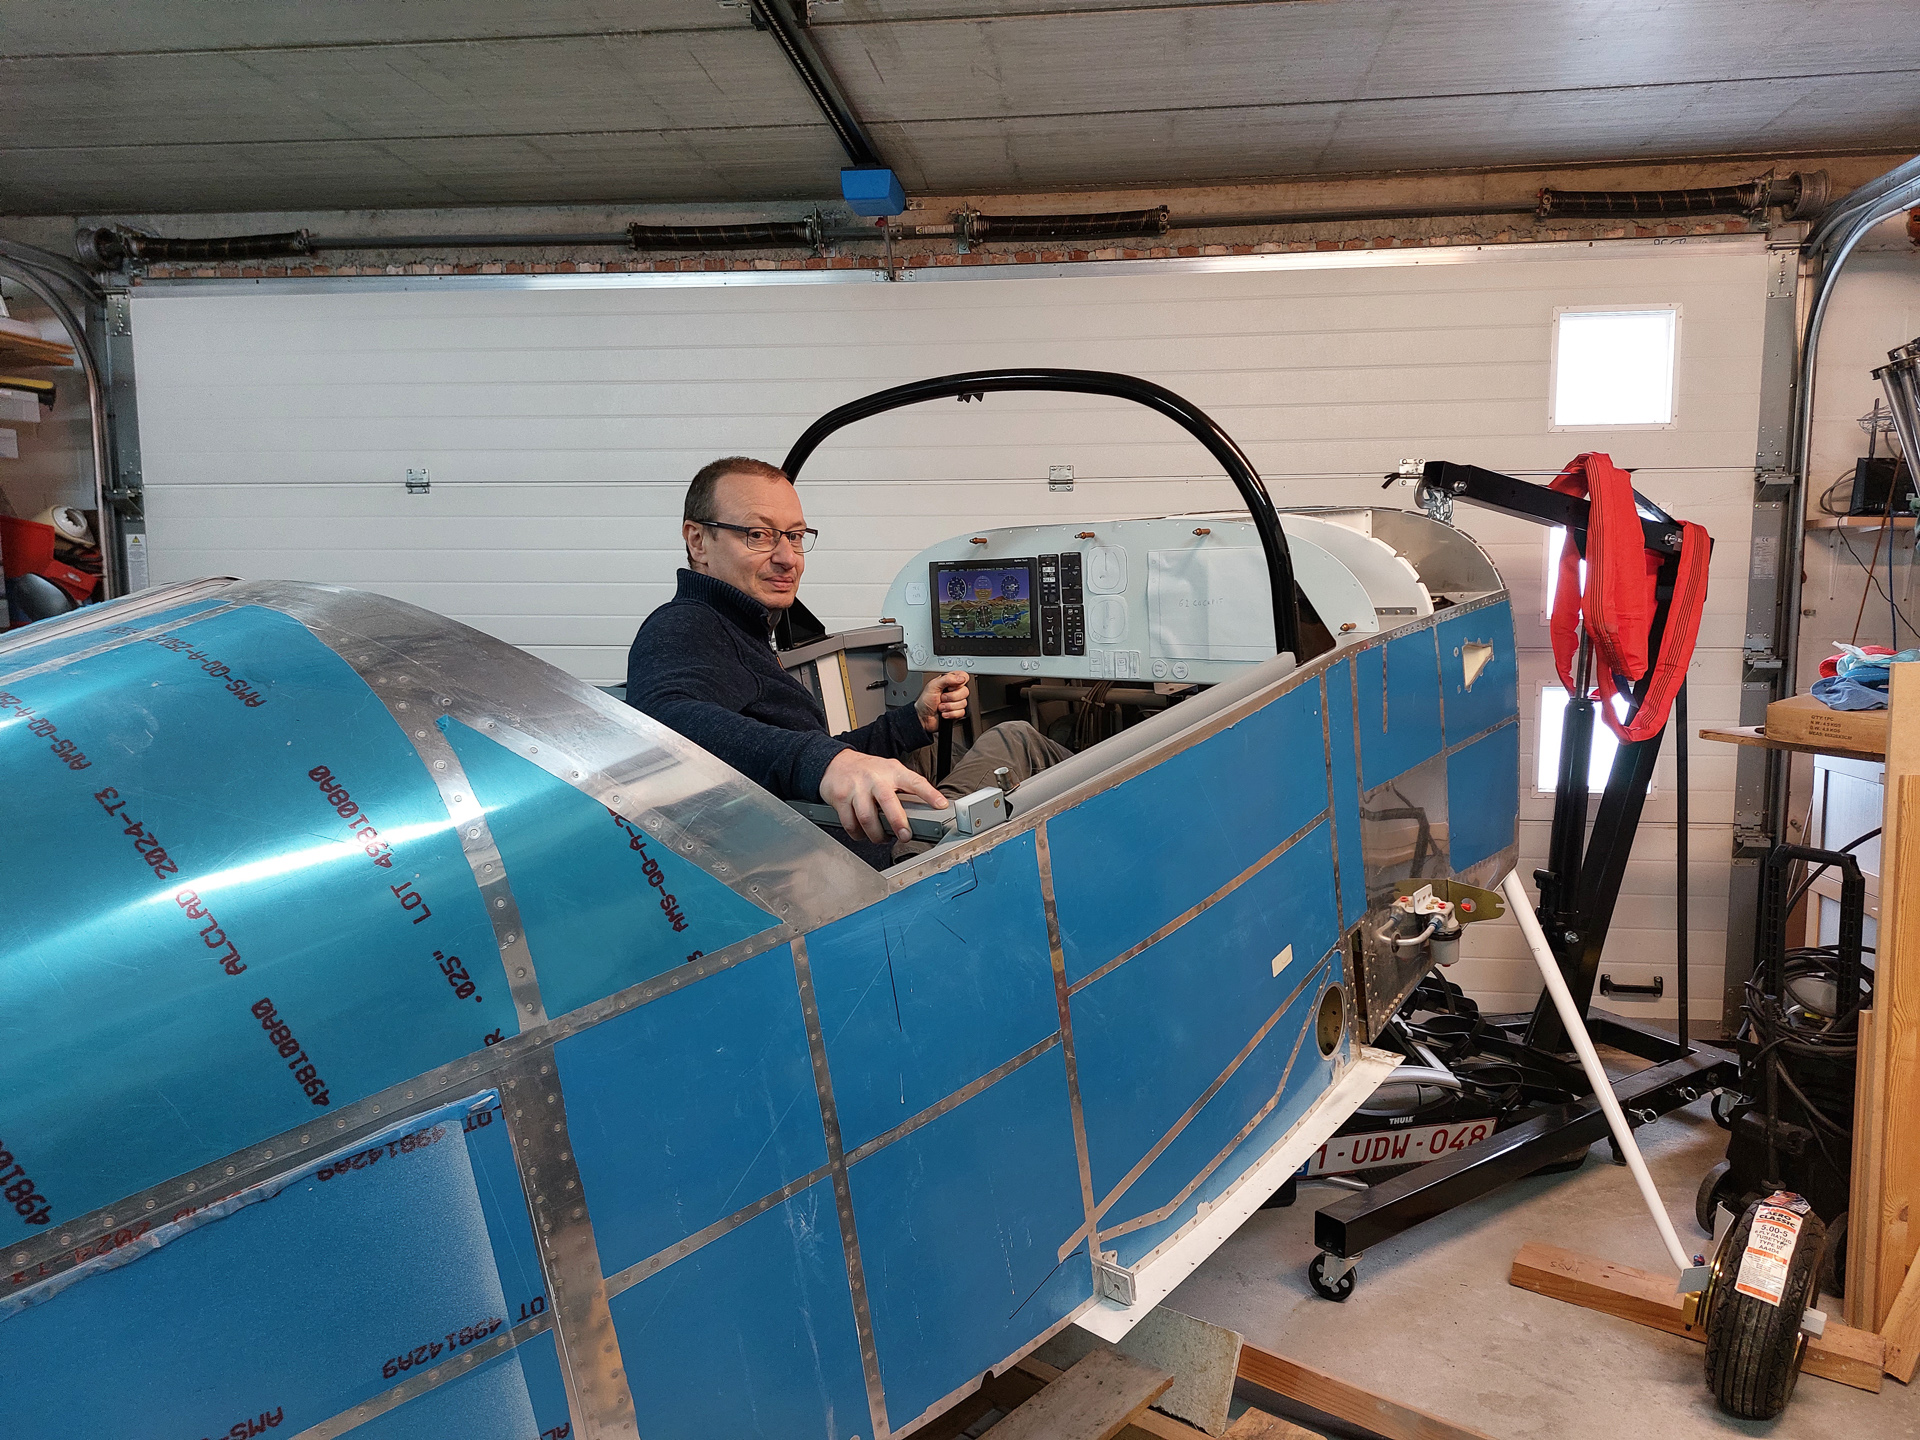
An hour later, she was standing on the gear.
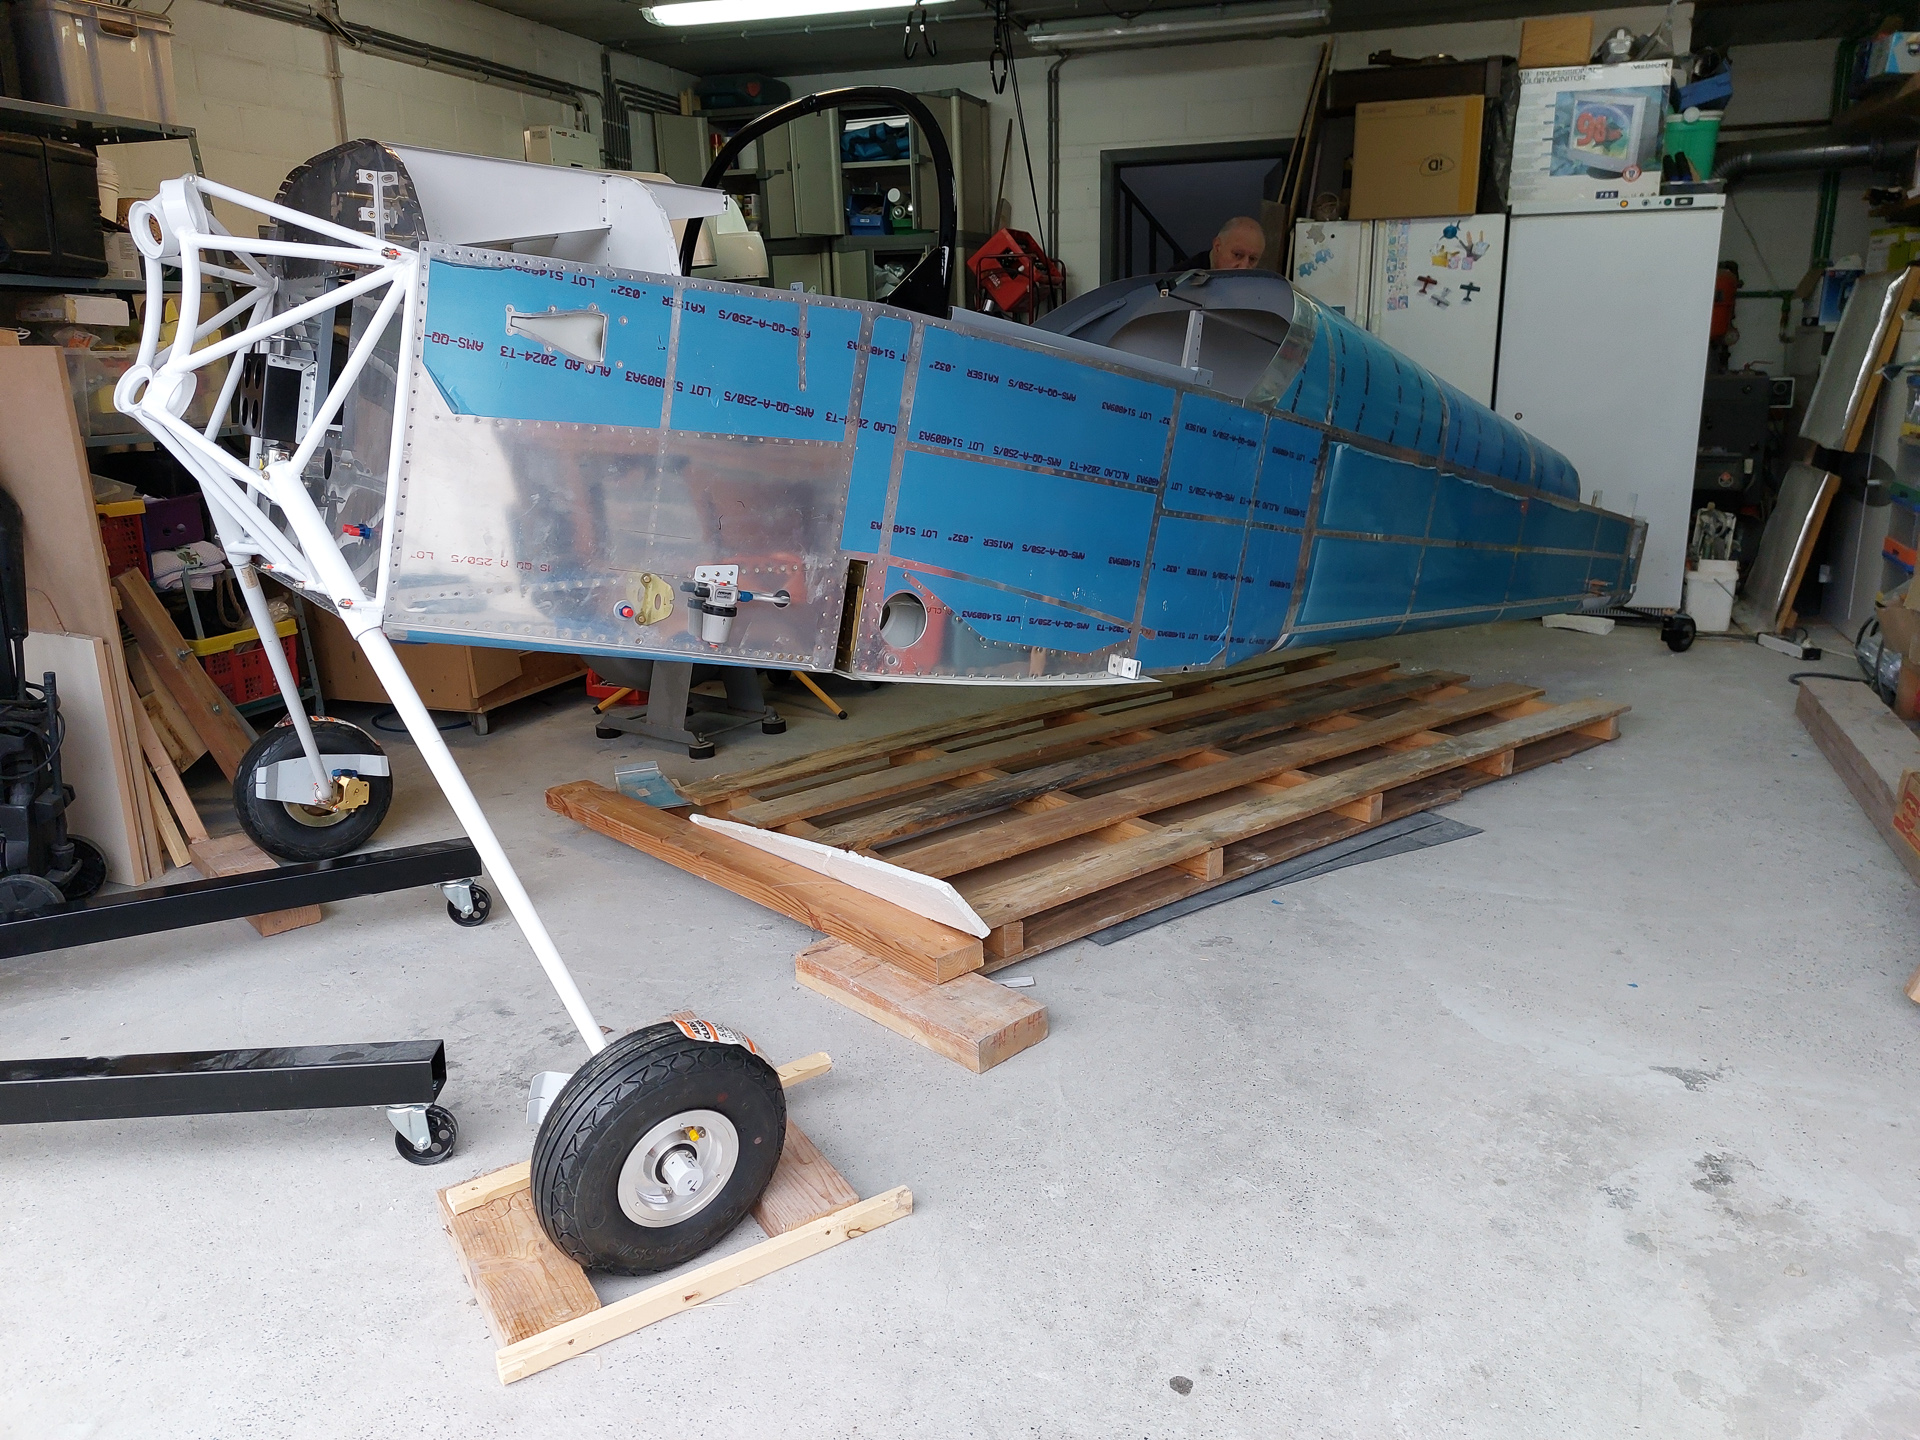
Time to make some "broom broom" sounds.
Close up view on the gear leg, wheel and attachment bolt.