I decided to do some edge prepping today on some parts that I would need soon.
However, as I started working, I noticed things went faster than expected so I continued on the first step after rolling the canoe.
What turned out to be a lazy afternoon with edge prepping, turned out to be an exciting day where I completed one of the more critical tasks on the fuselage construction.
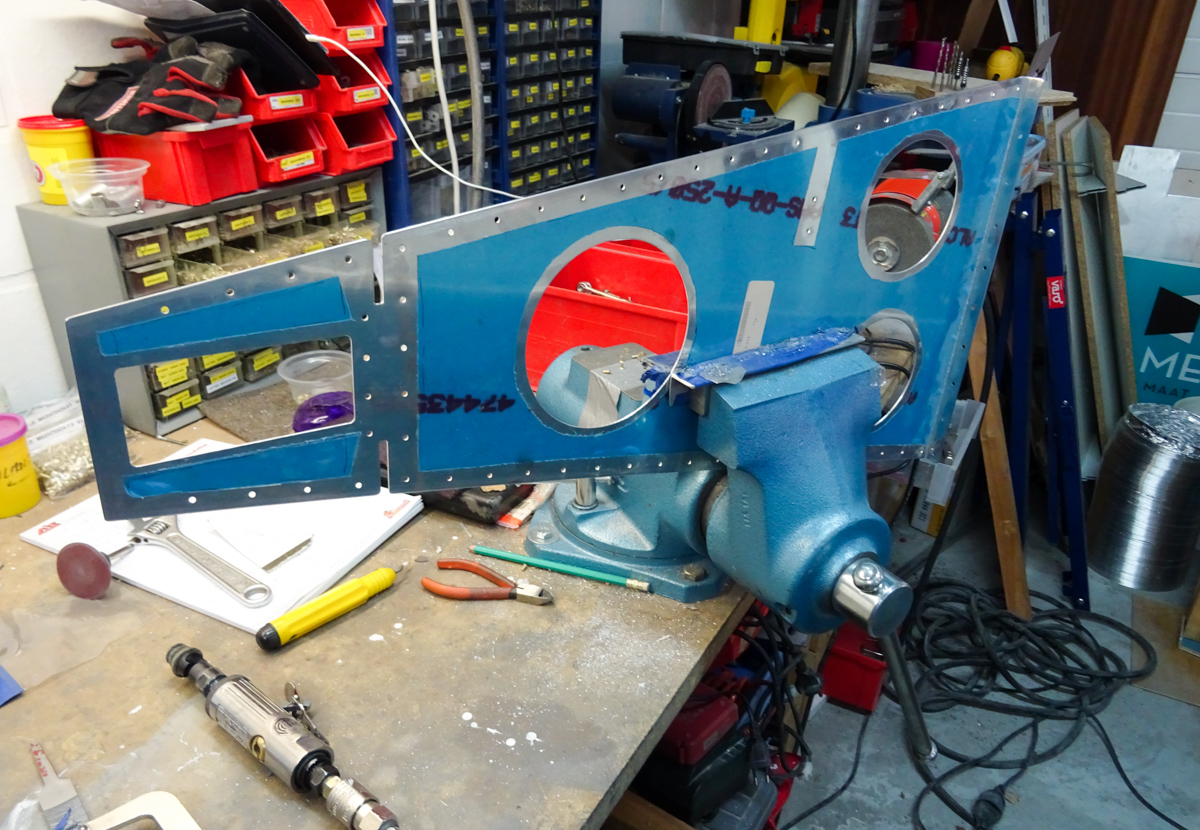
First I edge prepped the F-695L and R fuselage gussets. Then continued edge prepping the F-714 aft deck.
On completion, I attached the aft deck with some clamps on the tail of the fuselage to see how it fits.
The cutouts for the horizontal stabilizor attach bard comes out a bit narrow so had to open these openings a bit.
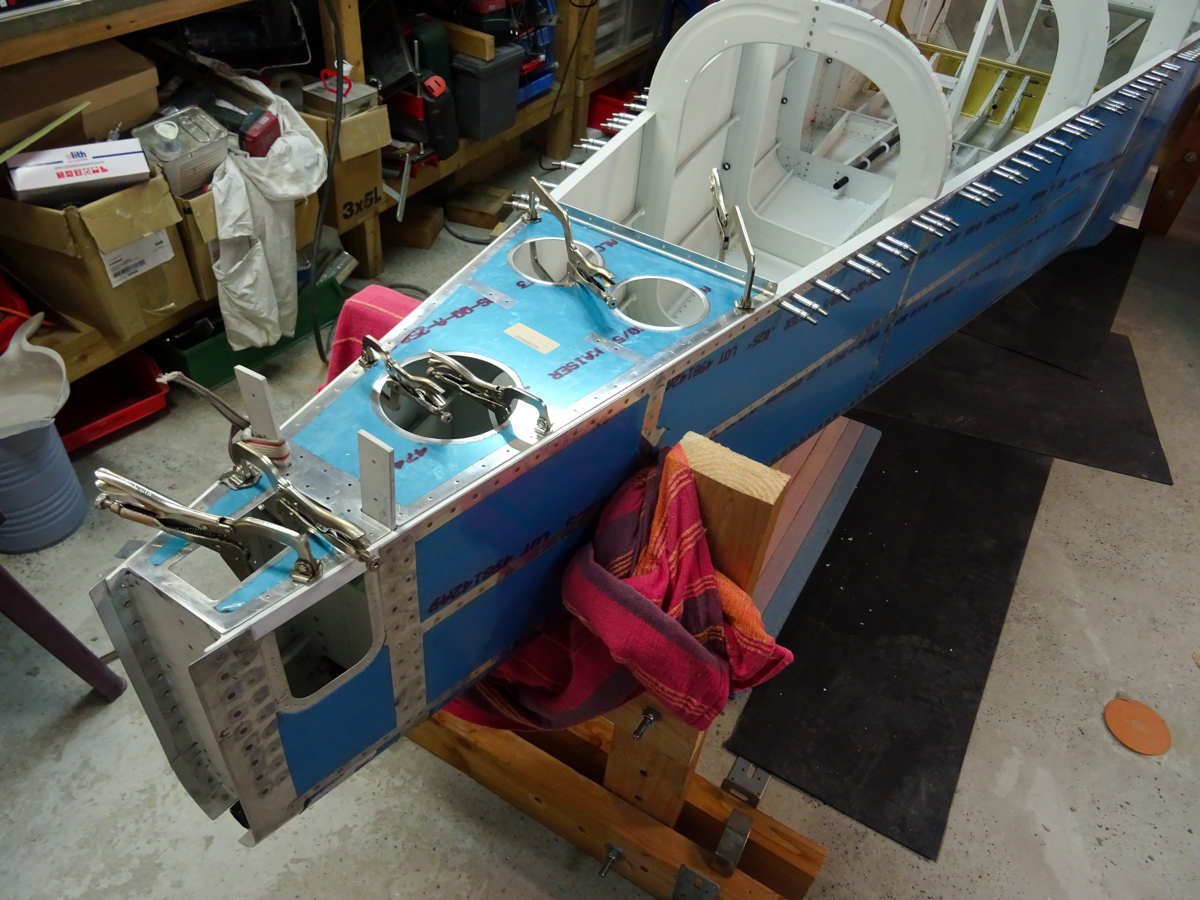
The aft deck doesn't fully cover the top longeron surface. that's where I started doing some measuring to figure out how things would turn out.
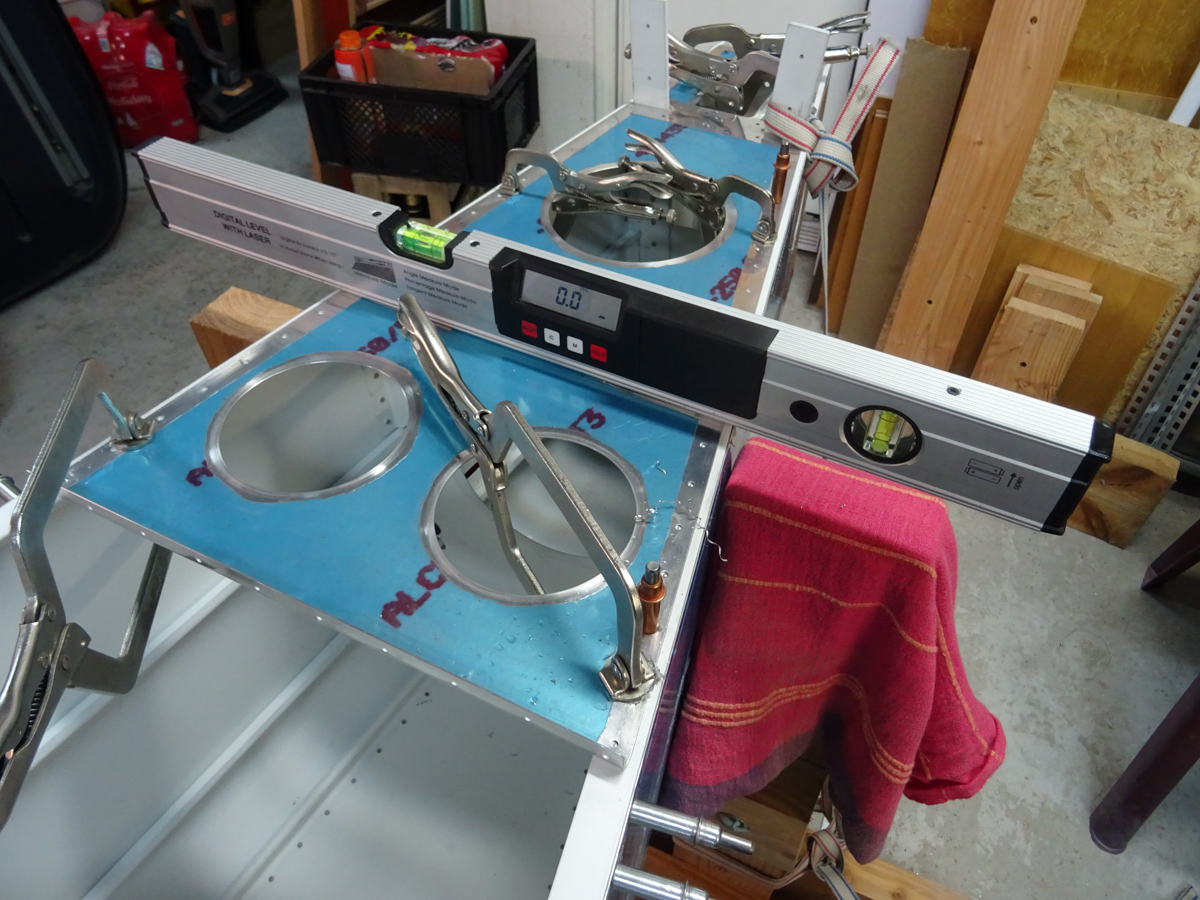
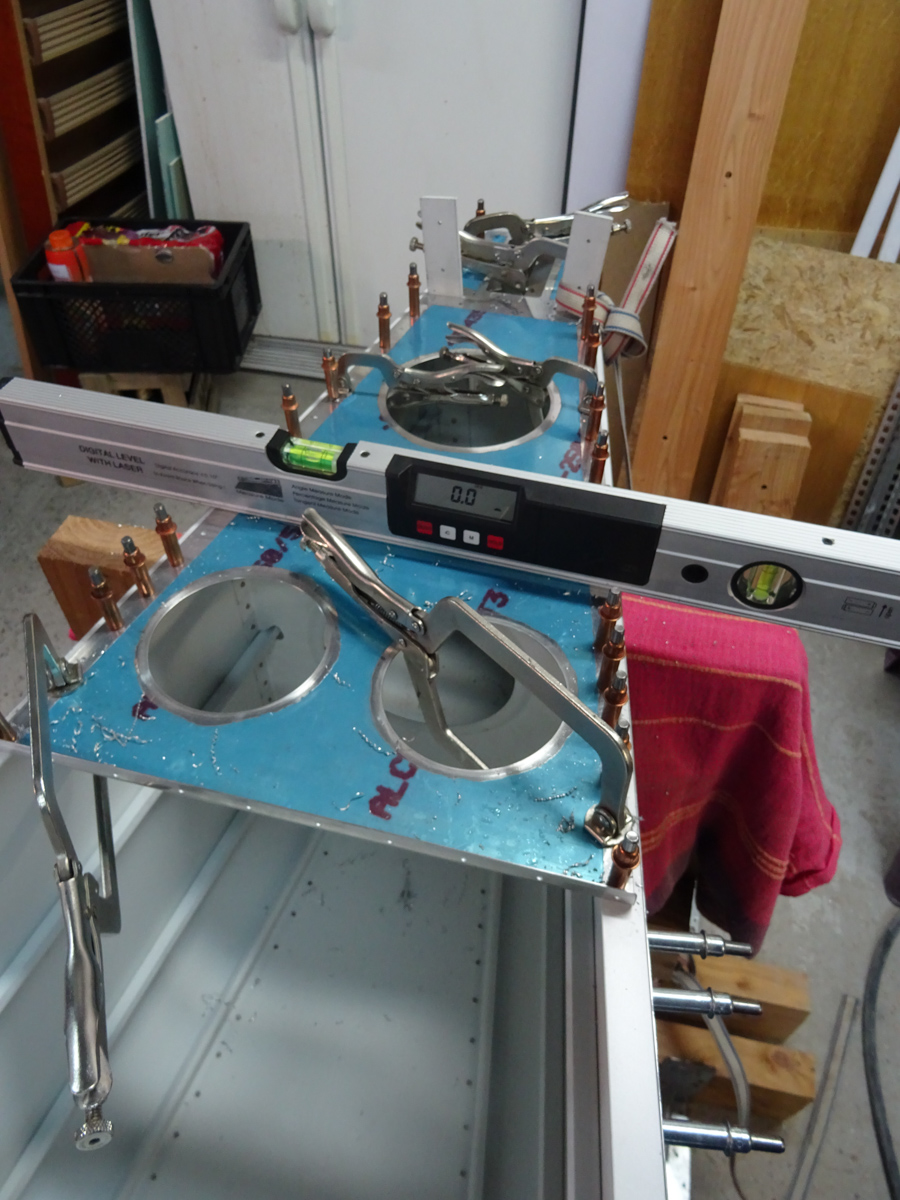
The way I clamped the aft deck was by first using the digital level and measuring at all stations as indicated in the manual. The manual states F706 and F710 as reference but I measured along 6 positions.
Being the firewall angle, the F704, the F706, along the tailcone between F707 and 708, on F710 and just in front of F711.
I also measured the distance from the tailcone side skin to the F-714 edge and made sure that on the other side, I had more or less the same distance. This to ensure that edge distance on the longeron would be ok on both sides after drilling.
The manual states that this is a very crucial step to take out any twist from the fuselage and that after drilling, the fuselage takes it's final shape and will be torsionally rigid. I measured multiple times at all stations checking and double checking.
What more can you do when the level beep and keeps saying 0.0...


To my surprise, everything was level after some reclamping so I decided: why not go on and drill this sucker on and get done with this.
First I drilled two holes on the pilot side. This would already define the lengthwise positioning of the aft deck and the distances from the edge of the tail cone side skin.
After that, if needed I would still be able to twist things a bit but as the level kept on reading level, I drilled two holes on the opposite side.
Now the shape is finally defined and as the manual says : 'any twist built into it will be there forever'. My level keeps on reading 0.0: lovely !
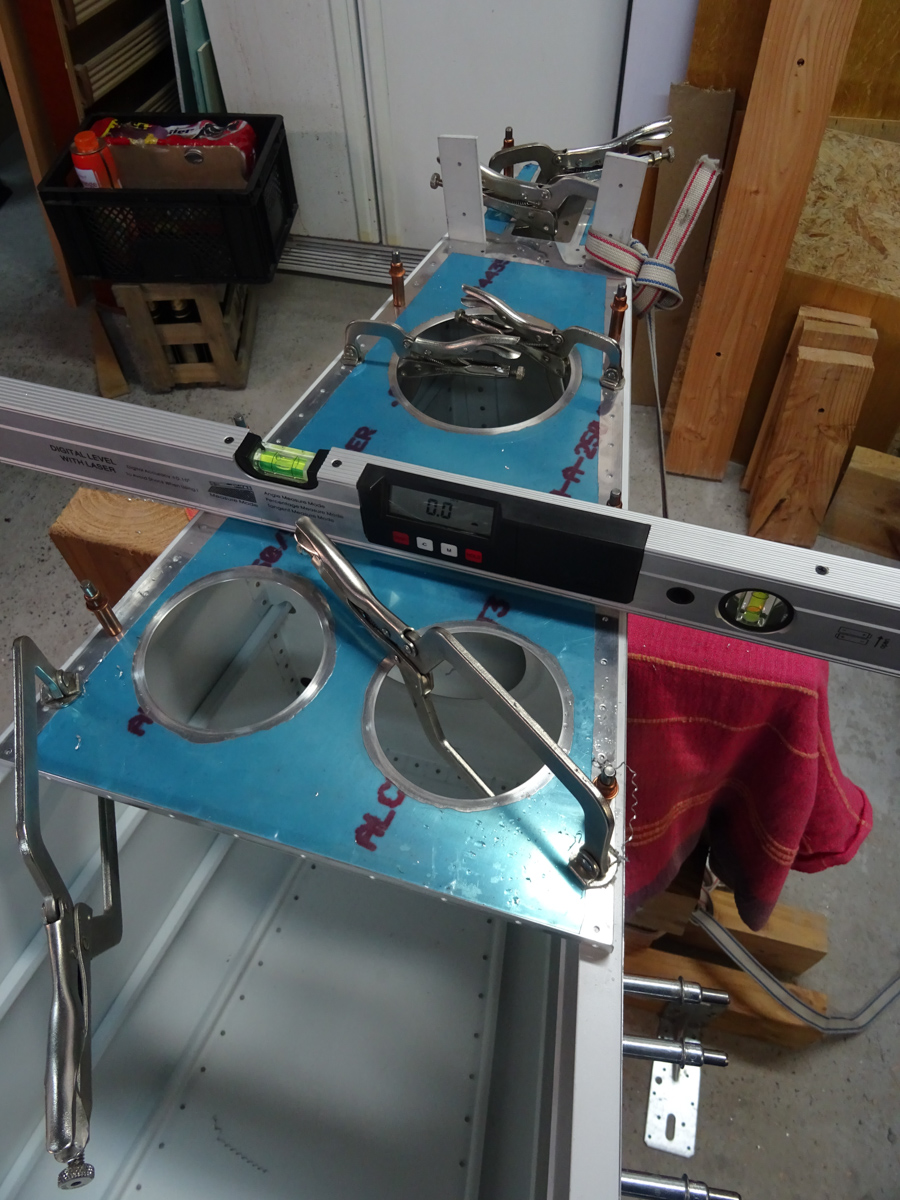
Then continued drilling the rest of them varying locations left and right, front and back as I moved on anxiously monitoring the level after each drilled hole.
And here it is, all done.


The final verdict : all level in all locations. Another critcal job completed.

