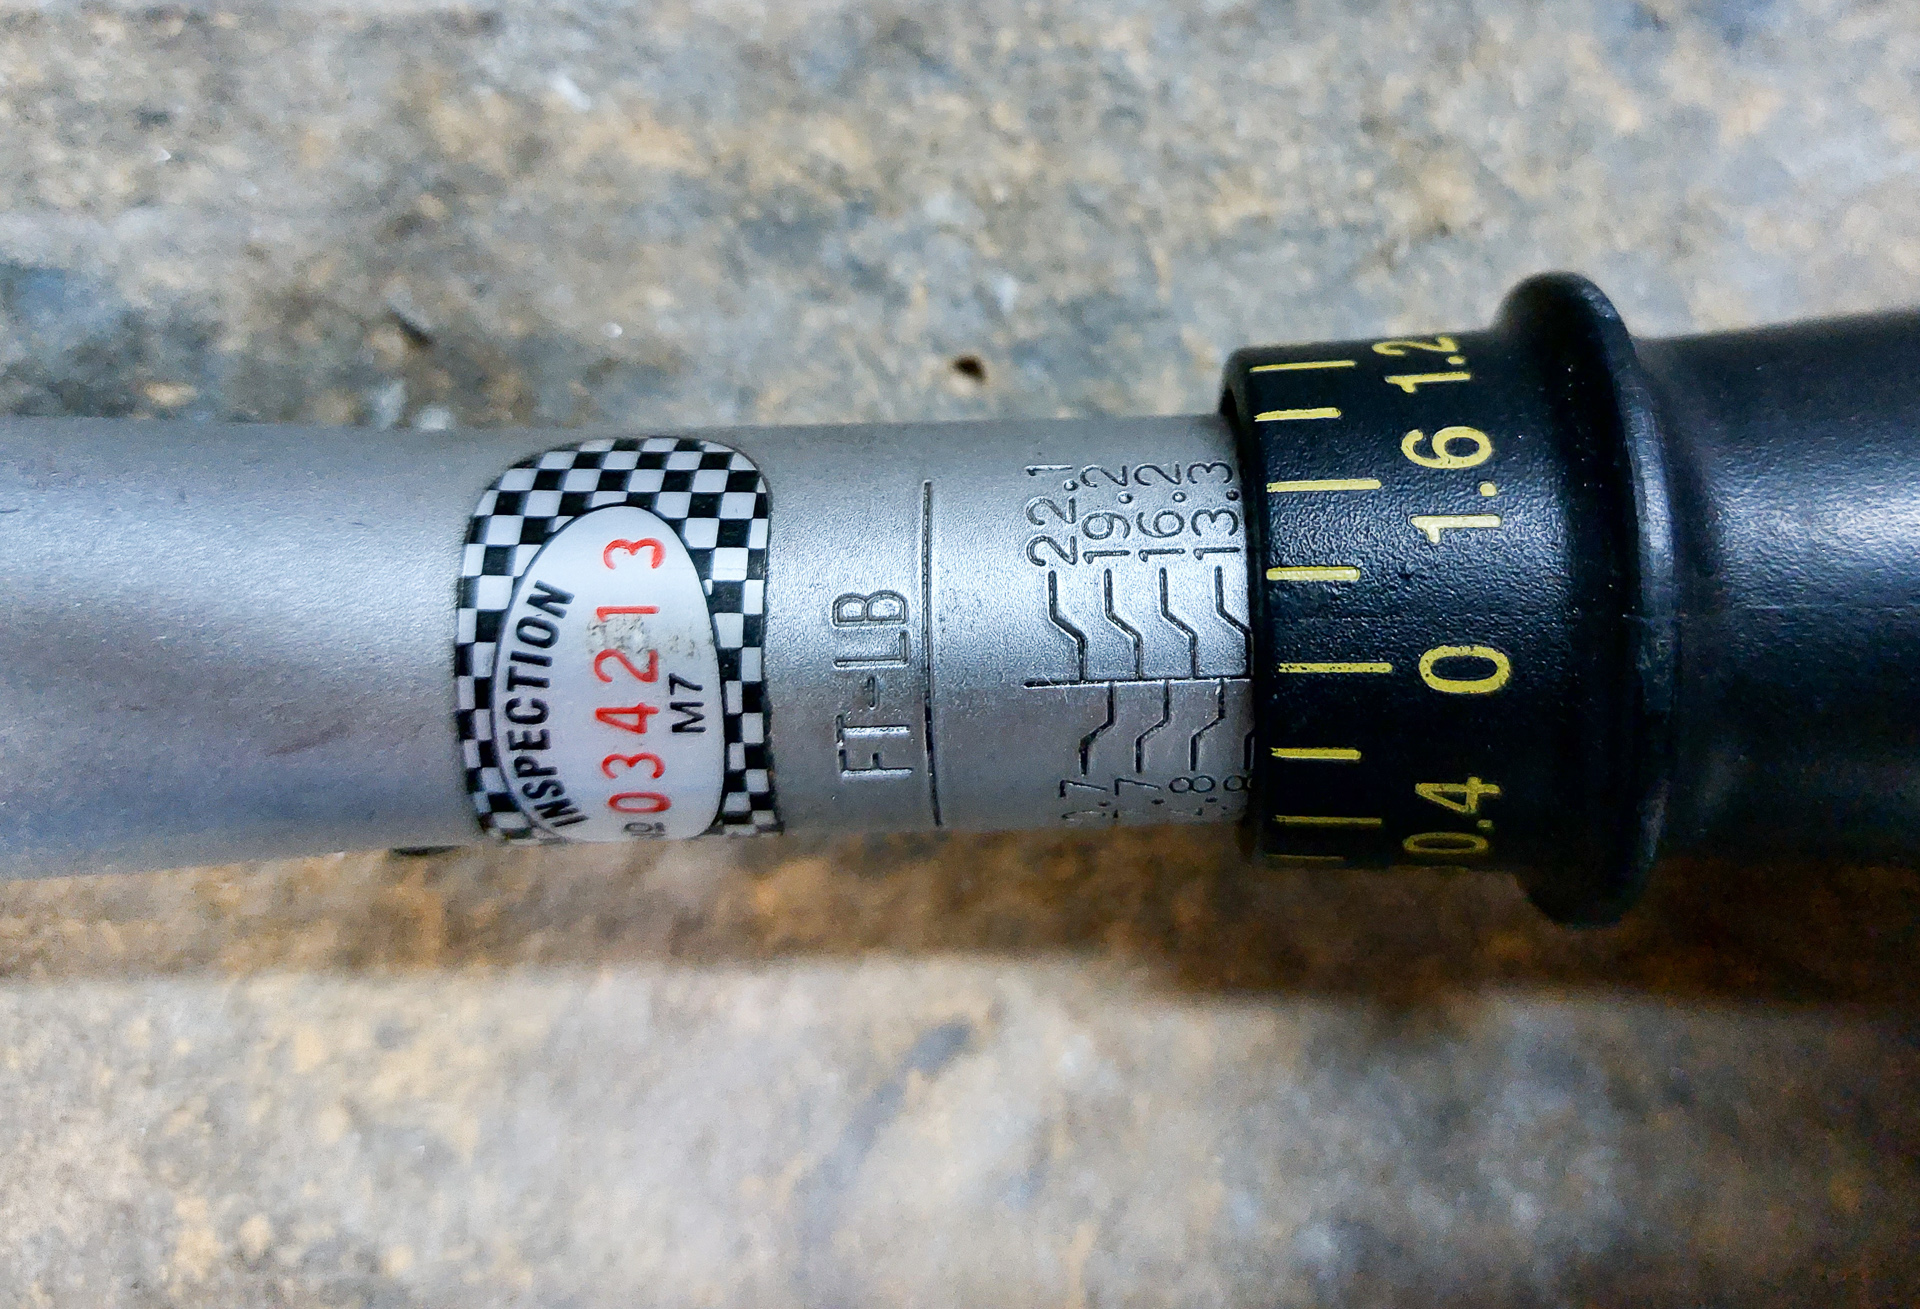
It's never really the right moment to hang the engine mount because there's possibly still penetration holes to make later but you 'll only find those ideal spots when the engine is hanging. And no way to hang the engine without a mount. So I figured I had postponed this long enough in order to hang the engine mount. I have also been put the fuselage on it's gear and final installation of the engine mount has to be completed first. Just to clarify, I already had drilled the firewall attach holes a long time ago, so this workday was about final hanging, re-measuring and torqueing the castle nuts with final cotter pin installation. It's a simple process but I found it a big deal as it's the part that will finally enable the start of the gear and engine ffw work. The firewall is attached with AN6 bolts and AN310-6 castle nuts. My smaller torque wrench that only goes up to 150 in/lbs was unsuitable for these so I had to use another larger scale torque wrench. Torque range on these bolts is 160-190 in/lbs. They are fastened with a castle nut and cotter pin. The procedure on these is to torque to minimum value and then thighten till the next castle notch comes available that aligns with the hole. My torque wrench was with ft/lbs and it's a simple conversion of dividing in/lbs by 12 to get the right ft/lbs number. The range here had to be 13.33-15.83 ft/lbs. The image below shows my wrench set to 13.3 for initial torque.
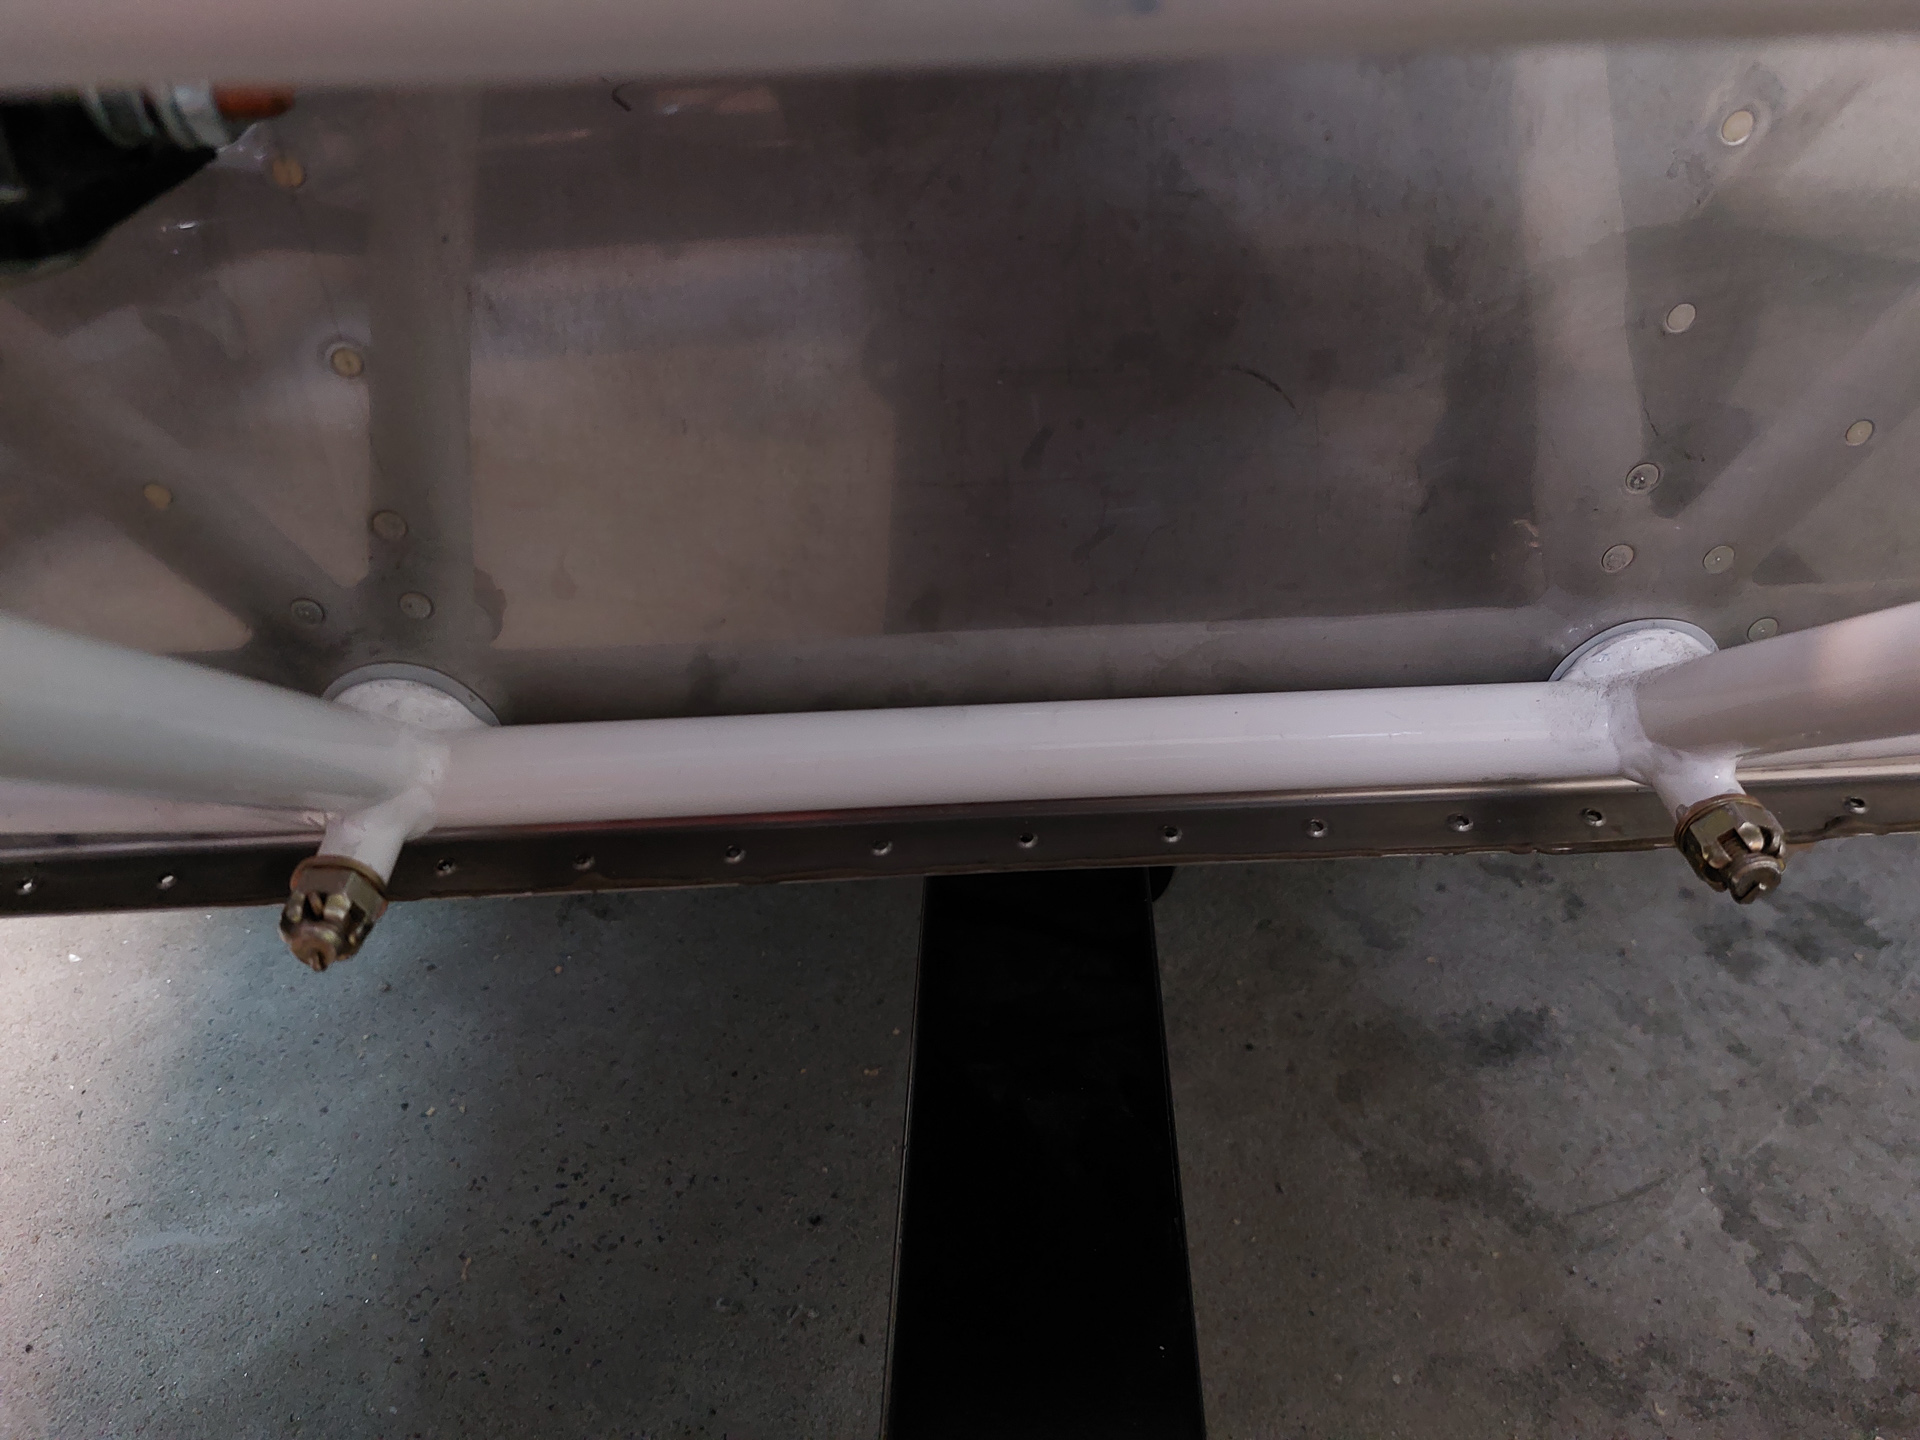
The next image shows all 6 bolts installed with 2 spacers between the mount and firewall at the center bottom.
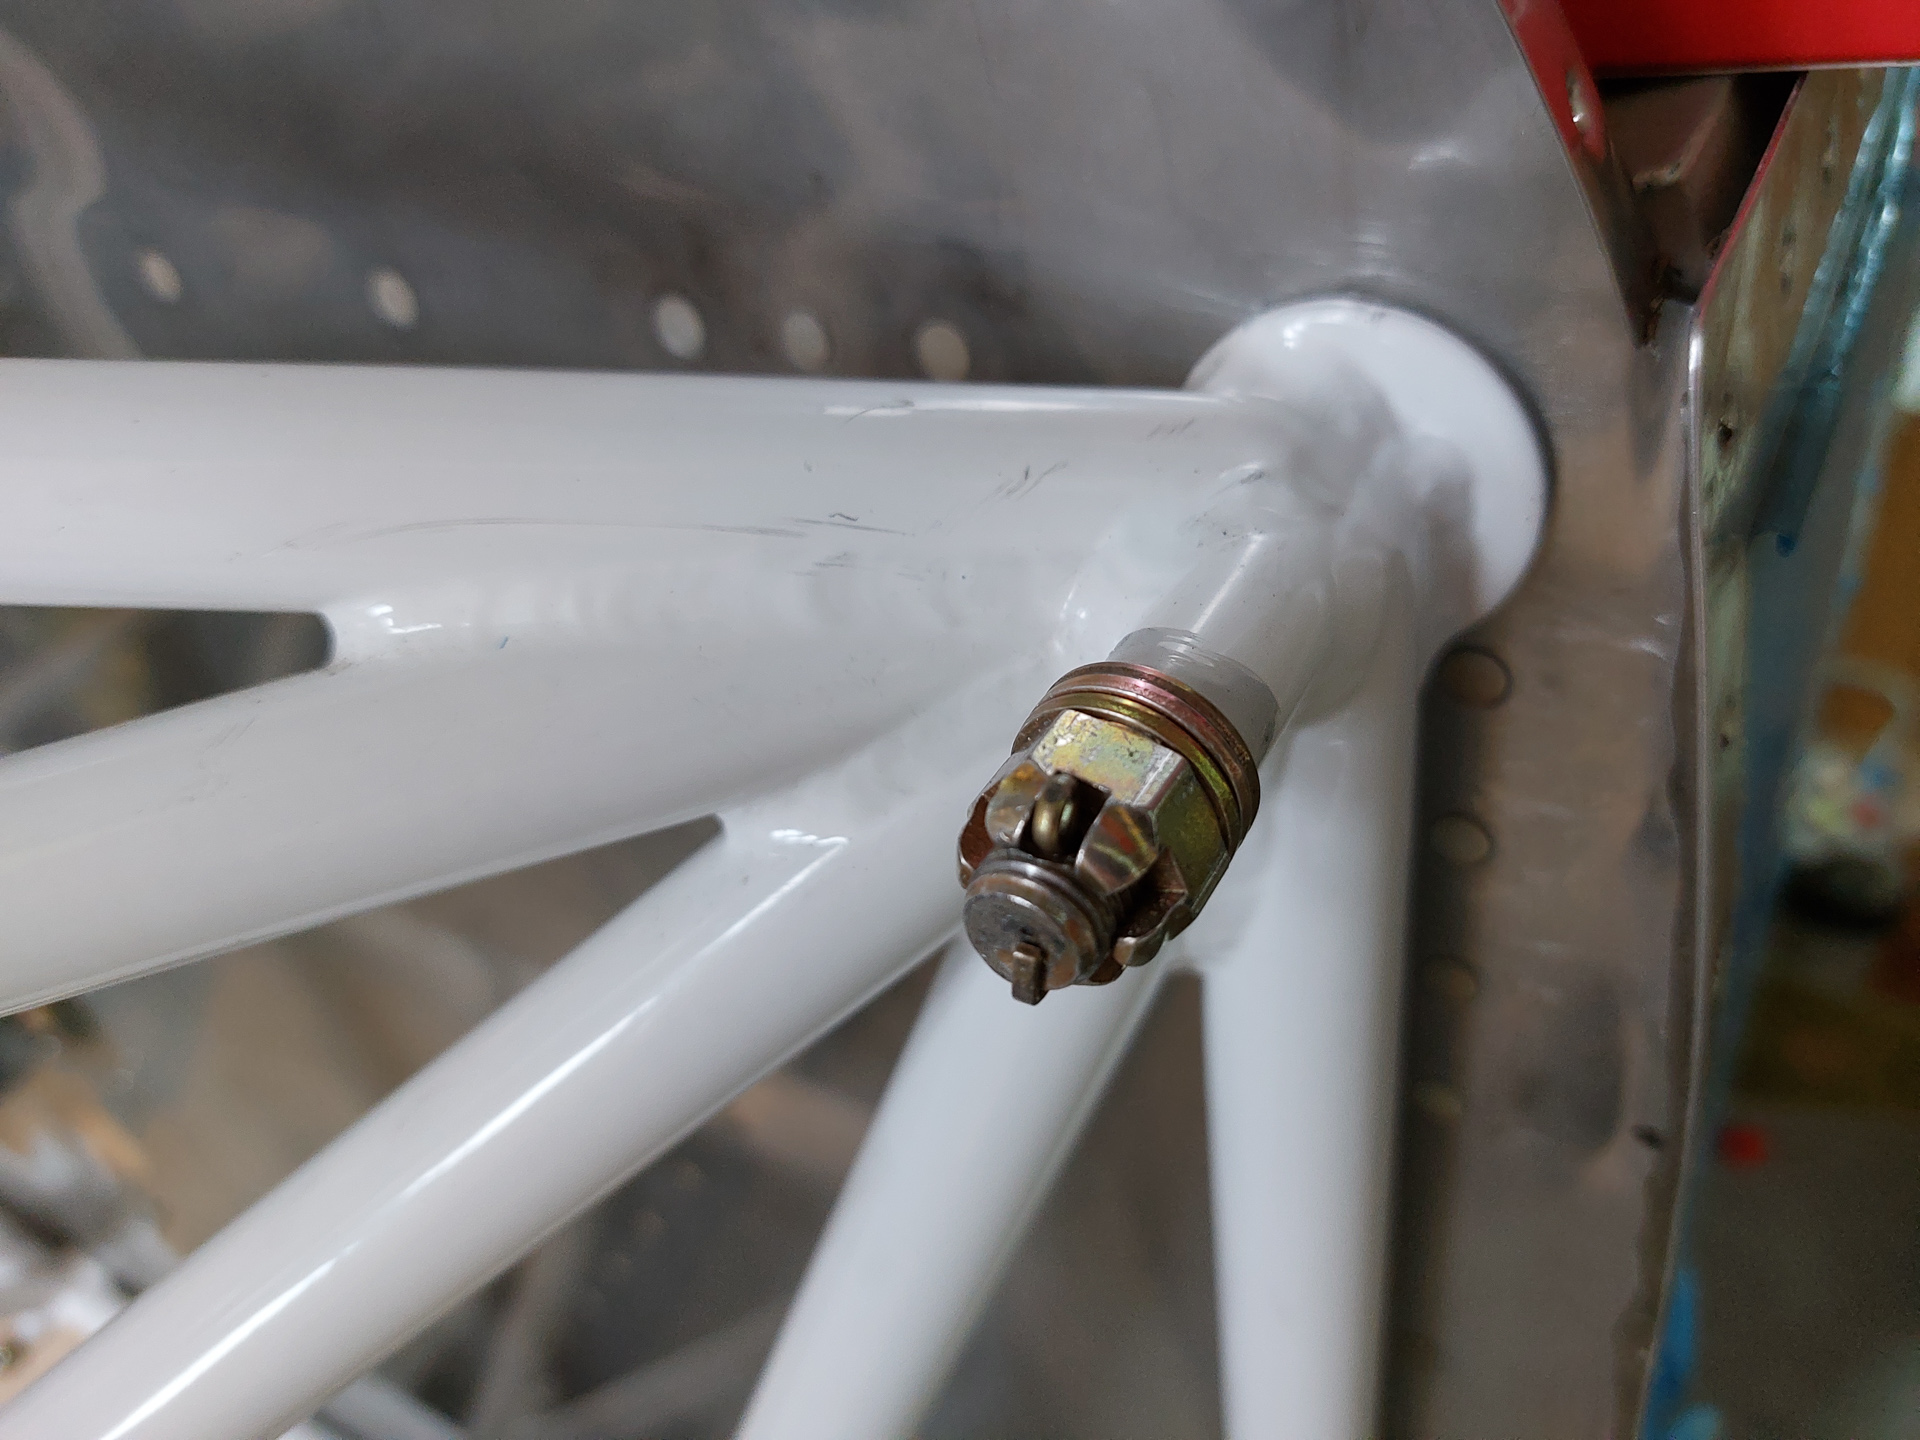
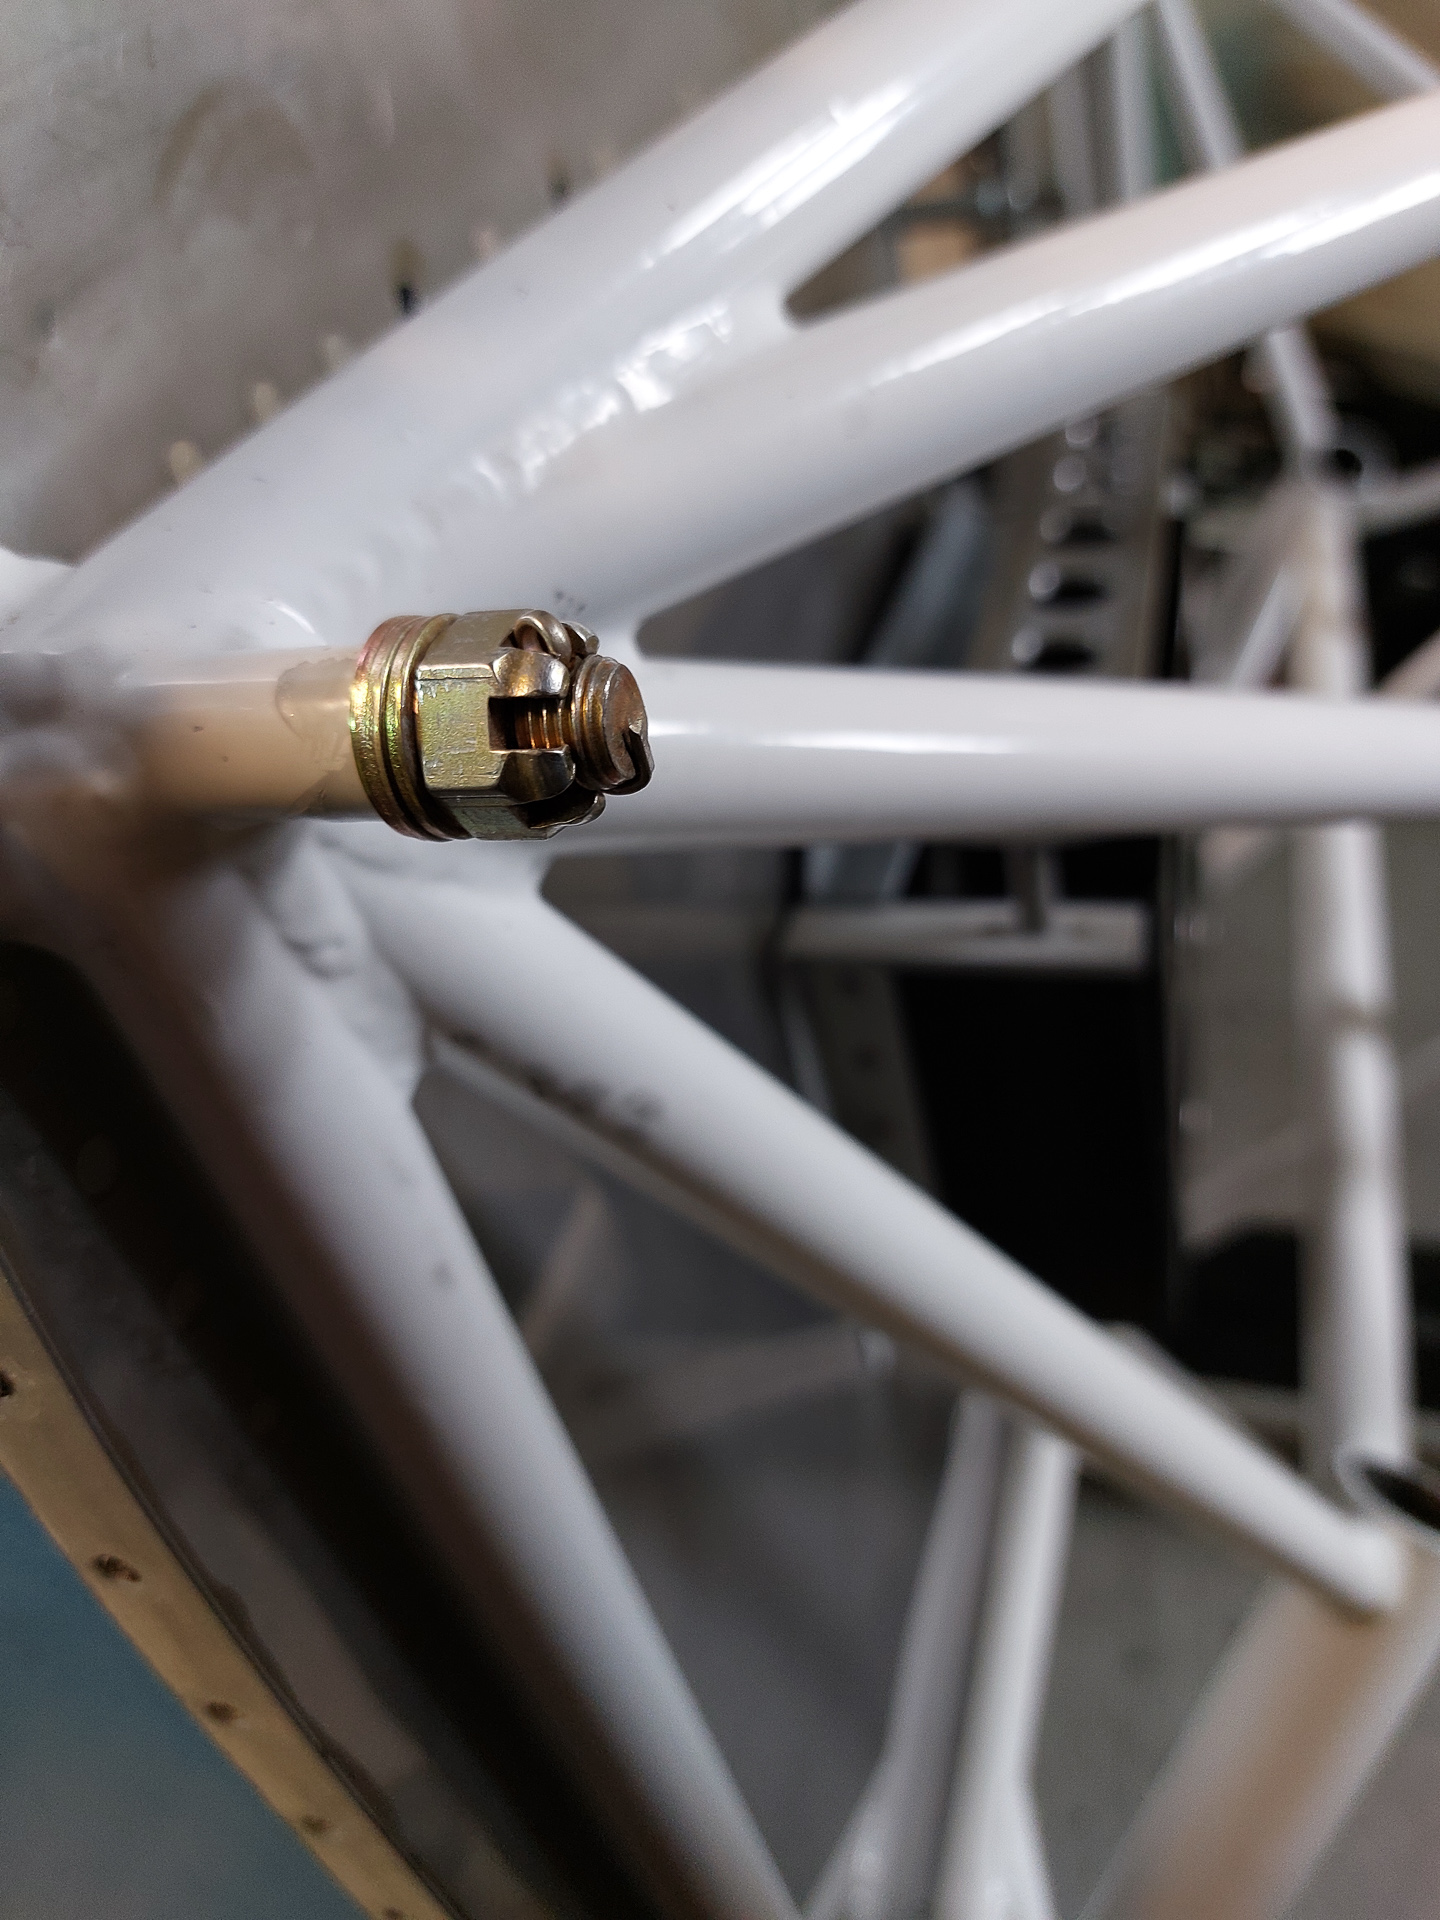
Some detail images of the cotter pin in place. I needed 3 washers on the top pilot side.
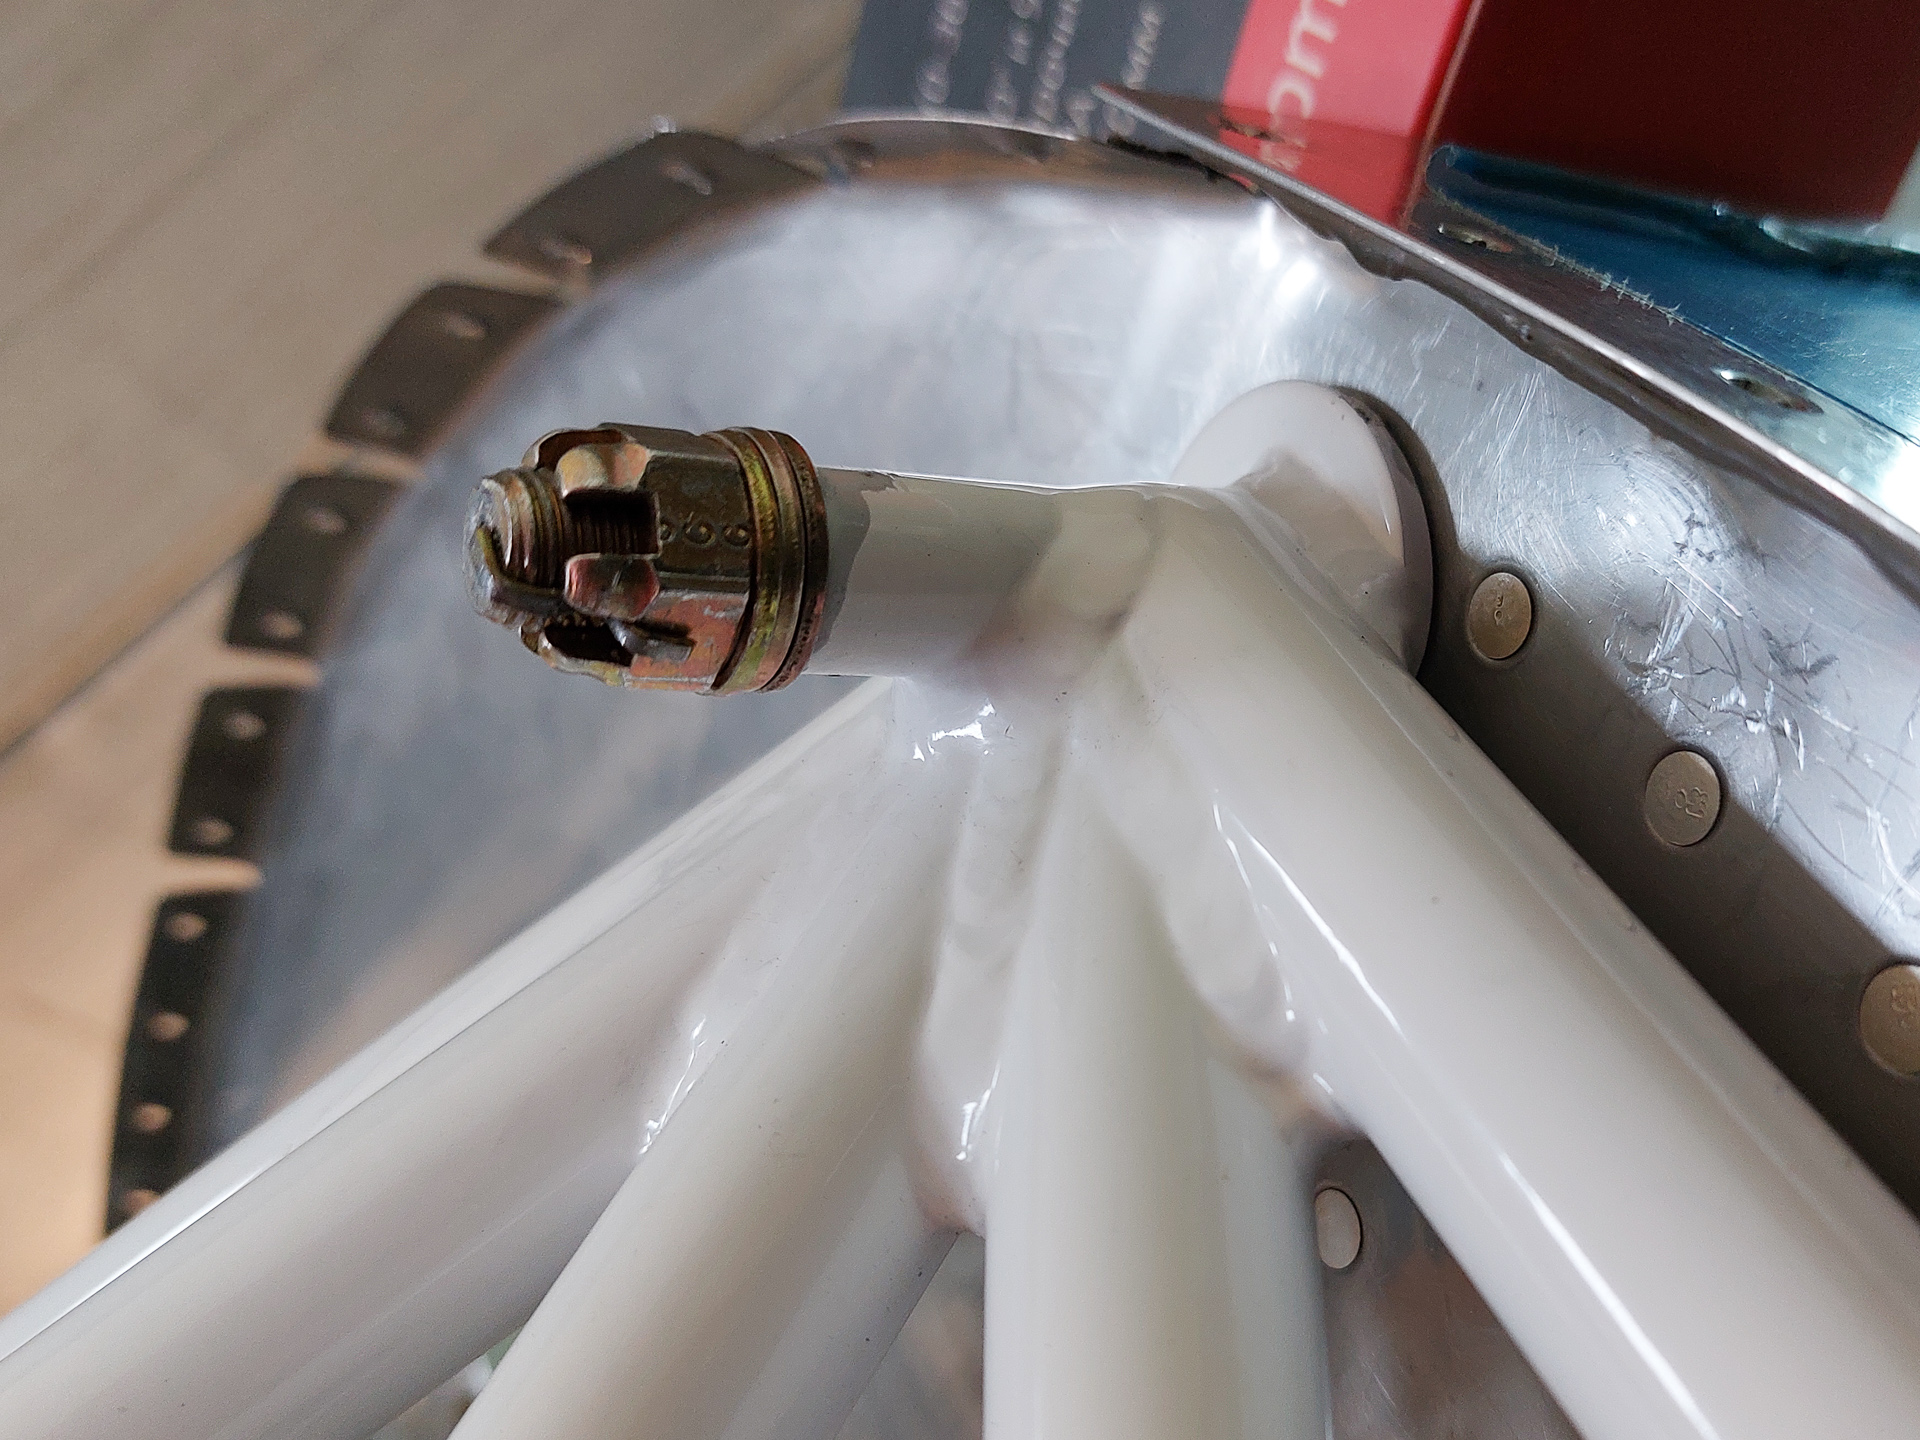
same amount on the top passenger side
only one was required on the bottom side
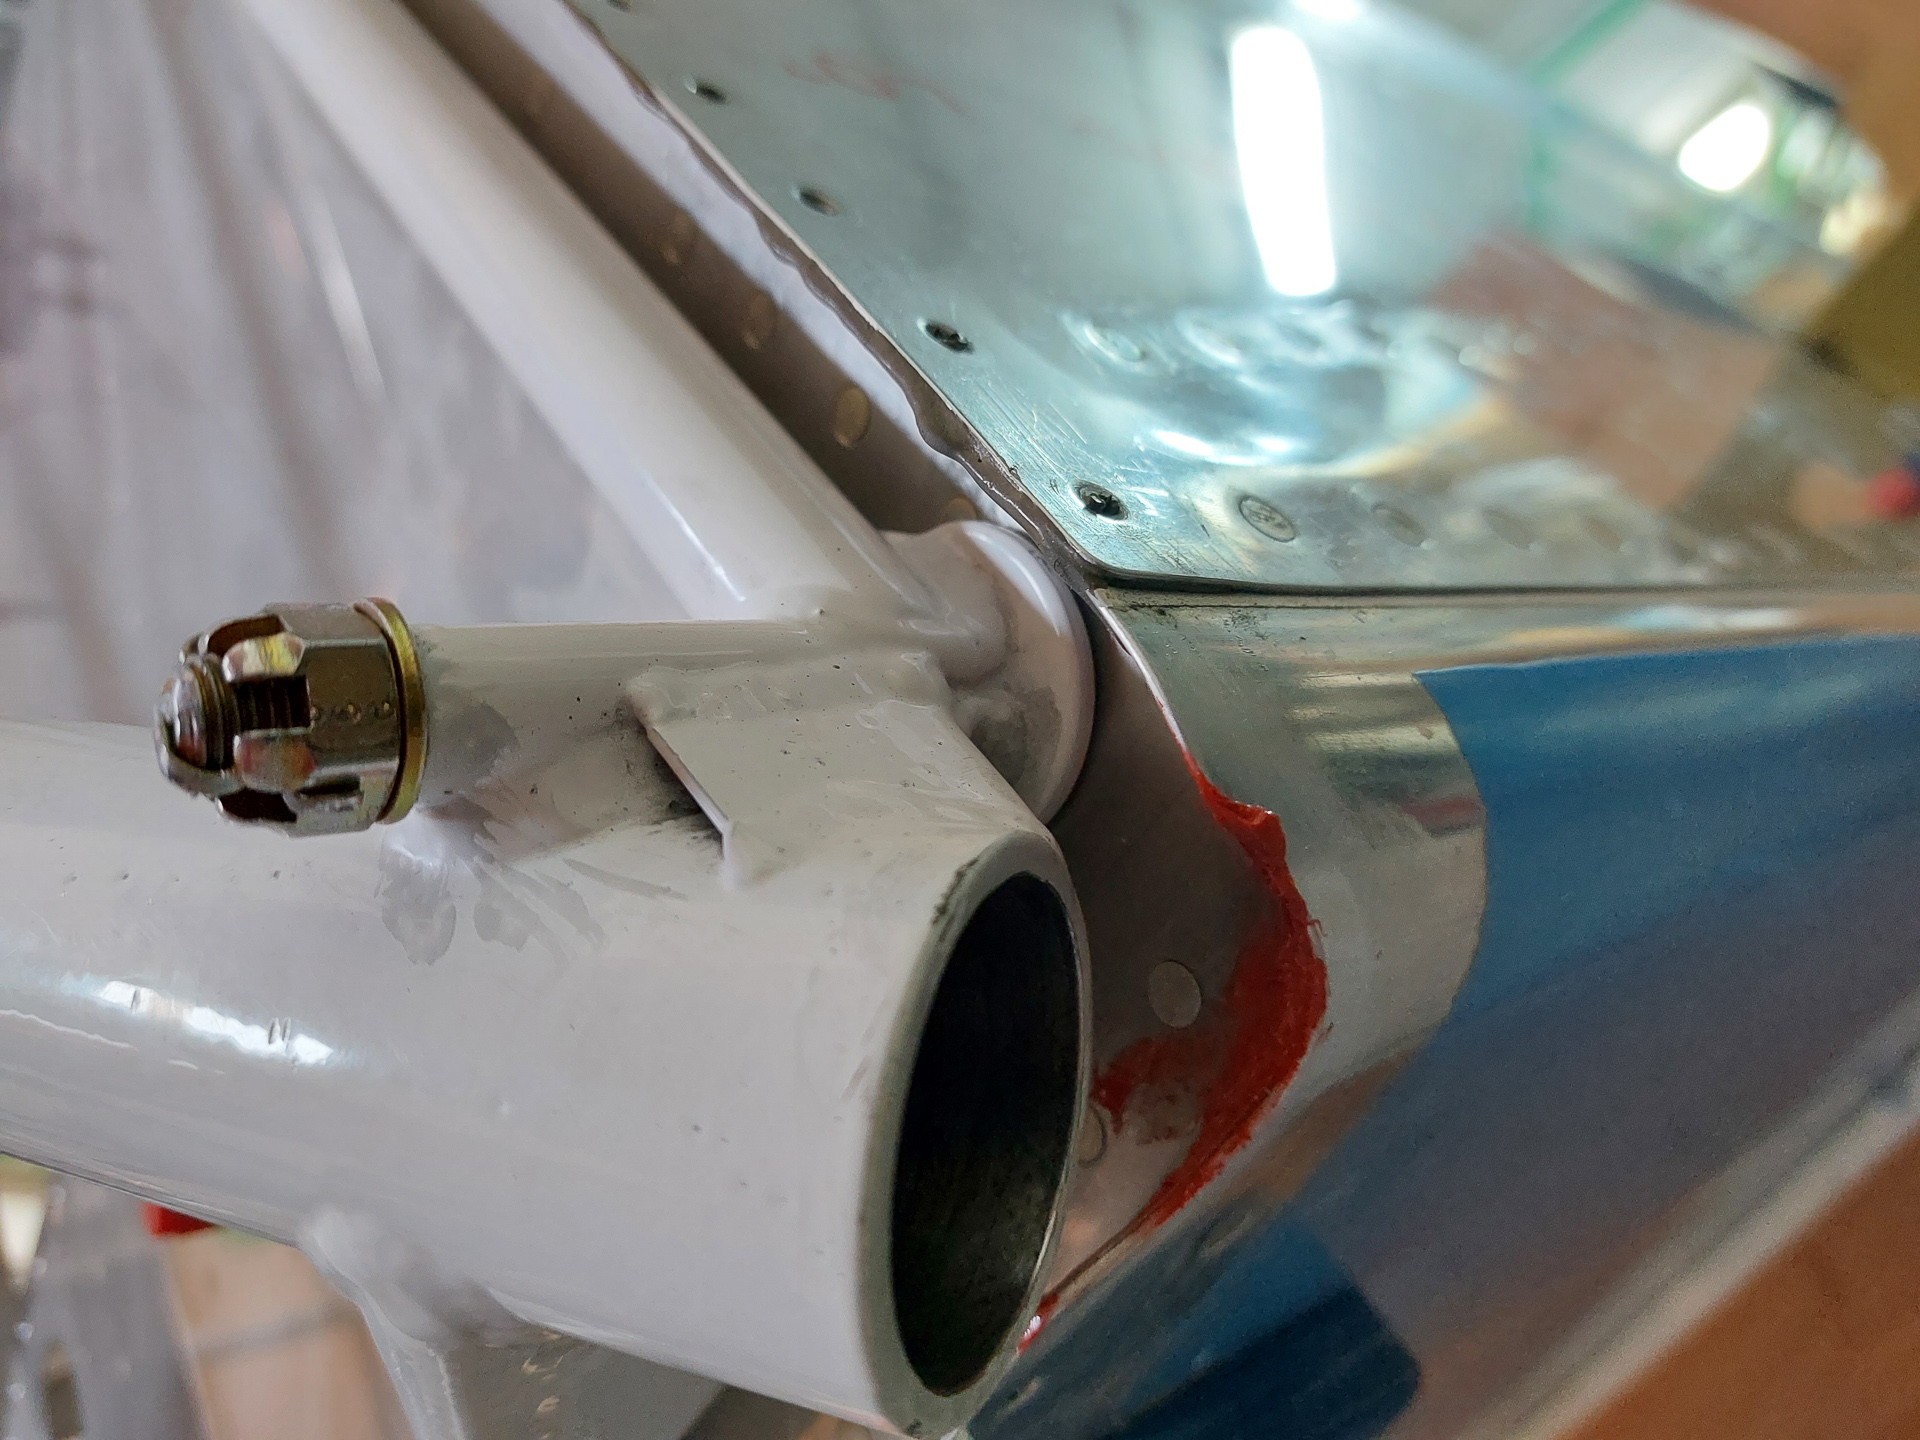
Next image shows the spacers and also one washer.
another image of the cotter pin installation.
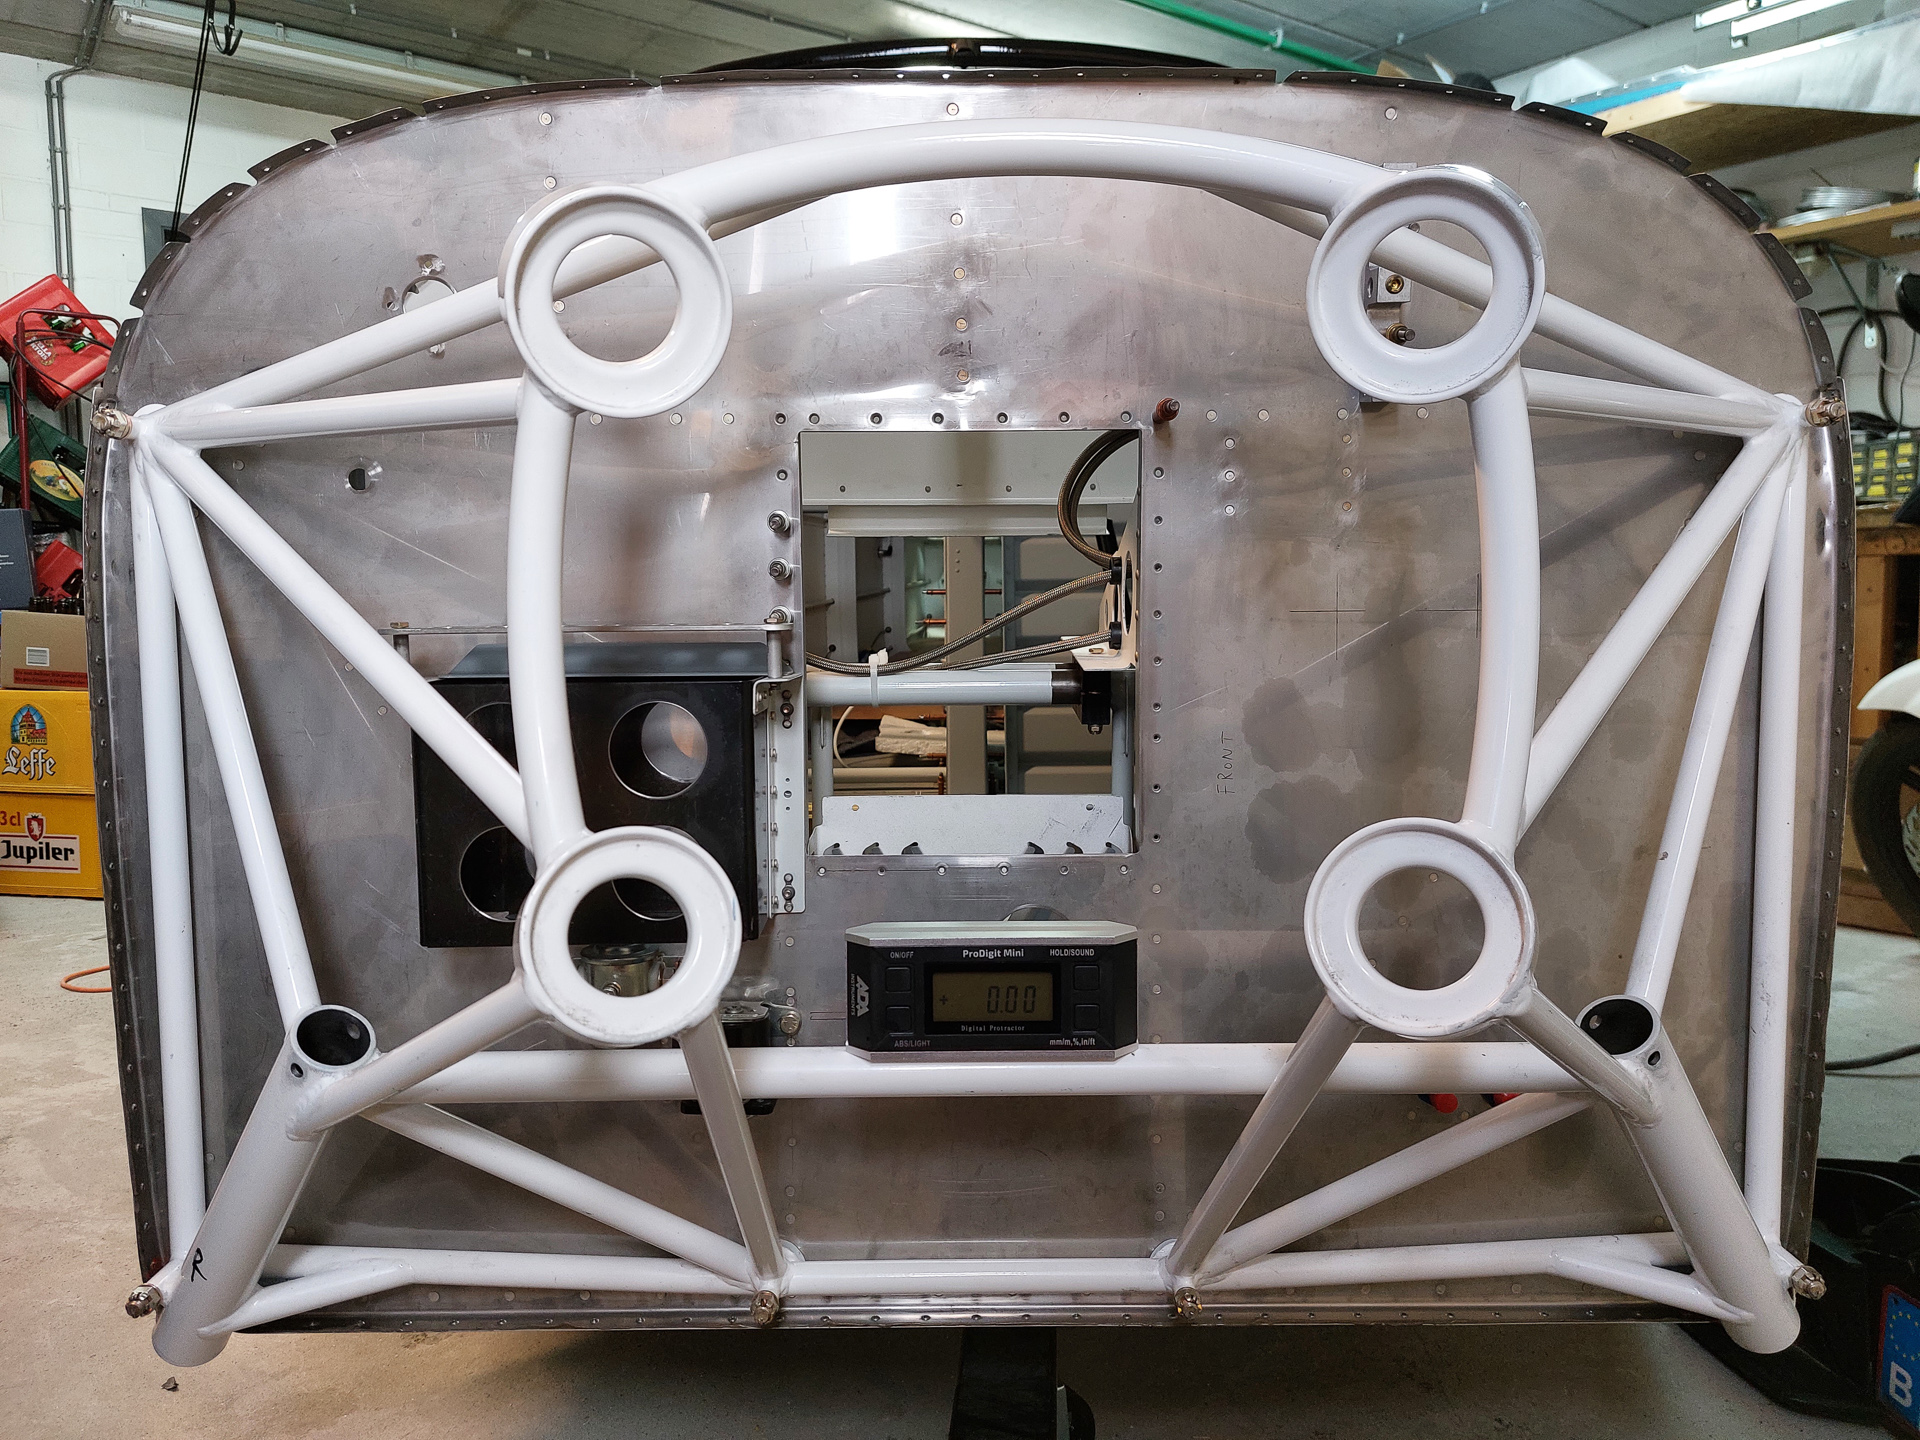
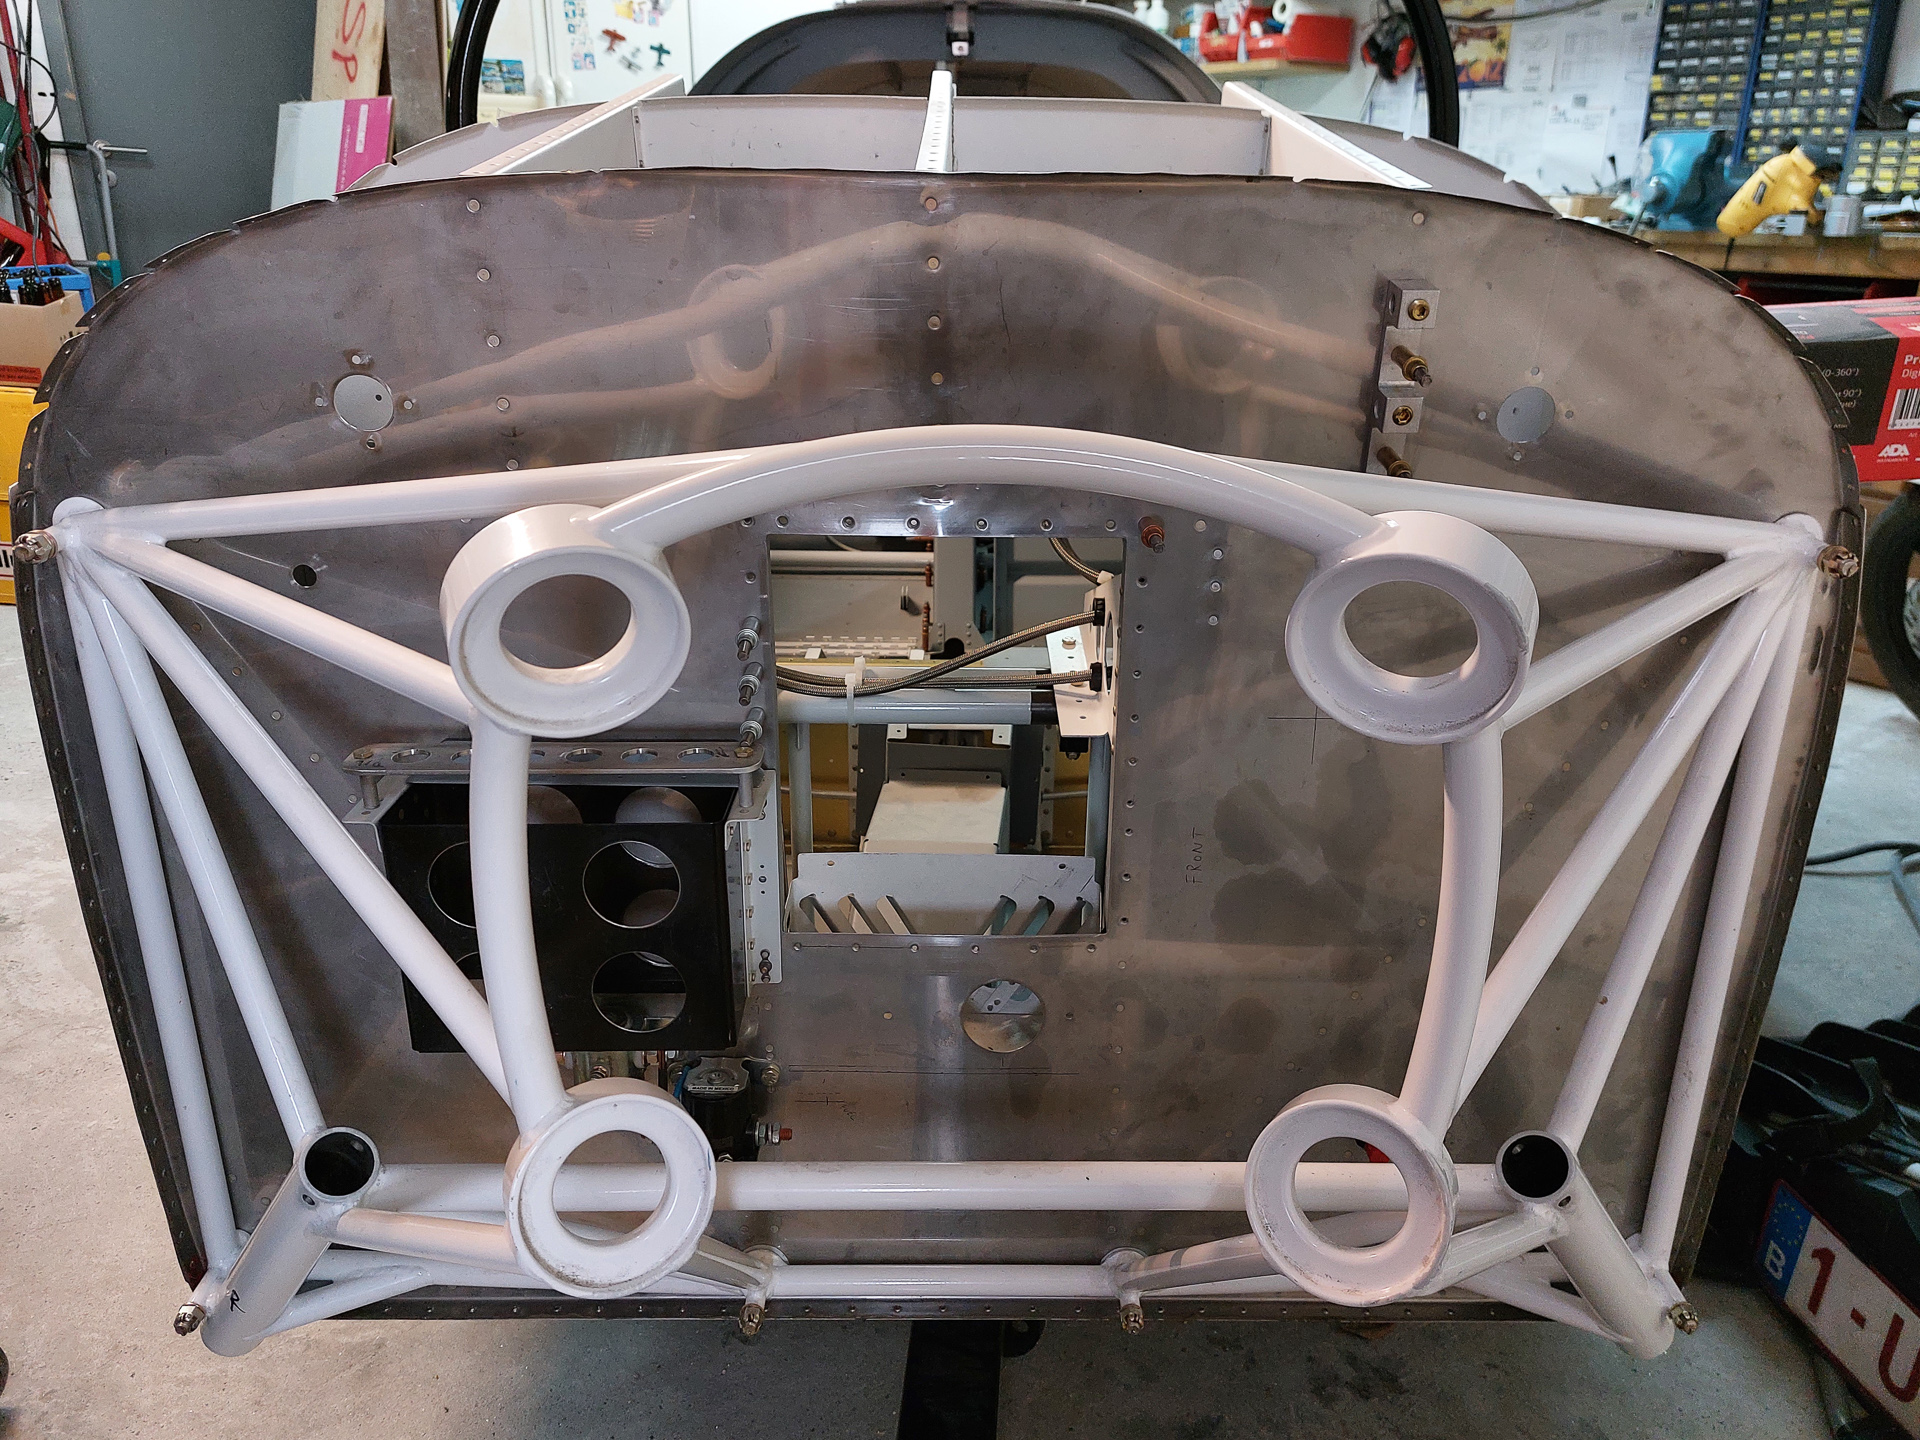
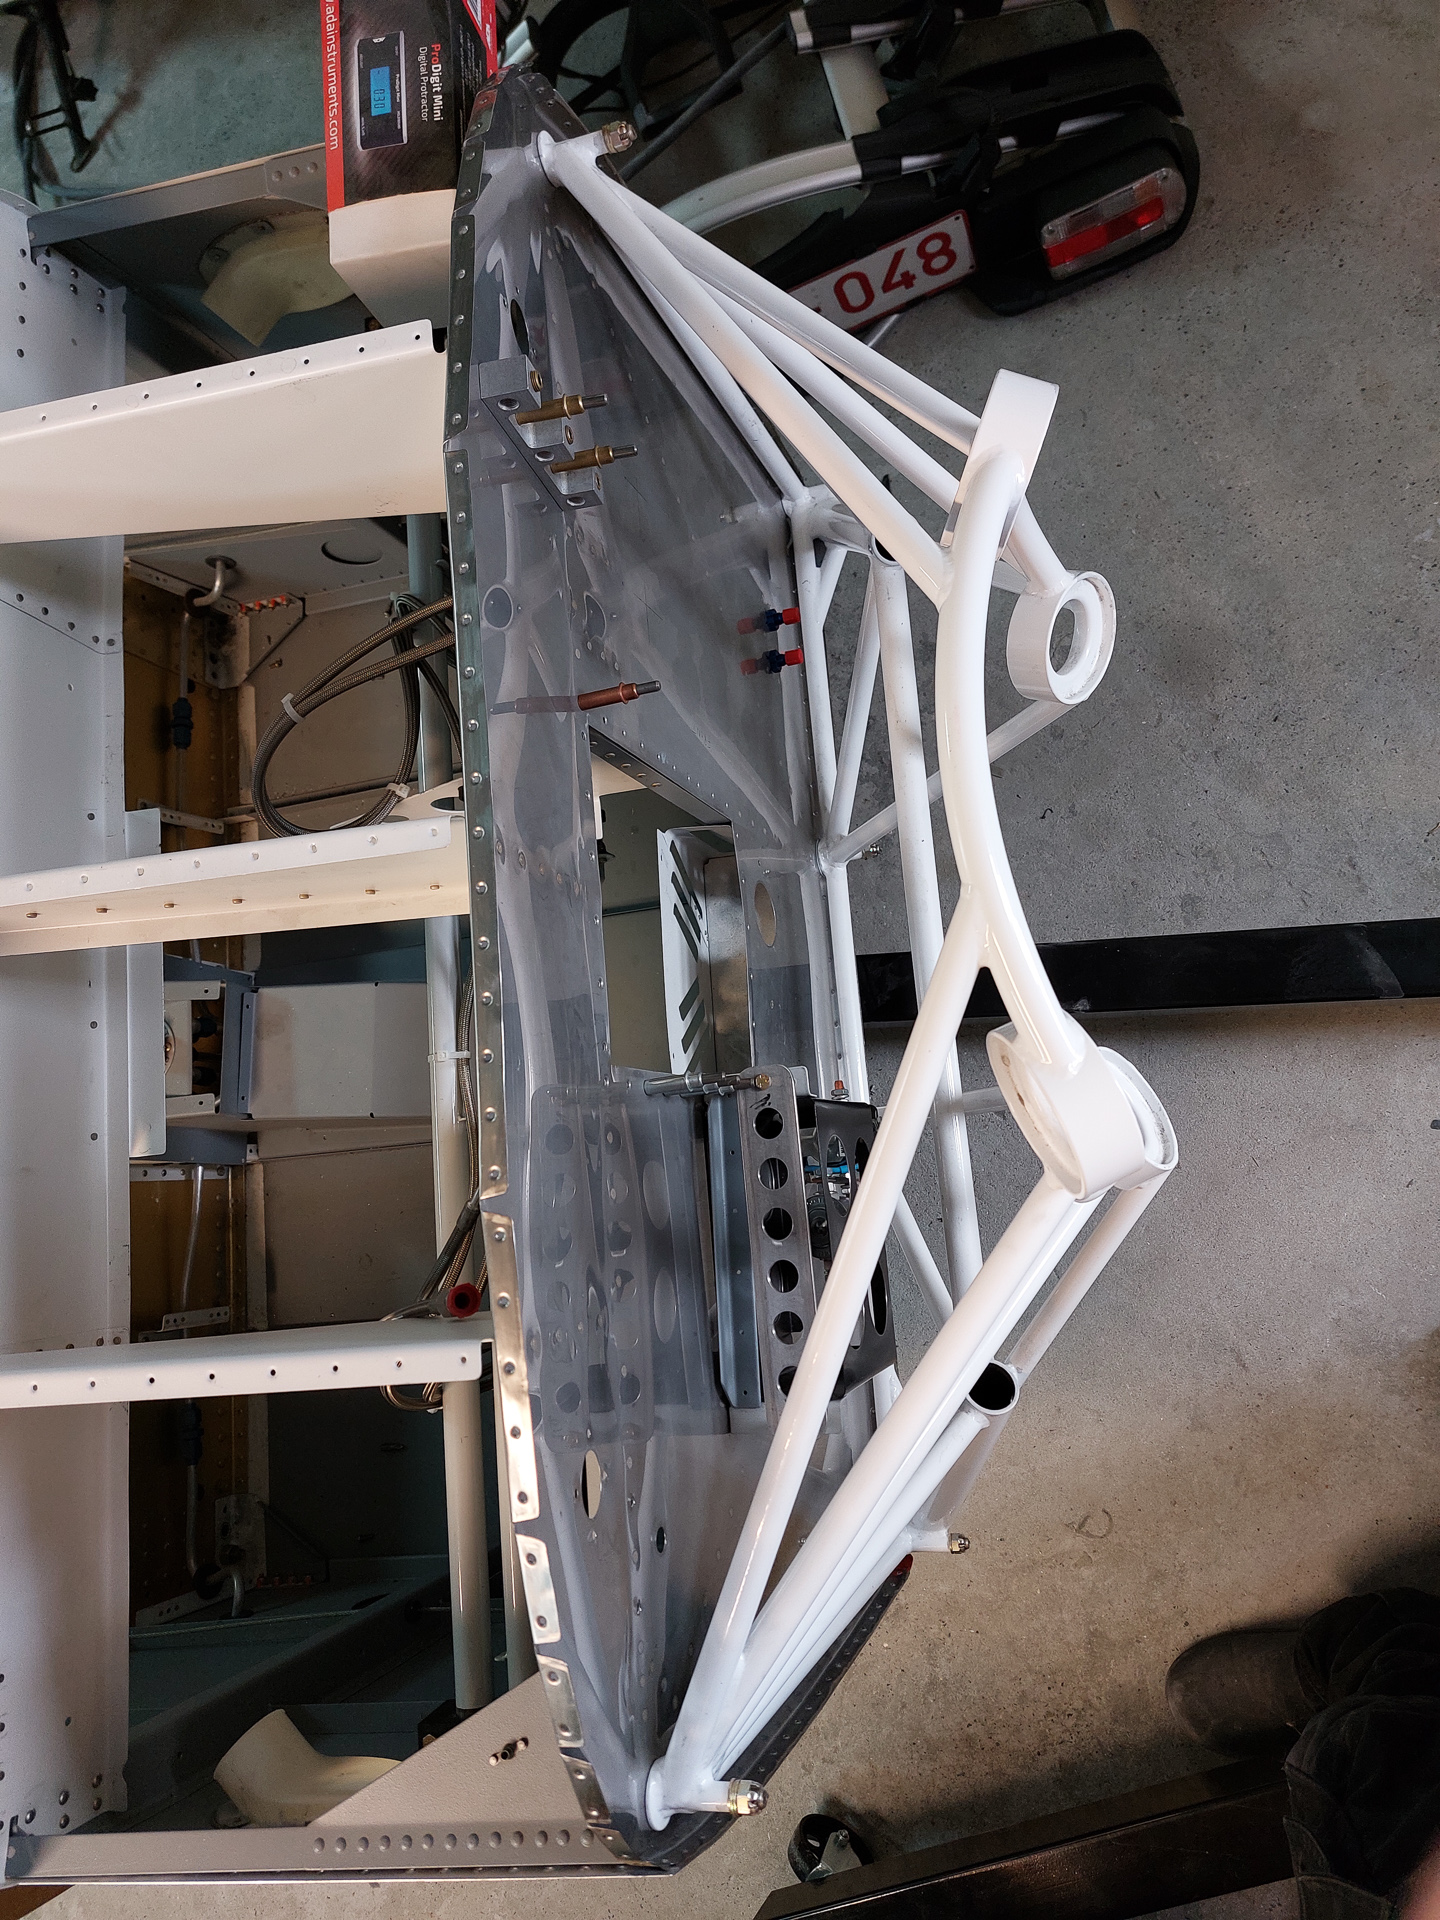
Top view engine mount
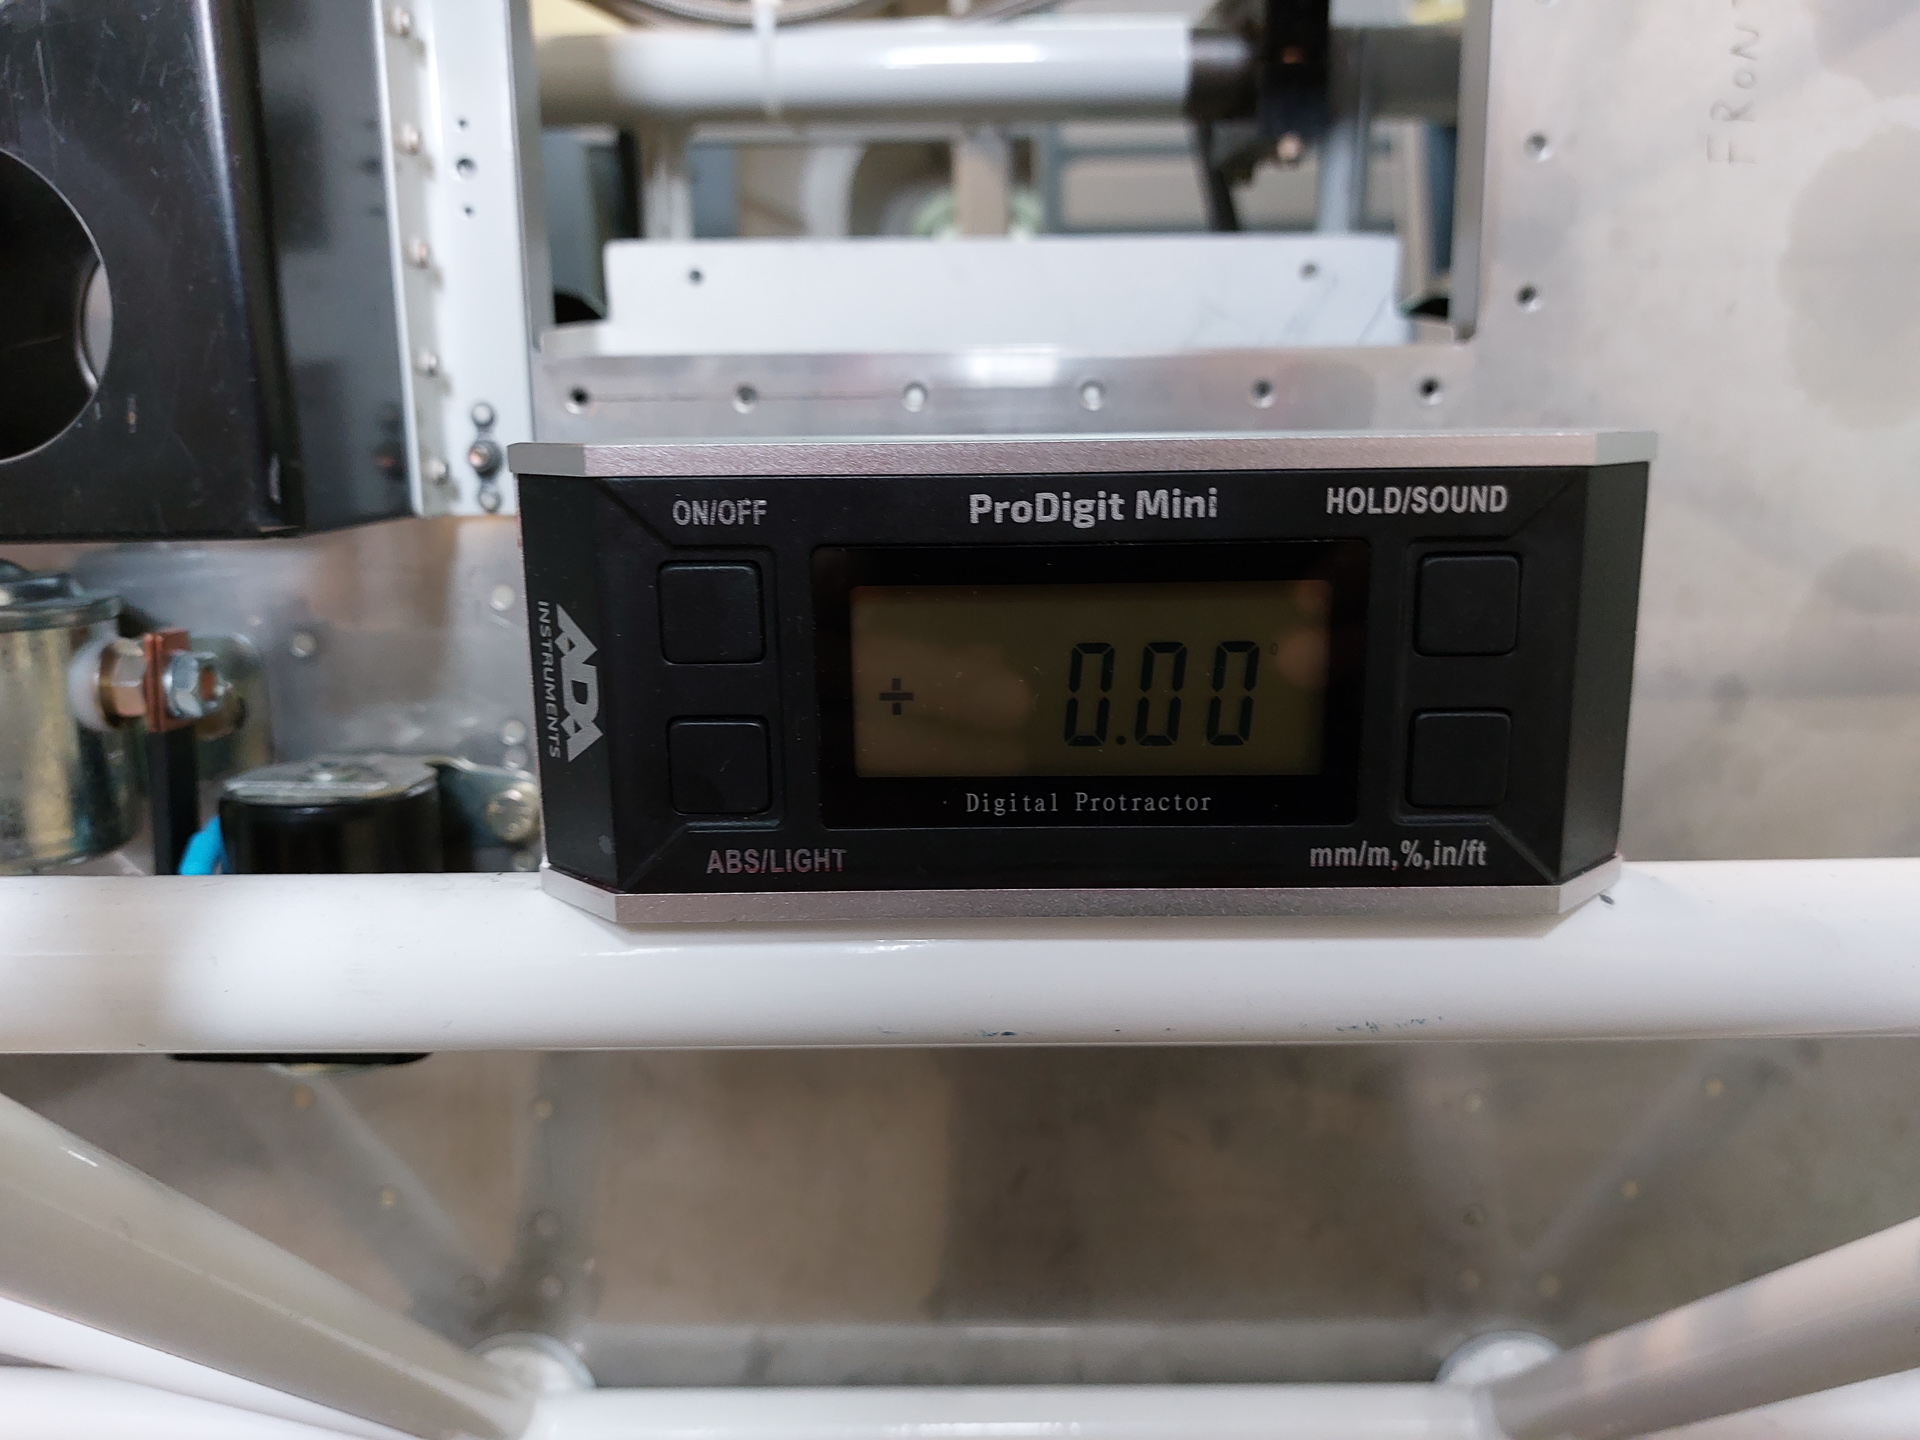
Forward view with the level in place showing a 0.00° level mount.