One of the things that kept me busy and worrying for a while was crimping the batter wires, or let's call them "cables".
The battery cable draws up to 60 amps when the start is engaged and needs to be a very thick cable that can withstand this flow of energy. Some people use welder cable but I did purchase the electrical kit from vans before and that came with some 2AWG cable and the connectors and protector covers. Today, I made the ground block to battery ground cable and the battery positive to master solenoid cable.
The master solenoid is actually nothing more than a switch that can be engaged from the cockpit to allow the full power of the battery to be released in the system. A battery doesn't push energy, a device pulls energy. This means that carefull thinking is required when chosing cable sizes throughout the airplane. Most of the power goes to the engine start when engaging the starter switch. So all of the wires between battery and starter system will be pretty beefy.
If you would use a regular switch for the master switch would need to pass through 60 amp of current and the full current would flow into the cockpit and back into the FFW. A master solenoid is a device that is controlled by an external switch which when grounded engages the master solenoid and allows the electrical current to flow through. However, the switch itself only operates at very low amperage. The starter solenoid works in more or less the same way.
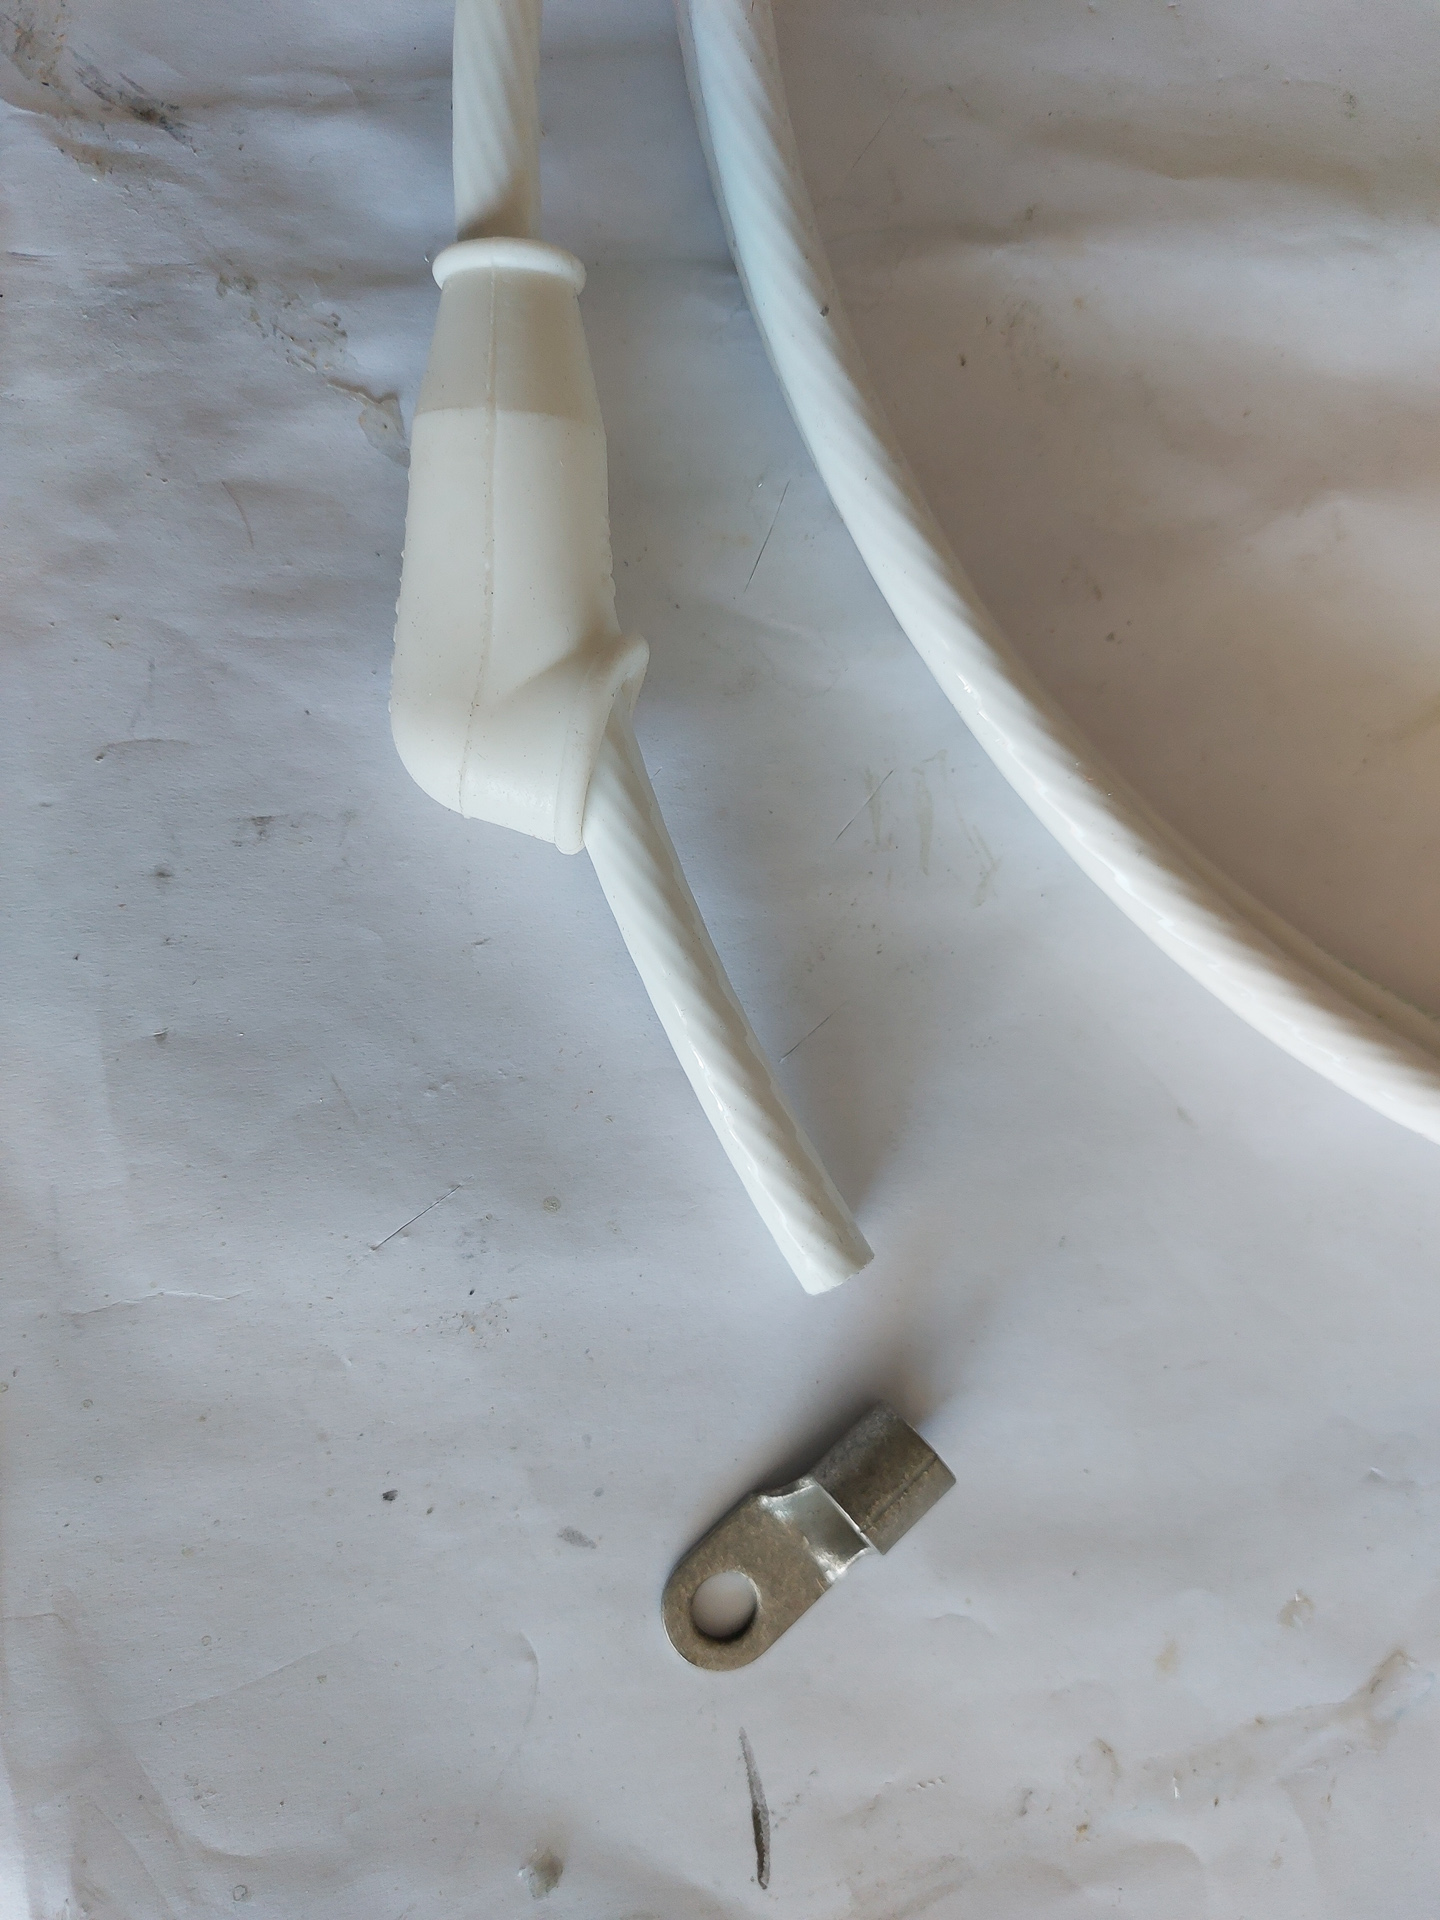
This connector needs to be installed on that wire. I had looked up crimpers before on aircraft spruce and they all were extremely expensive and only for one wire size. I'm talking hundreds of dollars for one.
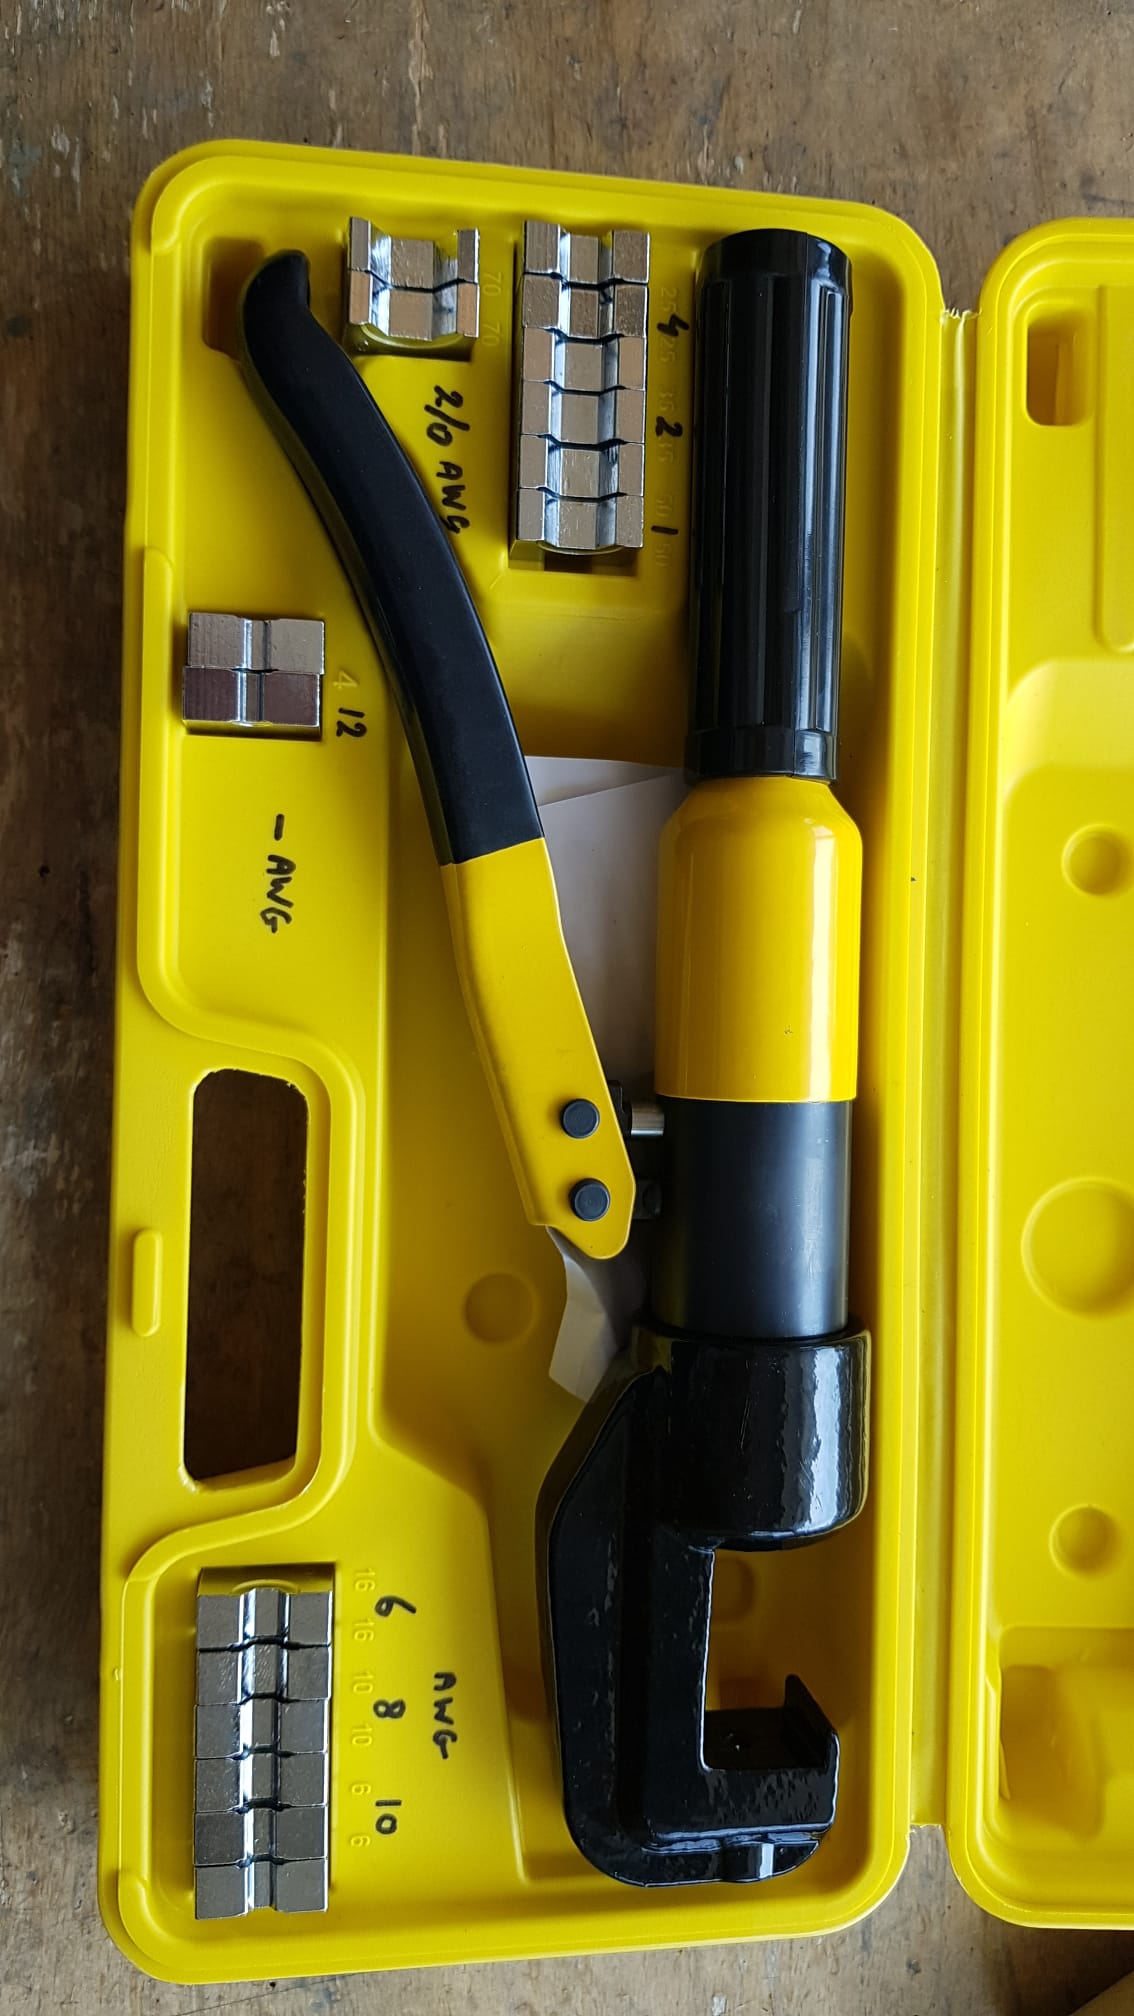
Thanks to my friends from the "Fans Of Vans" dutch whatsapp group of RV builders, I found this hydraulic crimp tool from HBM-Machines which is perferct for the job and only costed 50€, and had metric sizes for all wire gauges. The conversion of metric to AWG can be found easily online. The tool can push up to 6 tons of pressure.
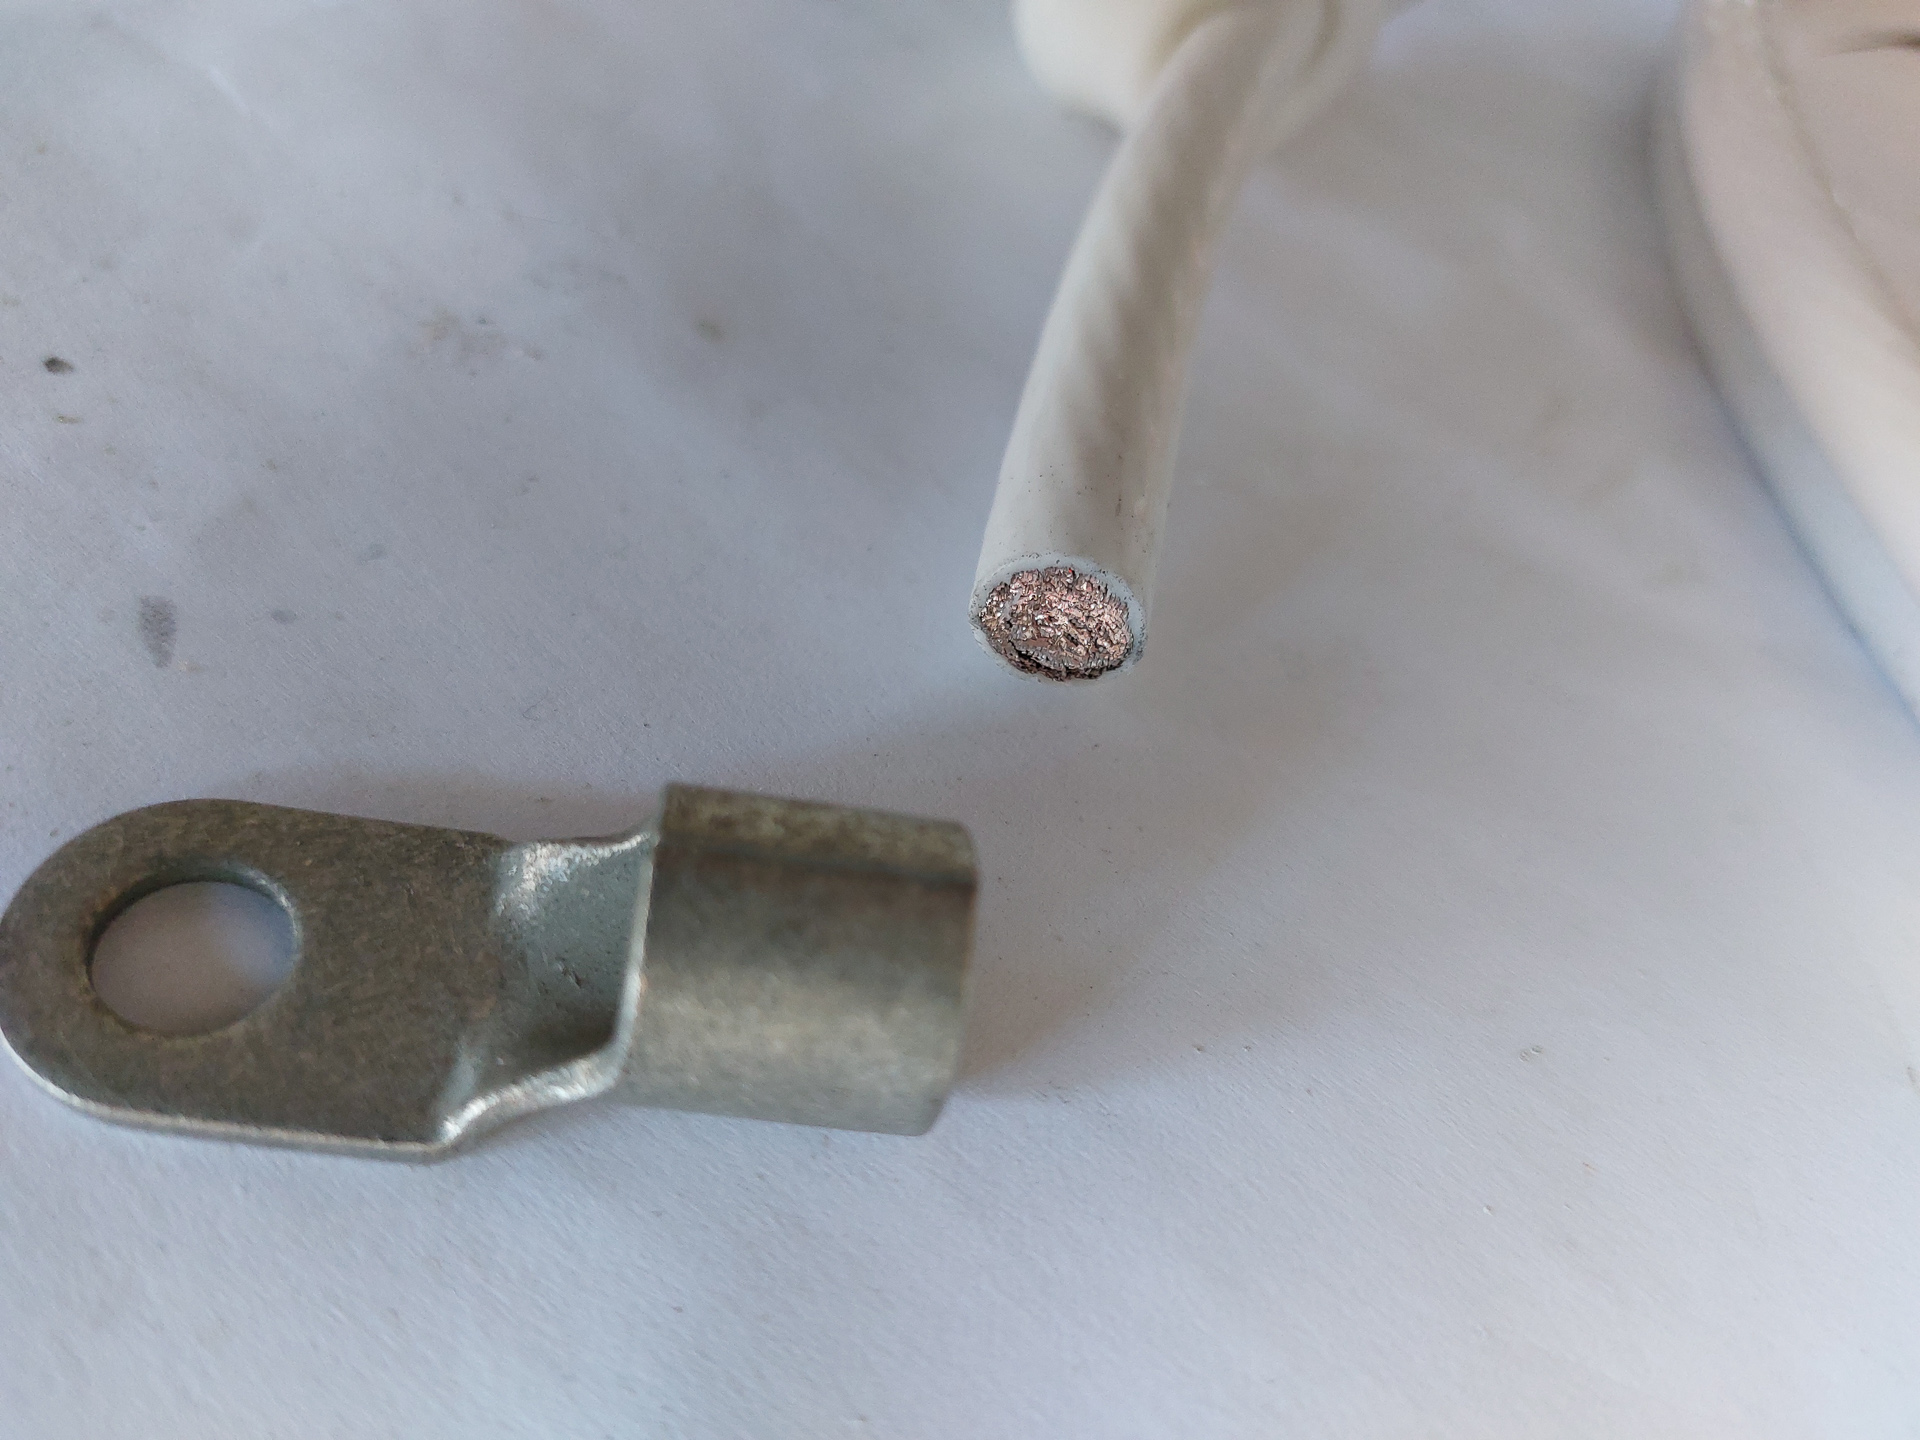
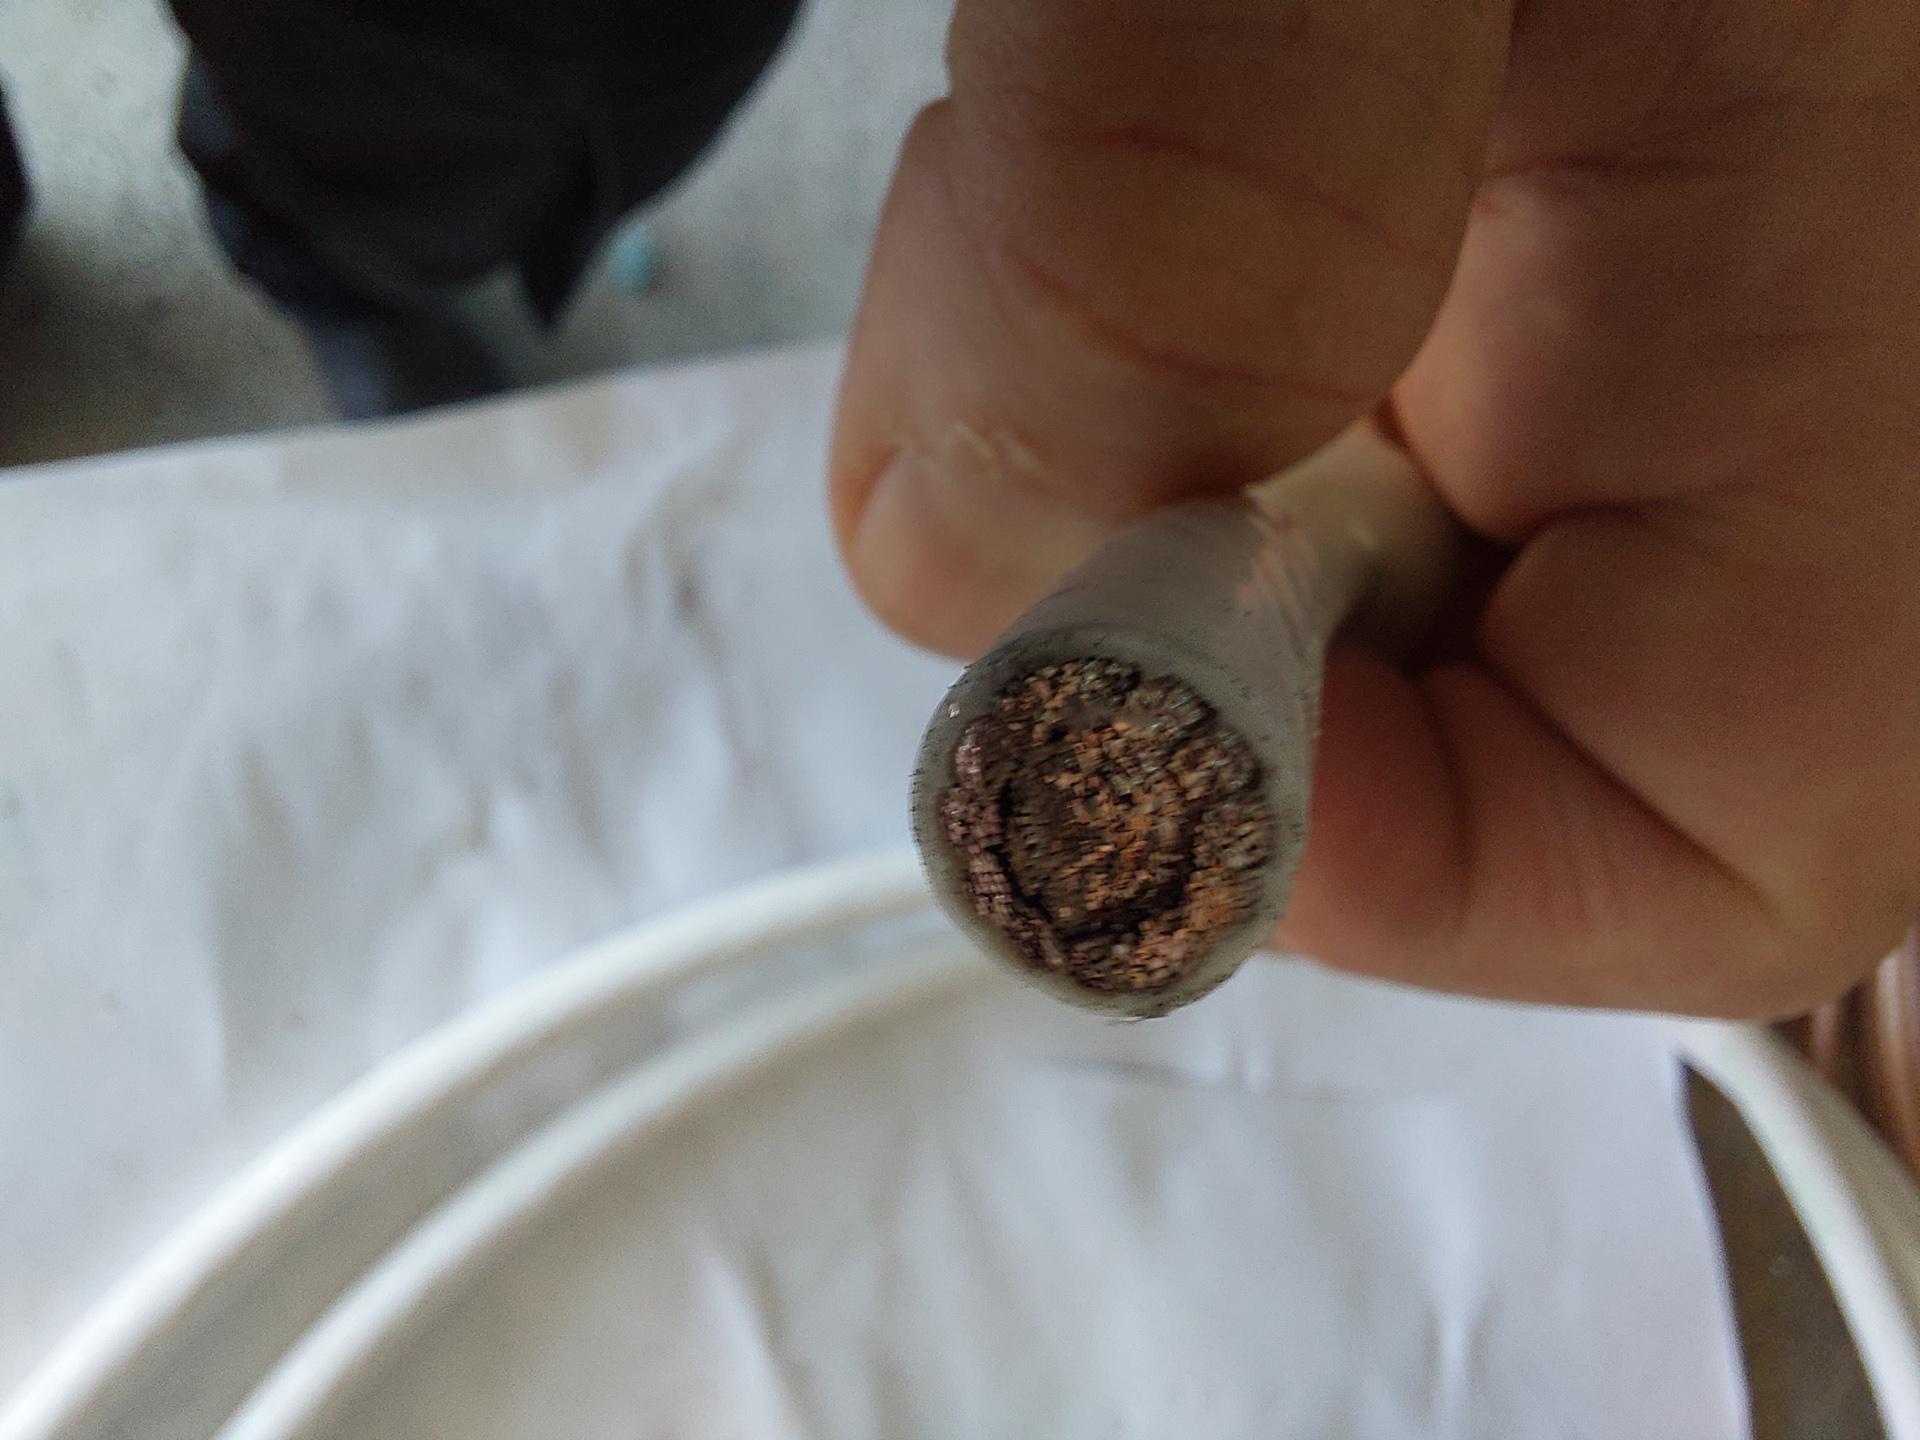
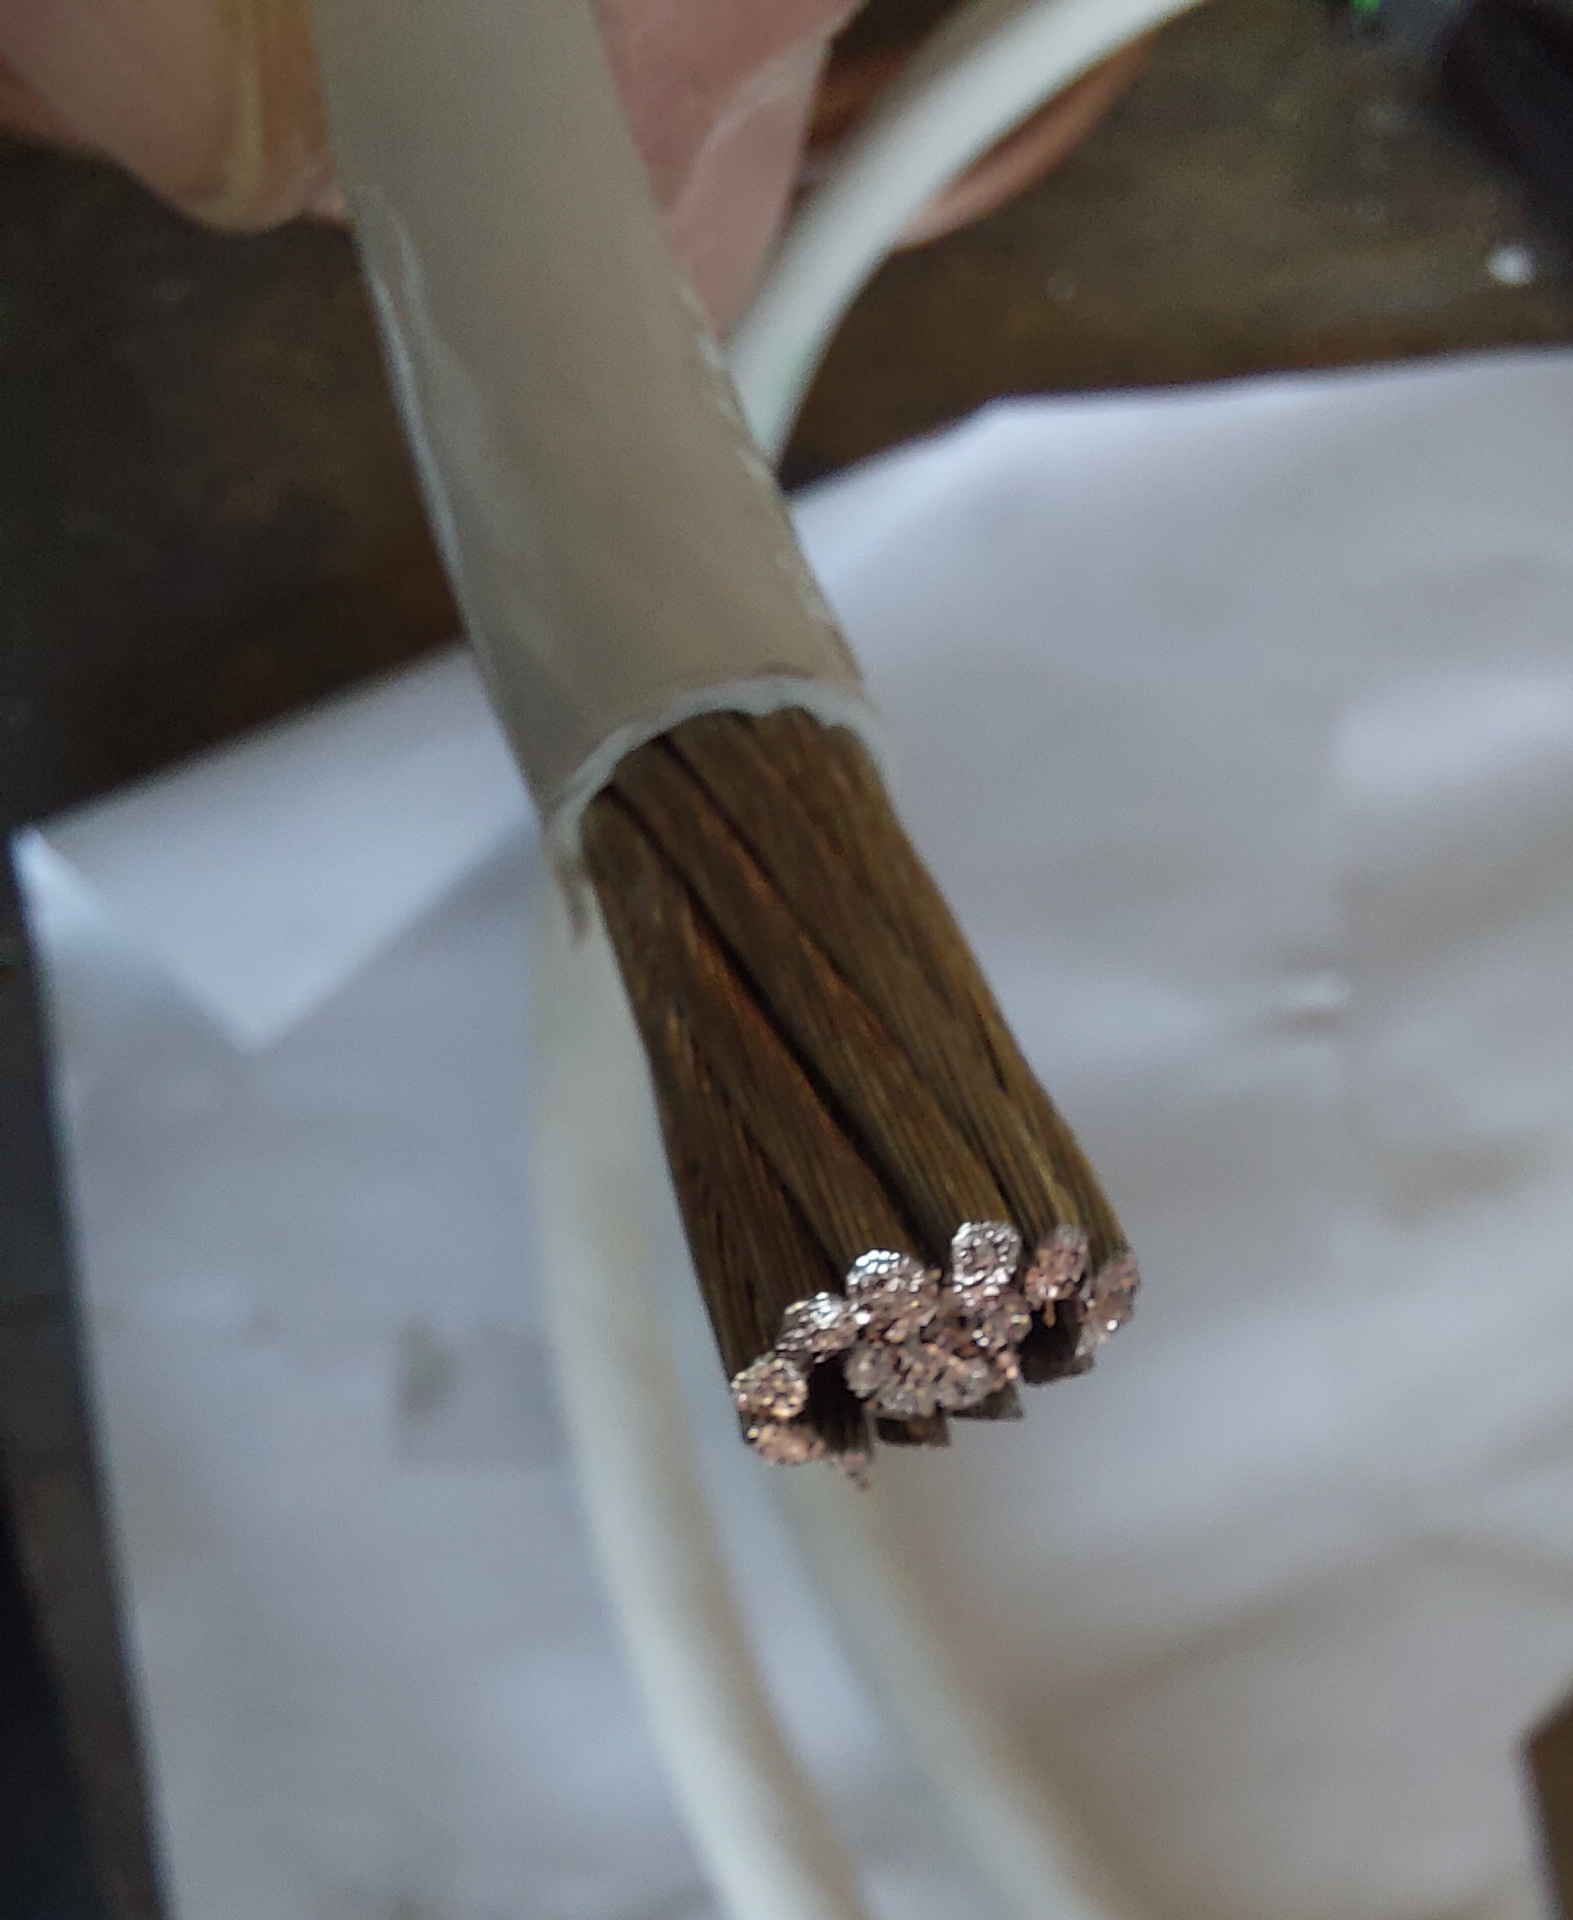
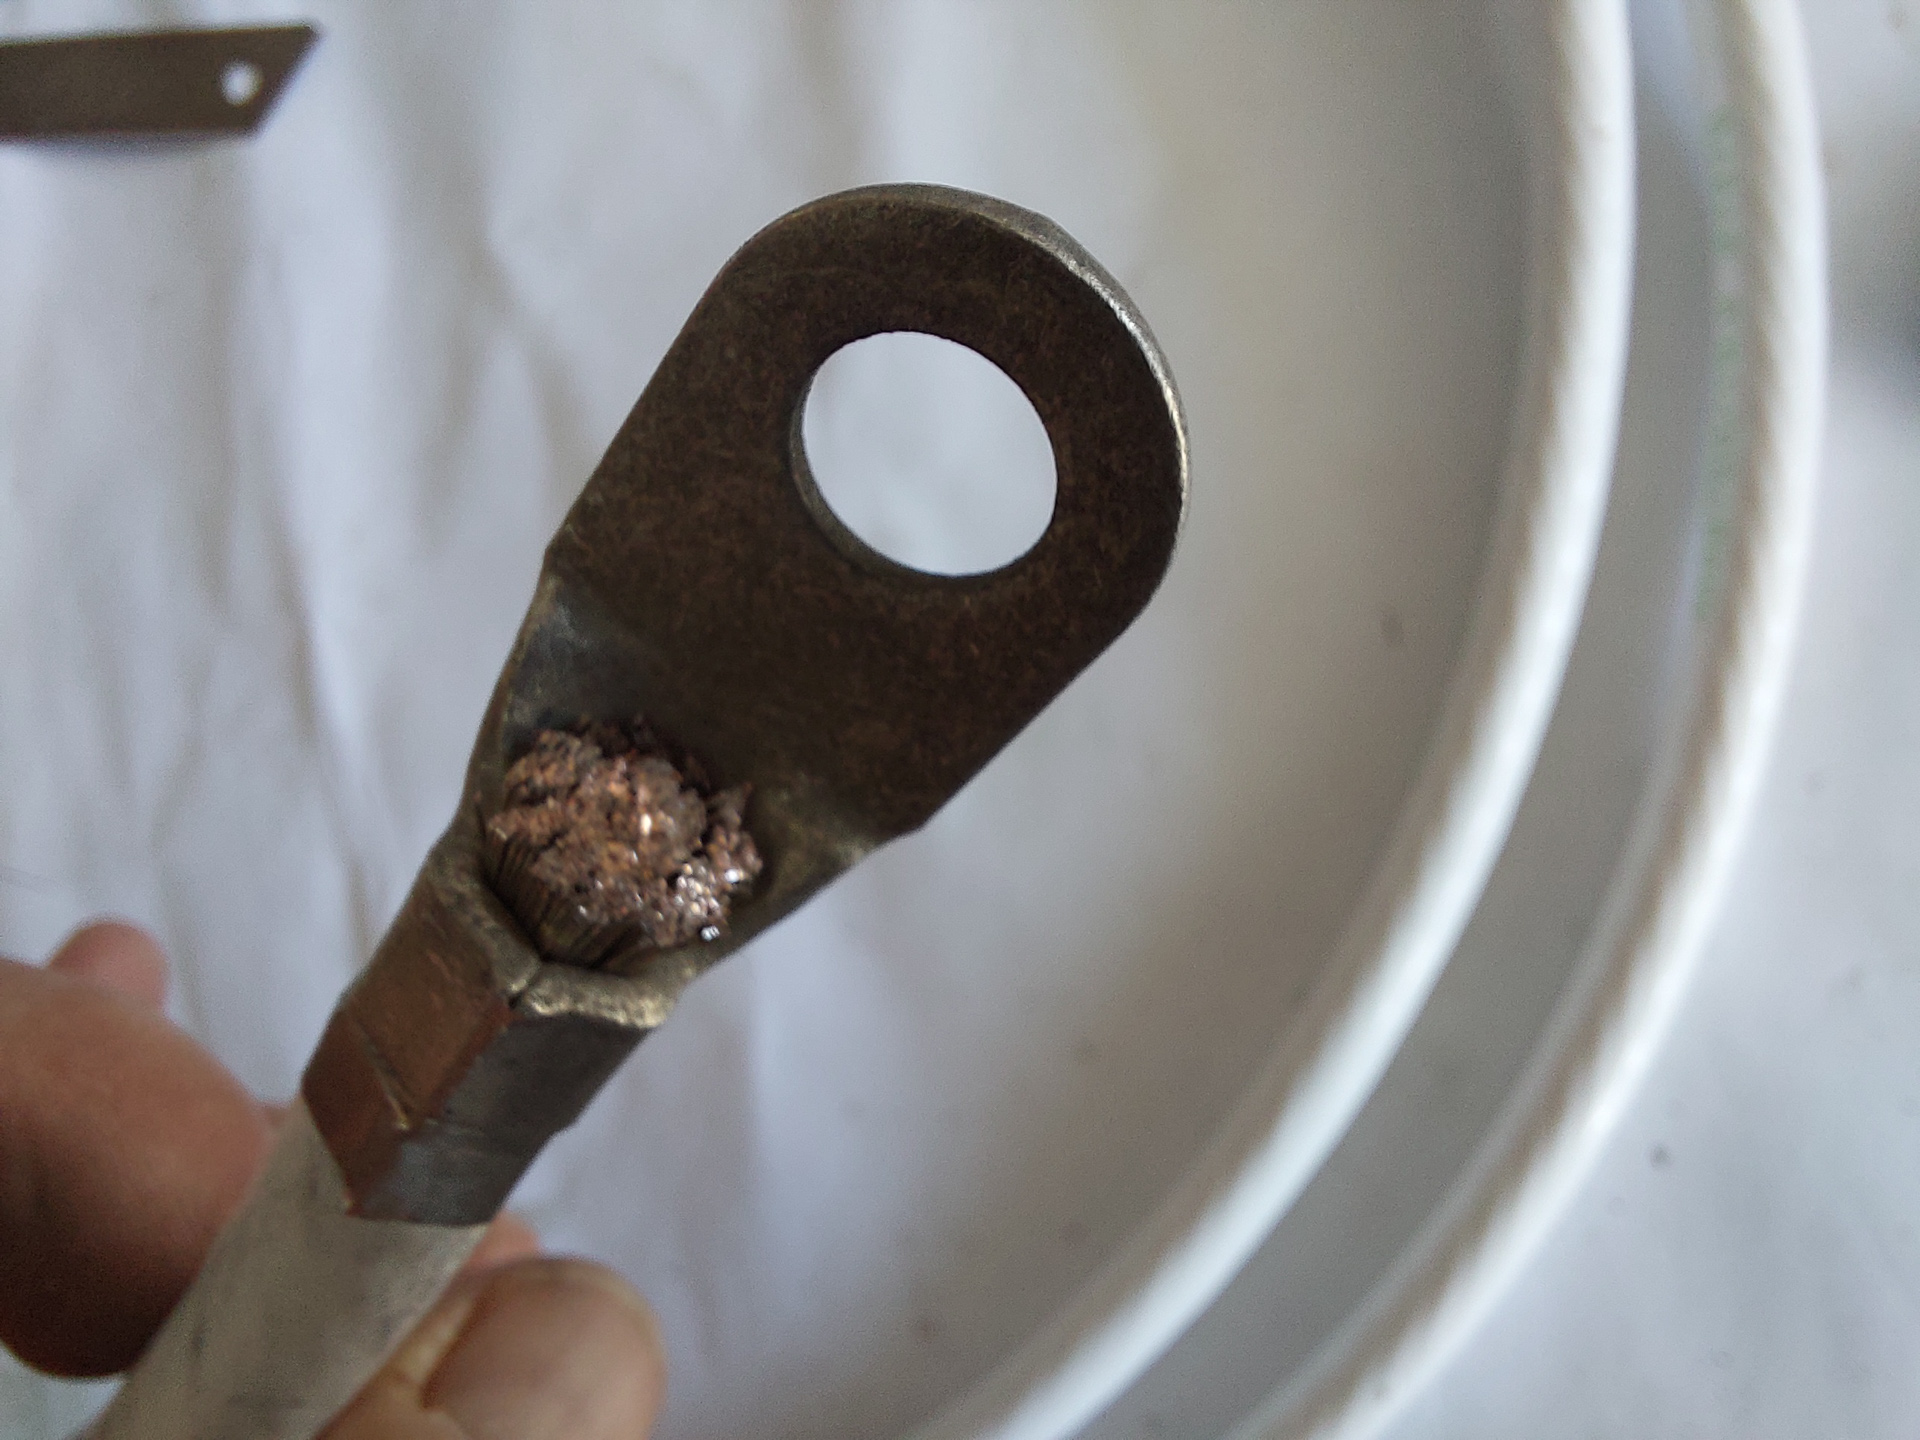
The cable has some inner woven cables which in themselves are woven and twisted together.
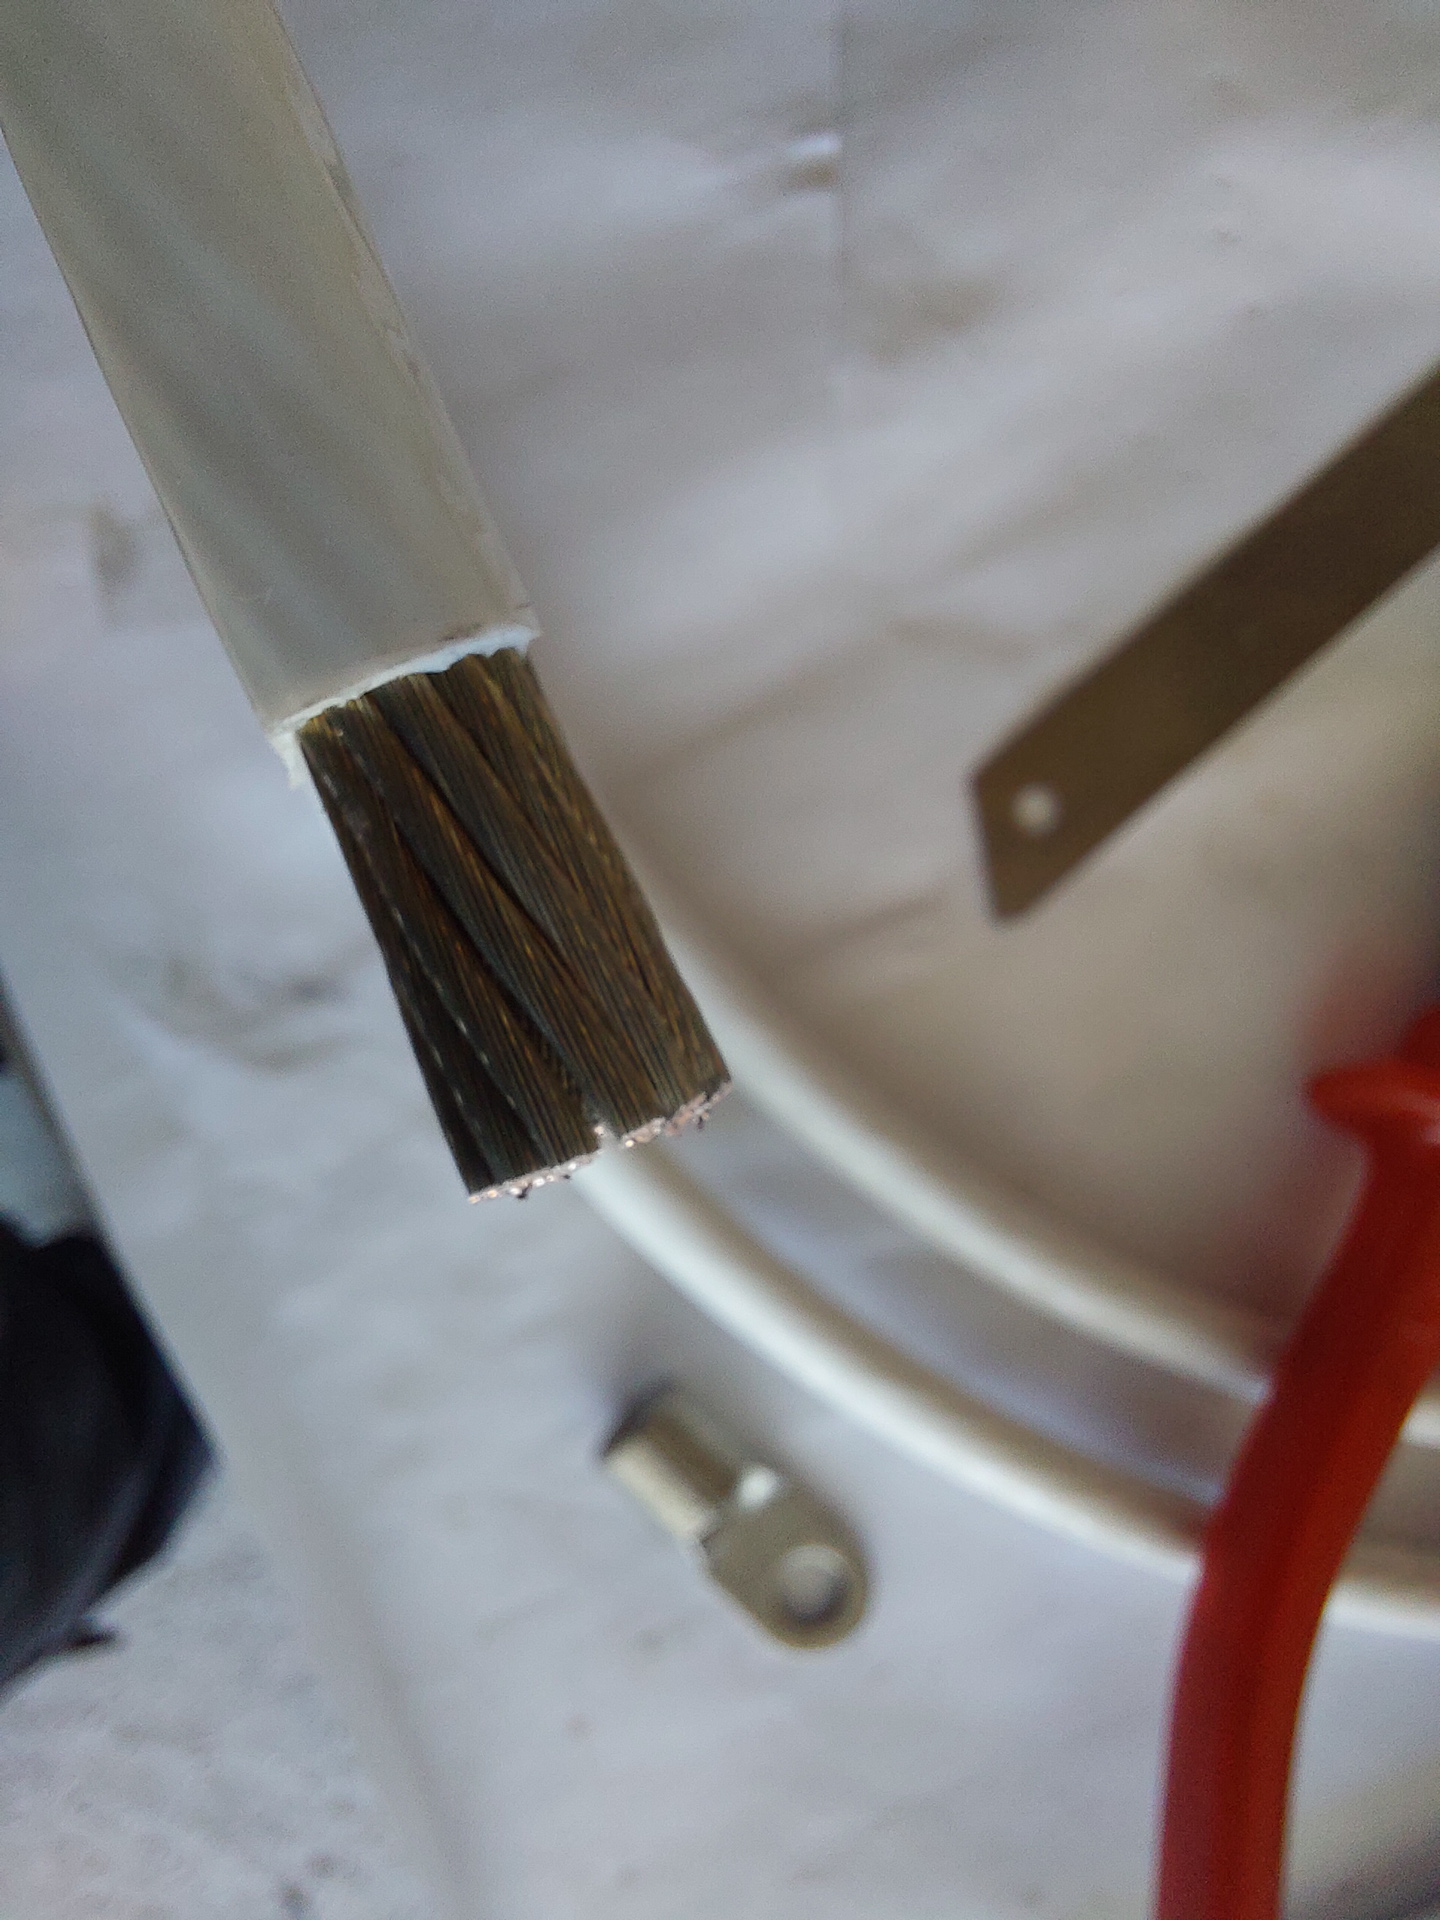
Here 's what is looks like when cutting of the shielding with a razor blade.
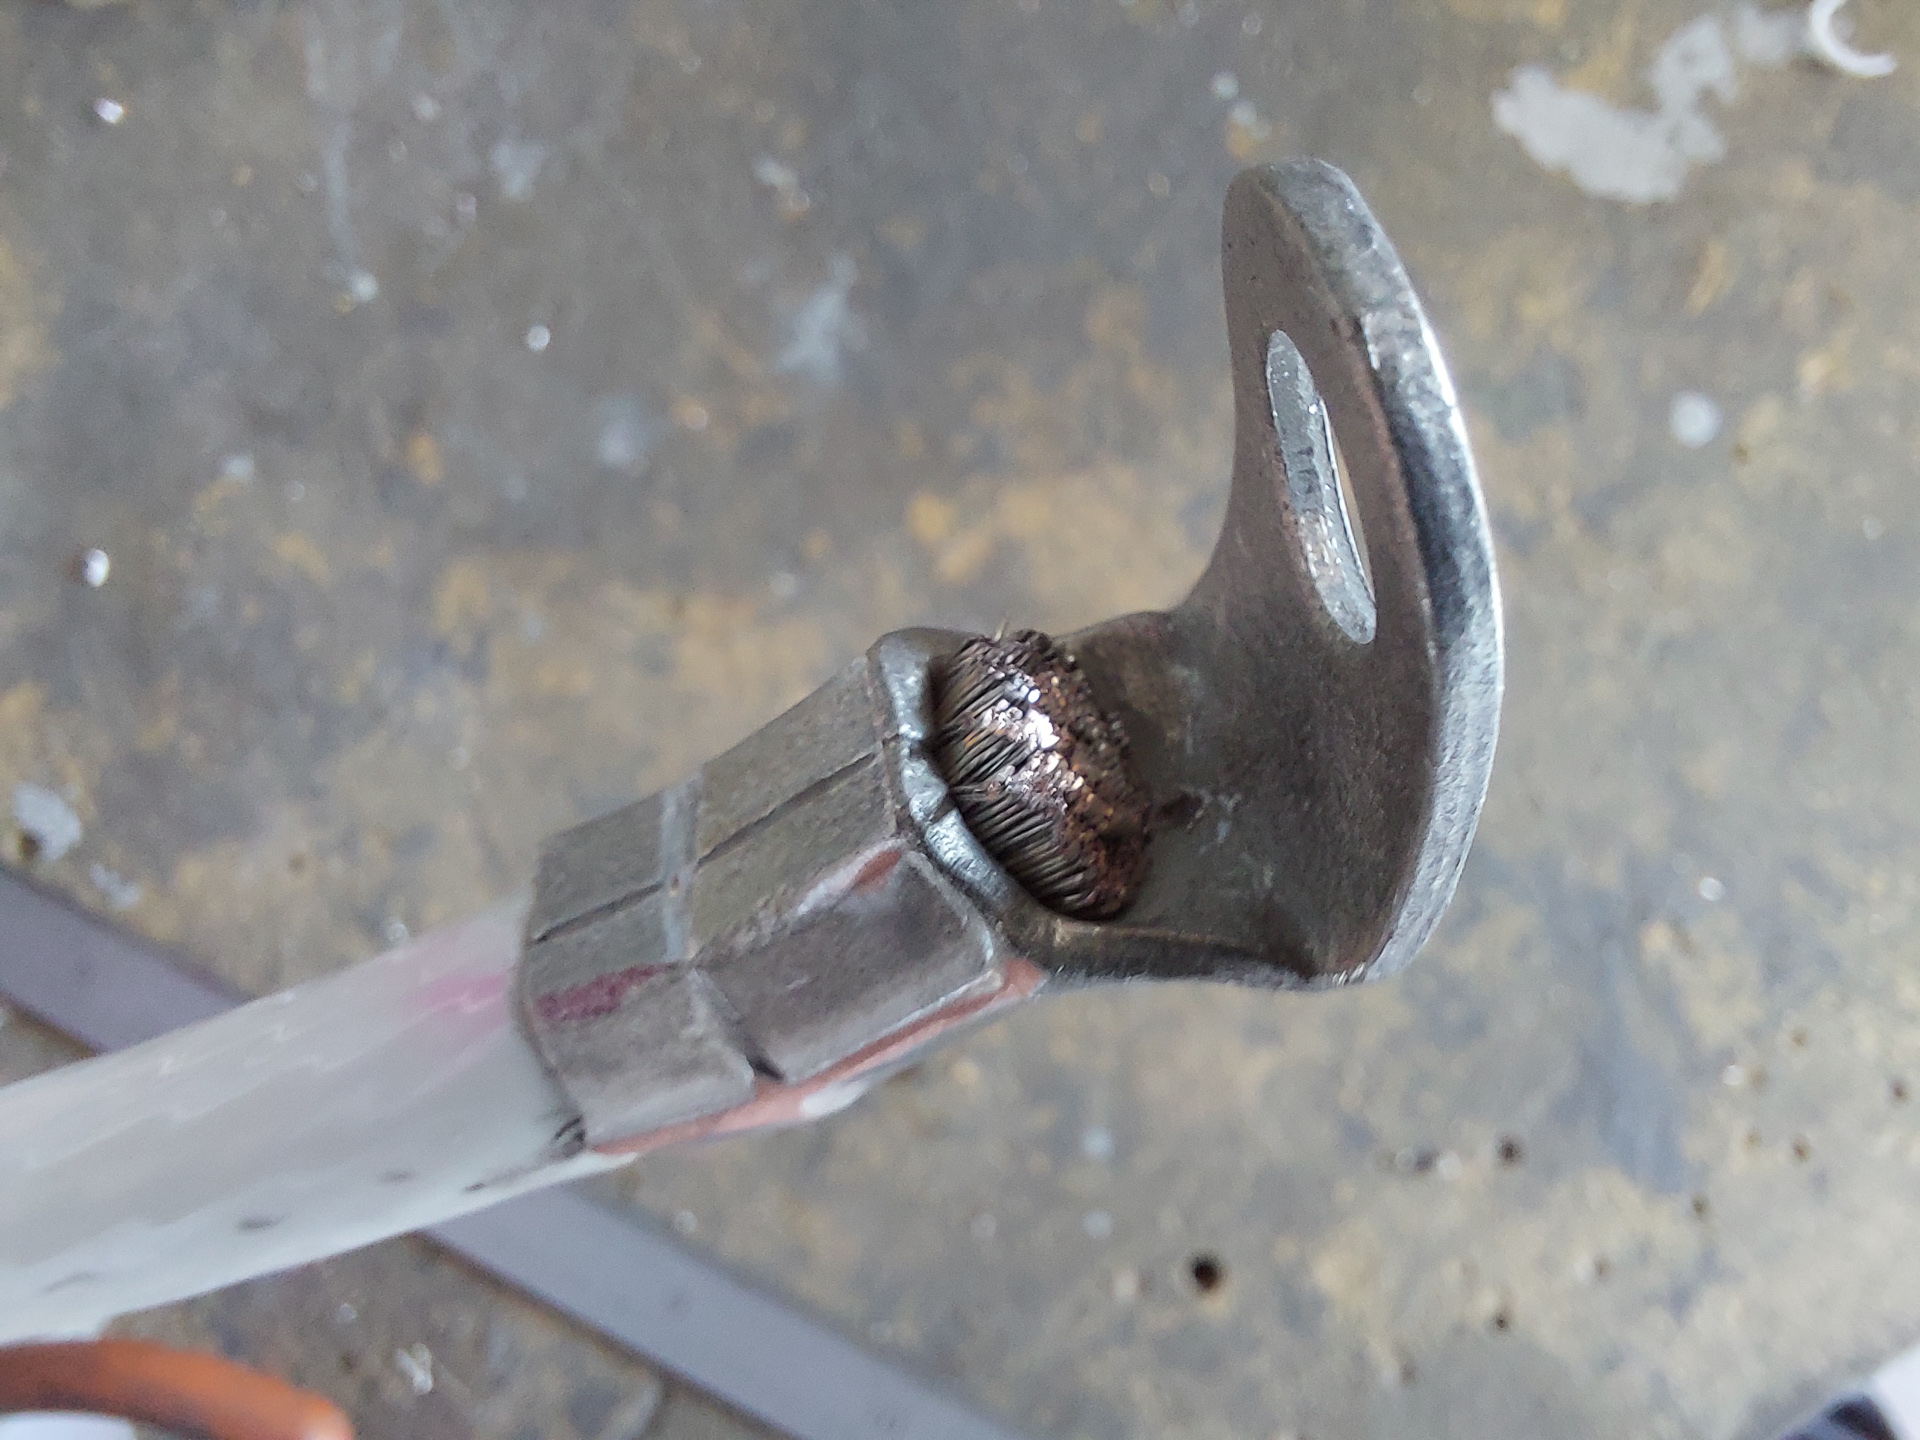
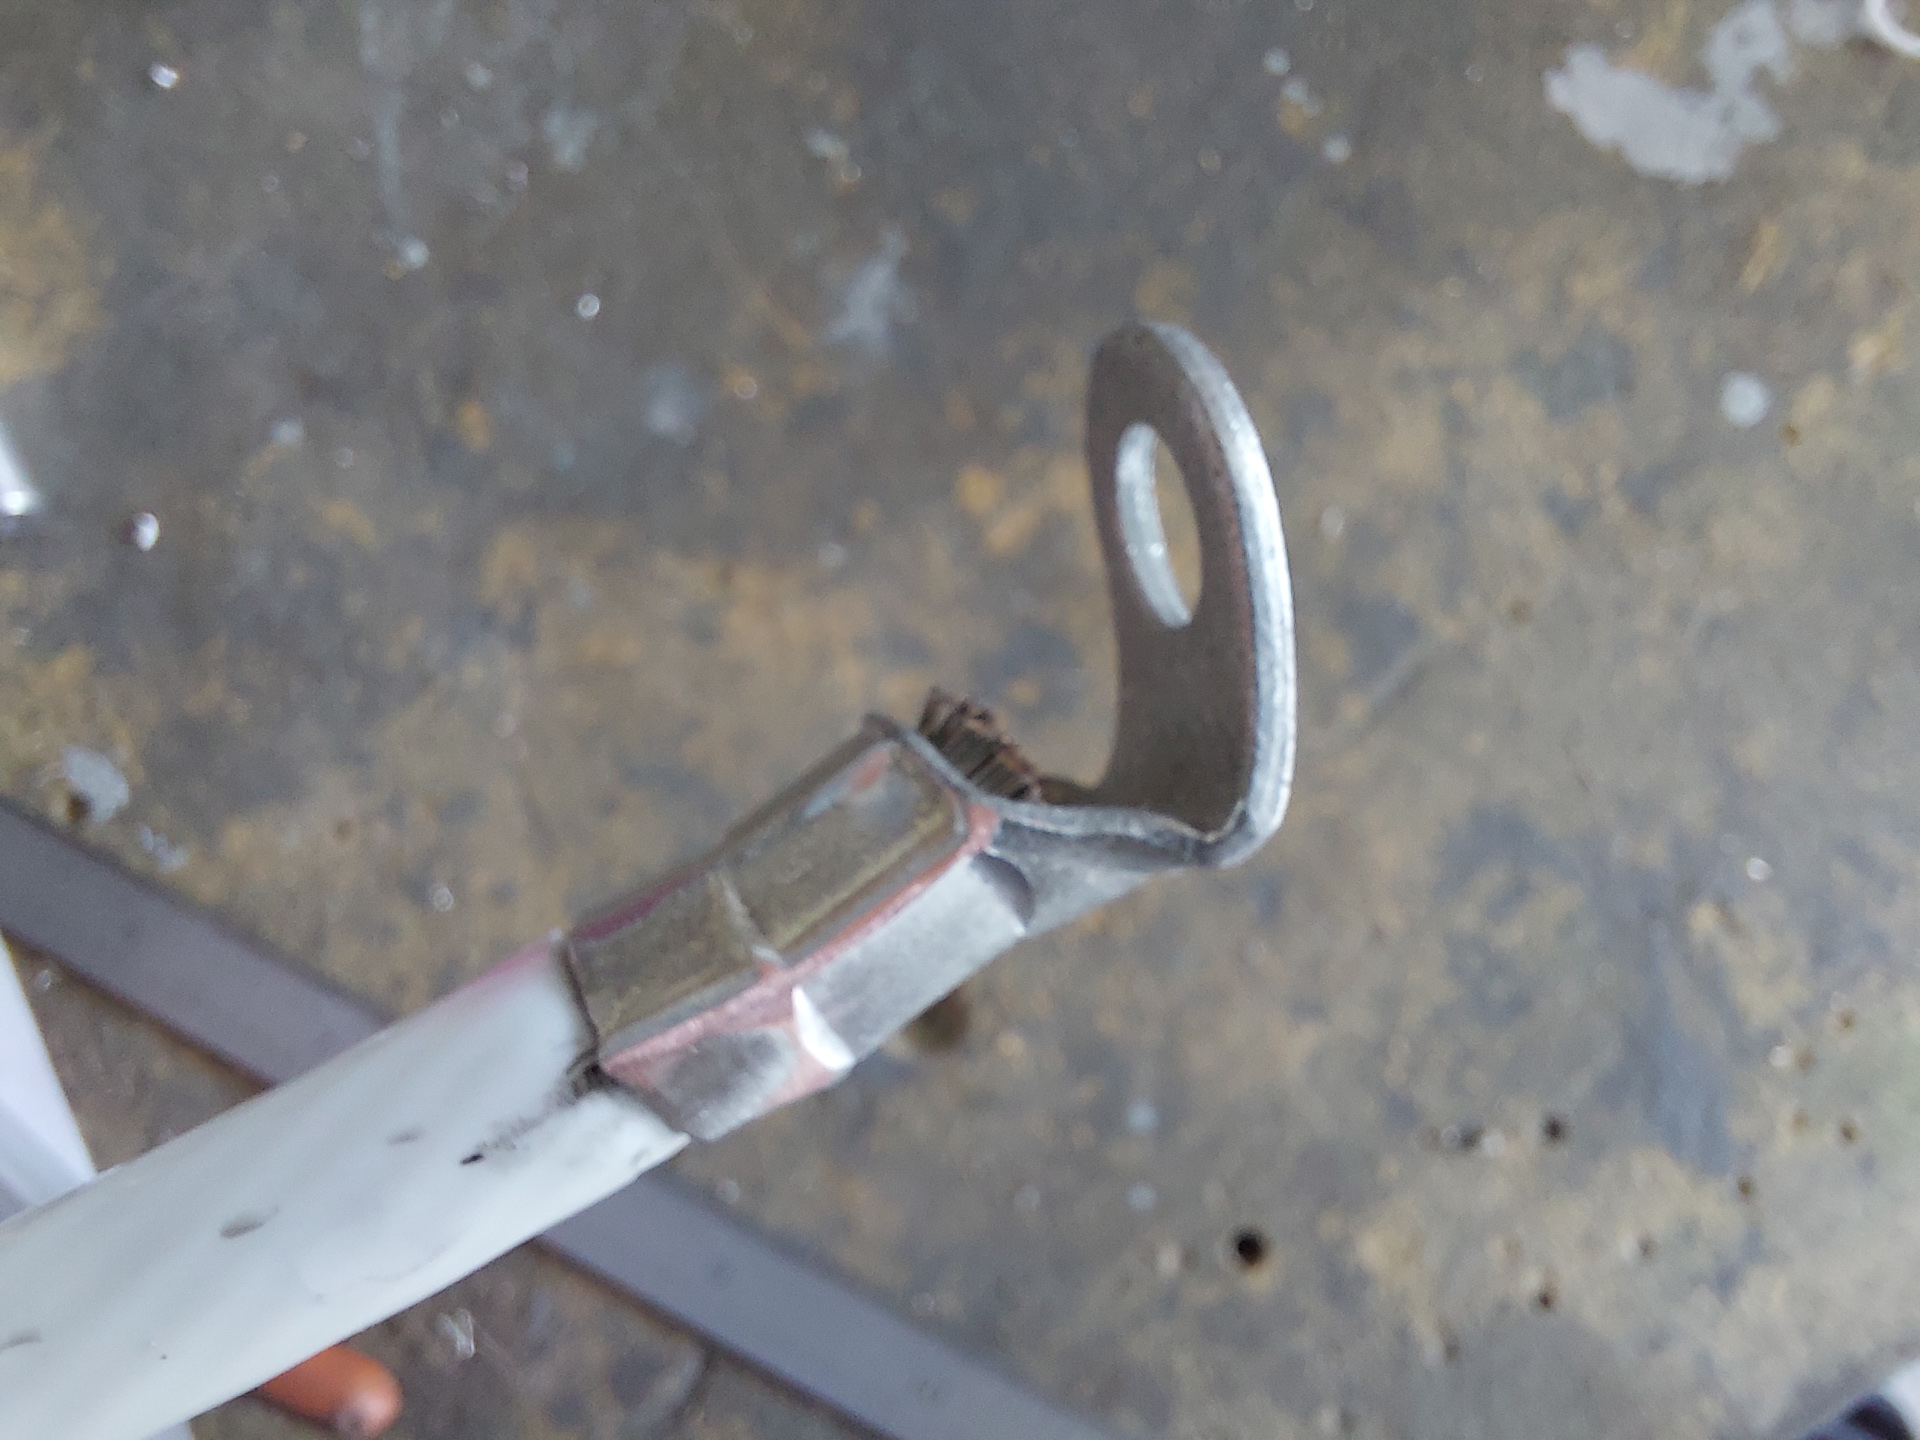
Crimping the cable on with the right tool is actually very very easy and a no brainer. Just slide on the connector, eventually already bent in the right angle and start crimping with the pneumatic tool using the correct crimp set until it bottoms out
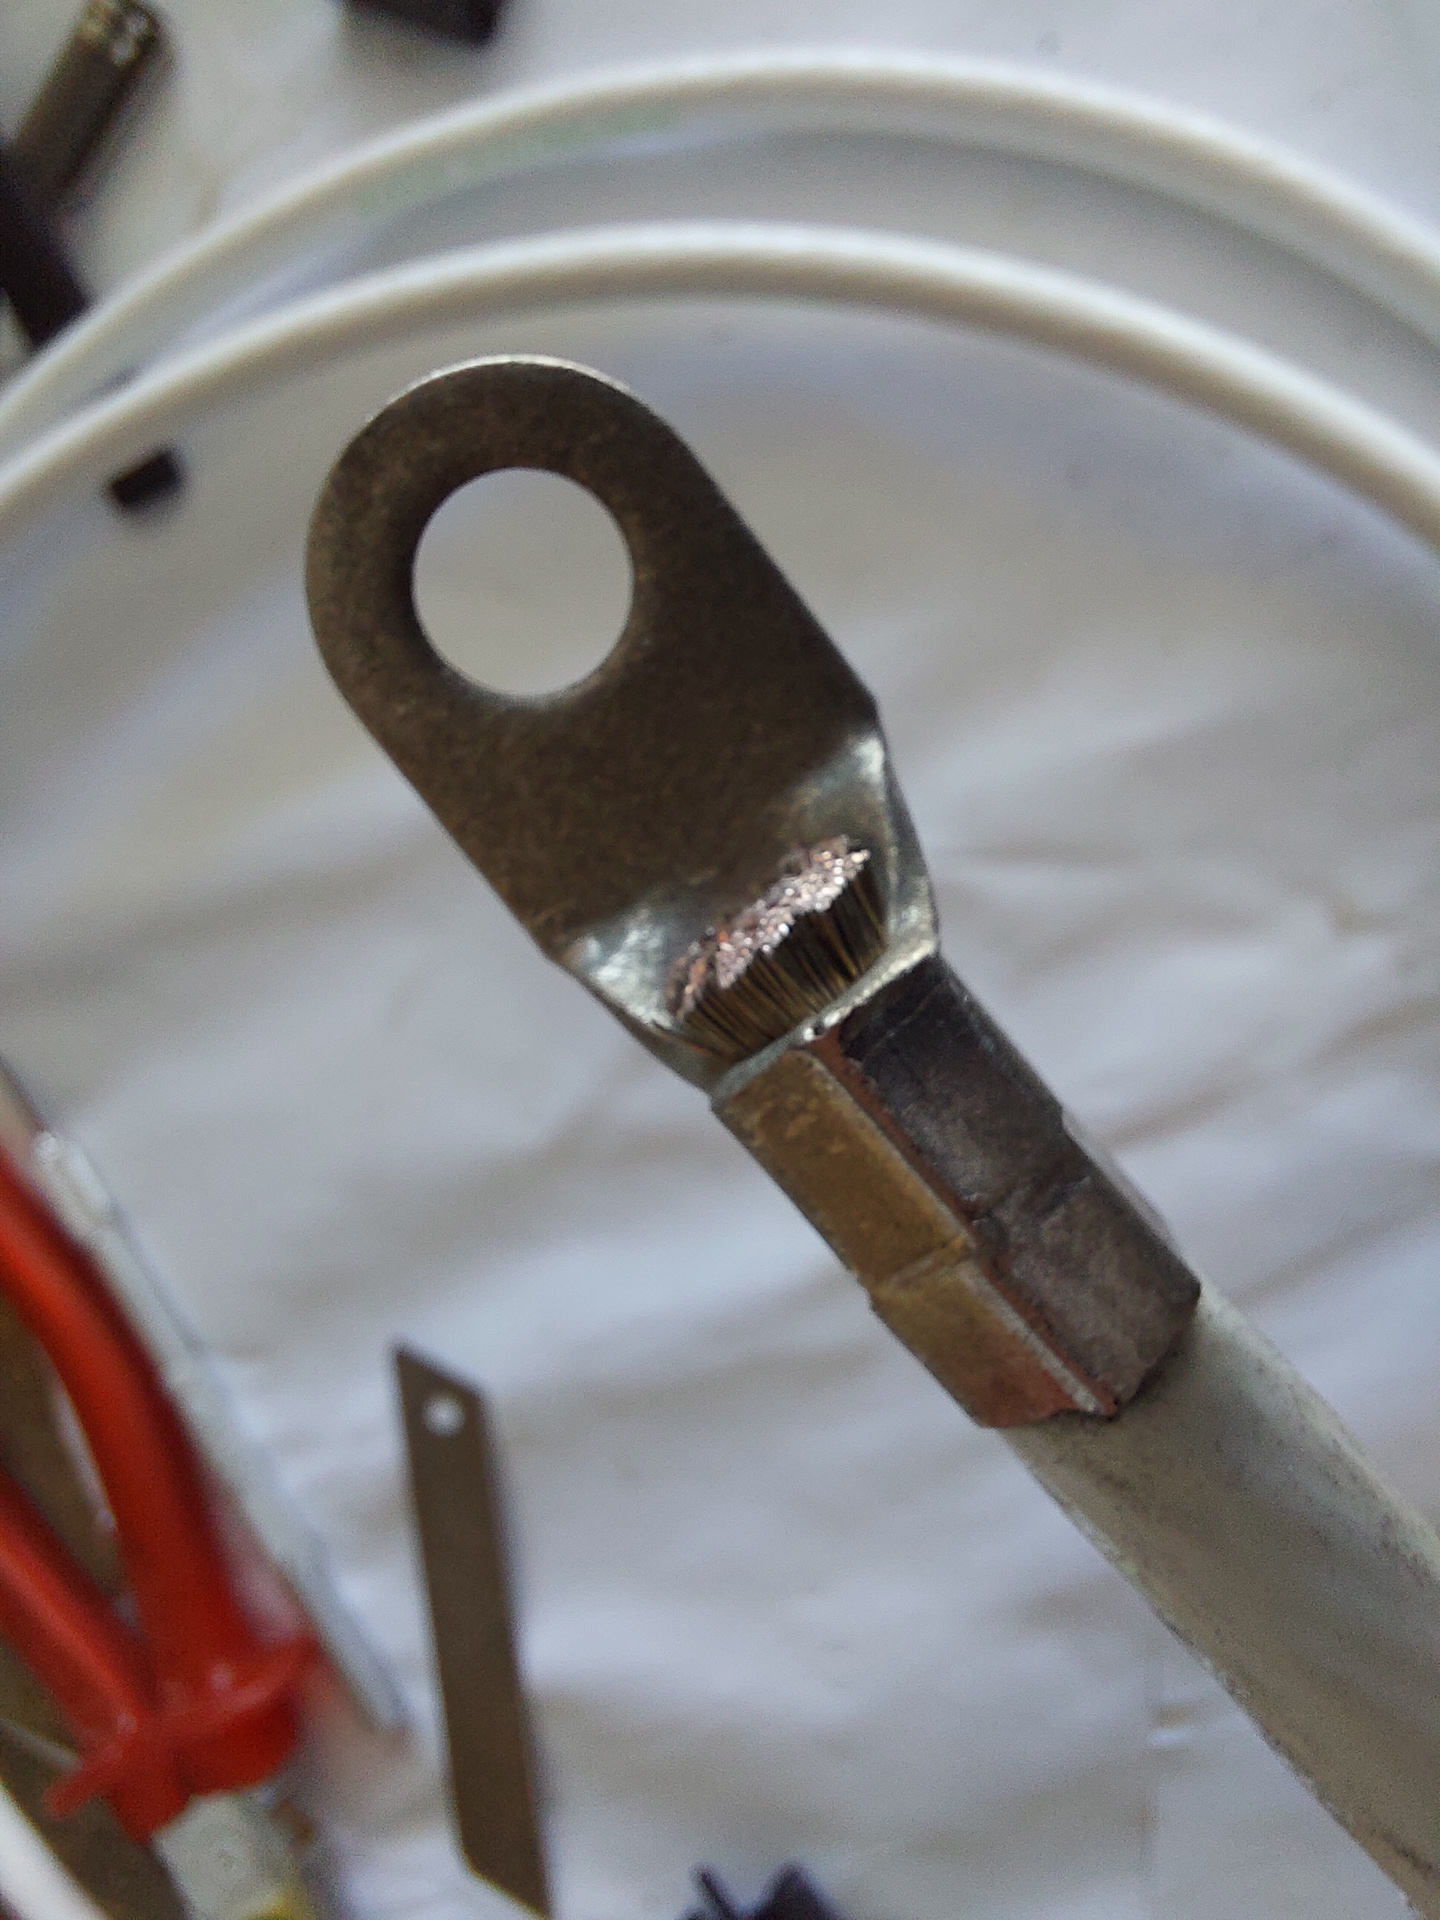
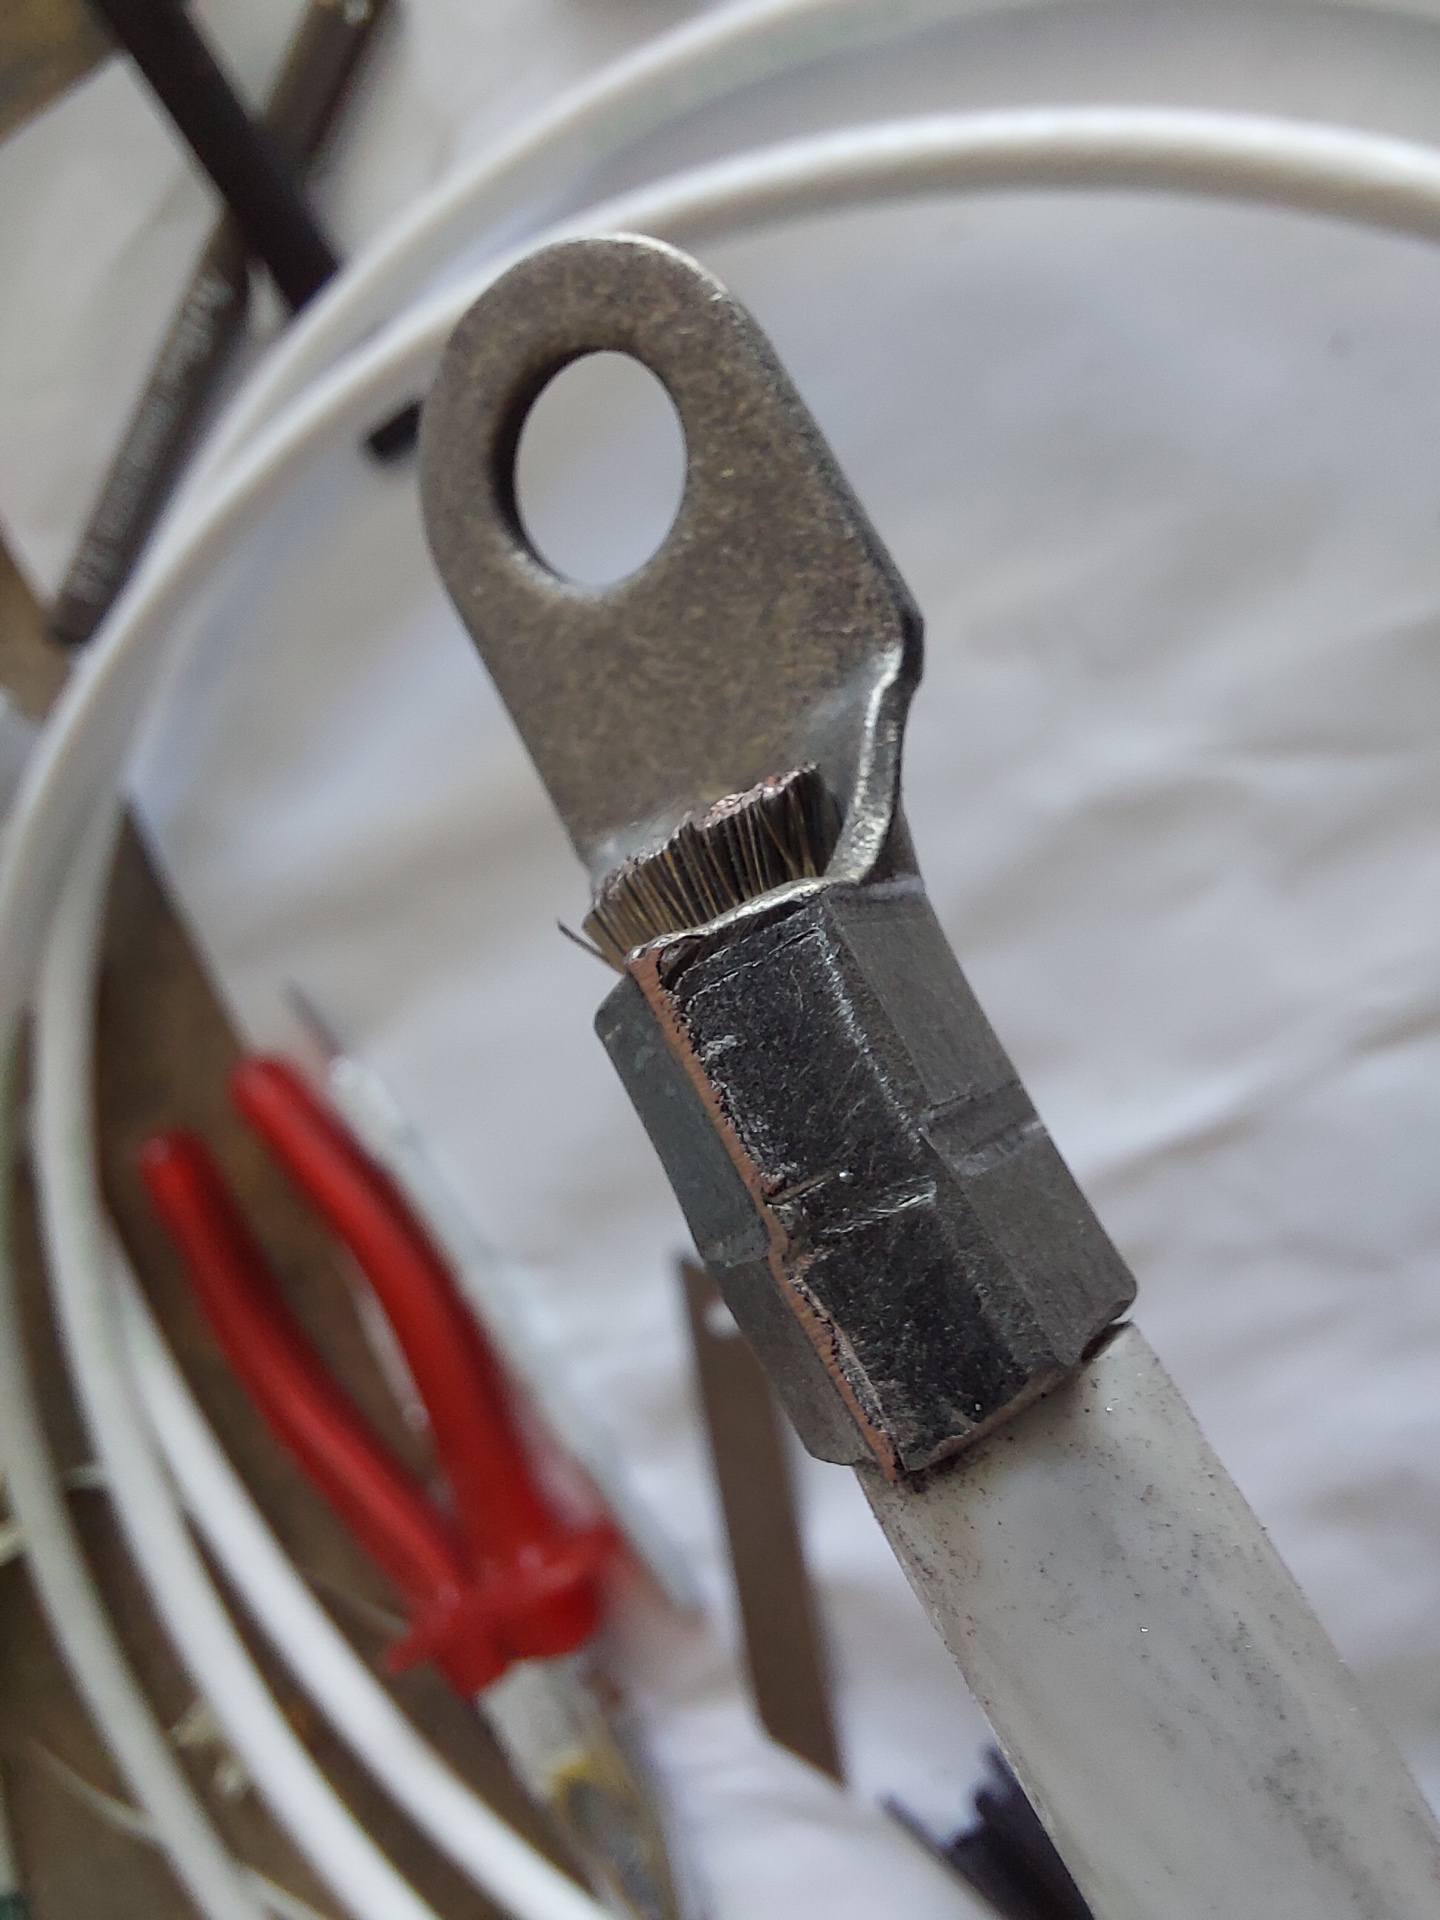
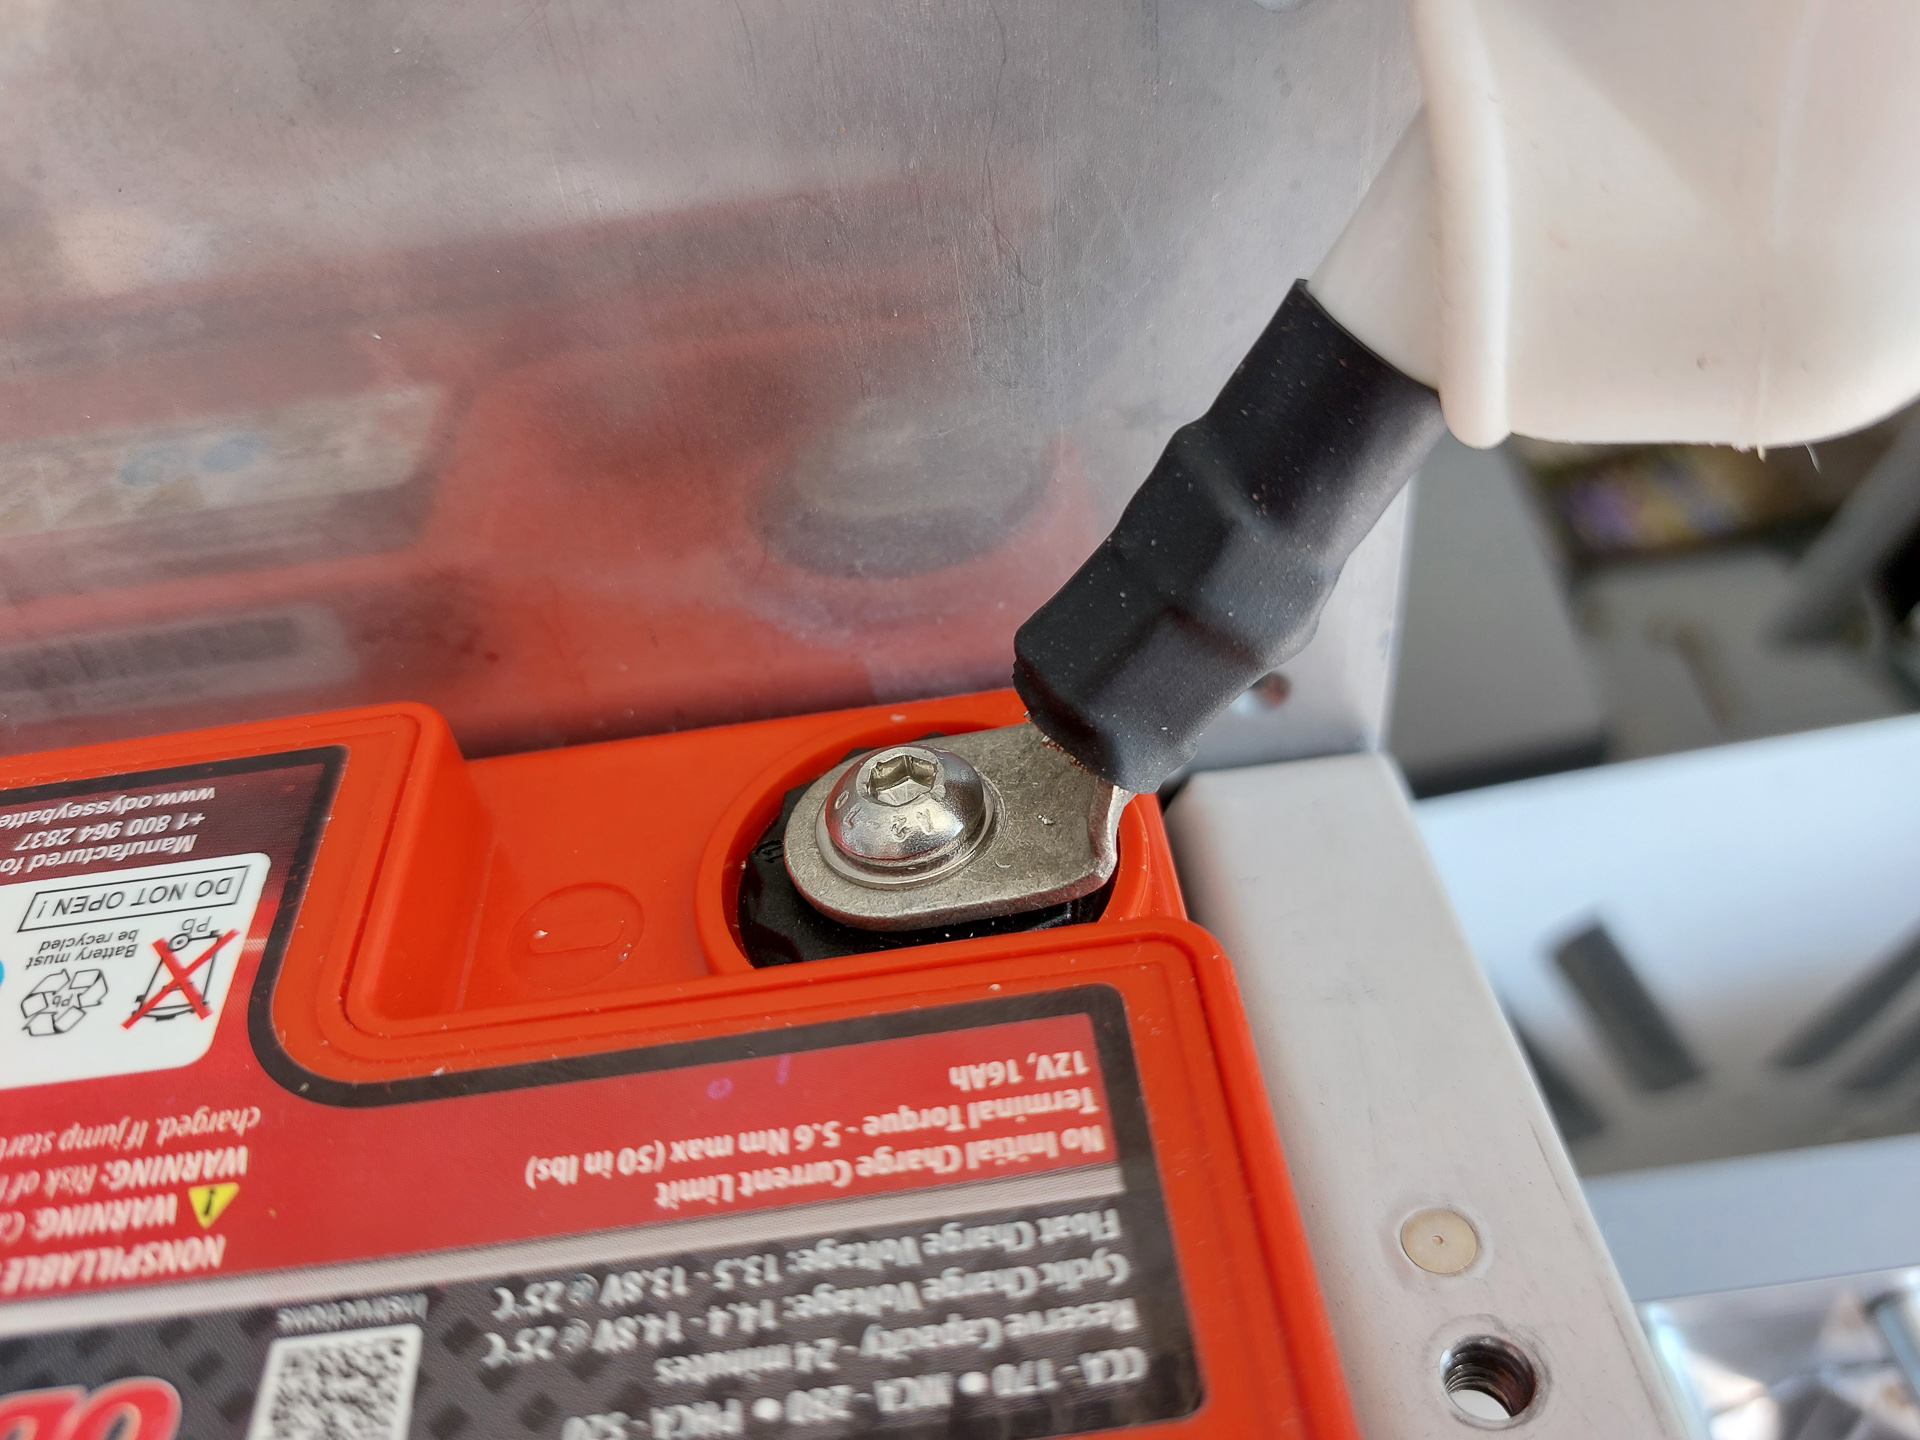
My installation required me to bend the connector 45degrees for easy installation on the negative pole of the battery.
It's very important that you pay attention to the orientation of the connectors before you start crimping. These stiff wires won't bend themselves anyway you want. The connector angle has to be checked upfront.
Also don't forget your shrink tube before crimping.
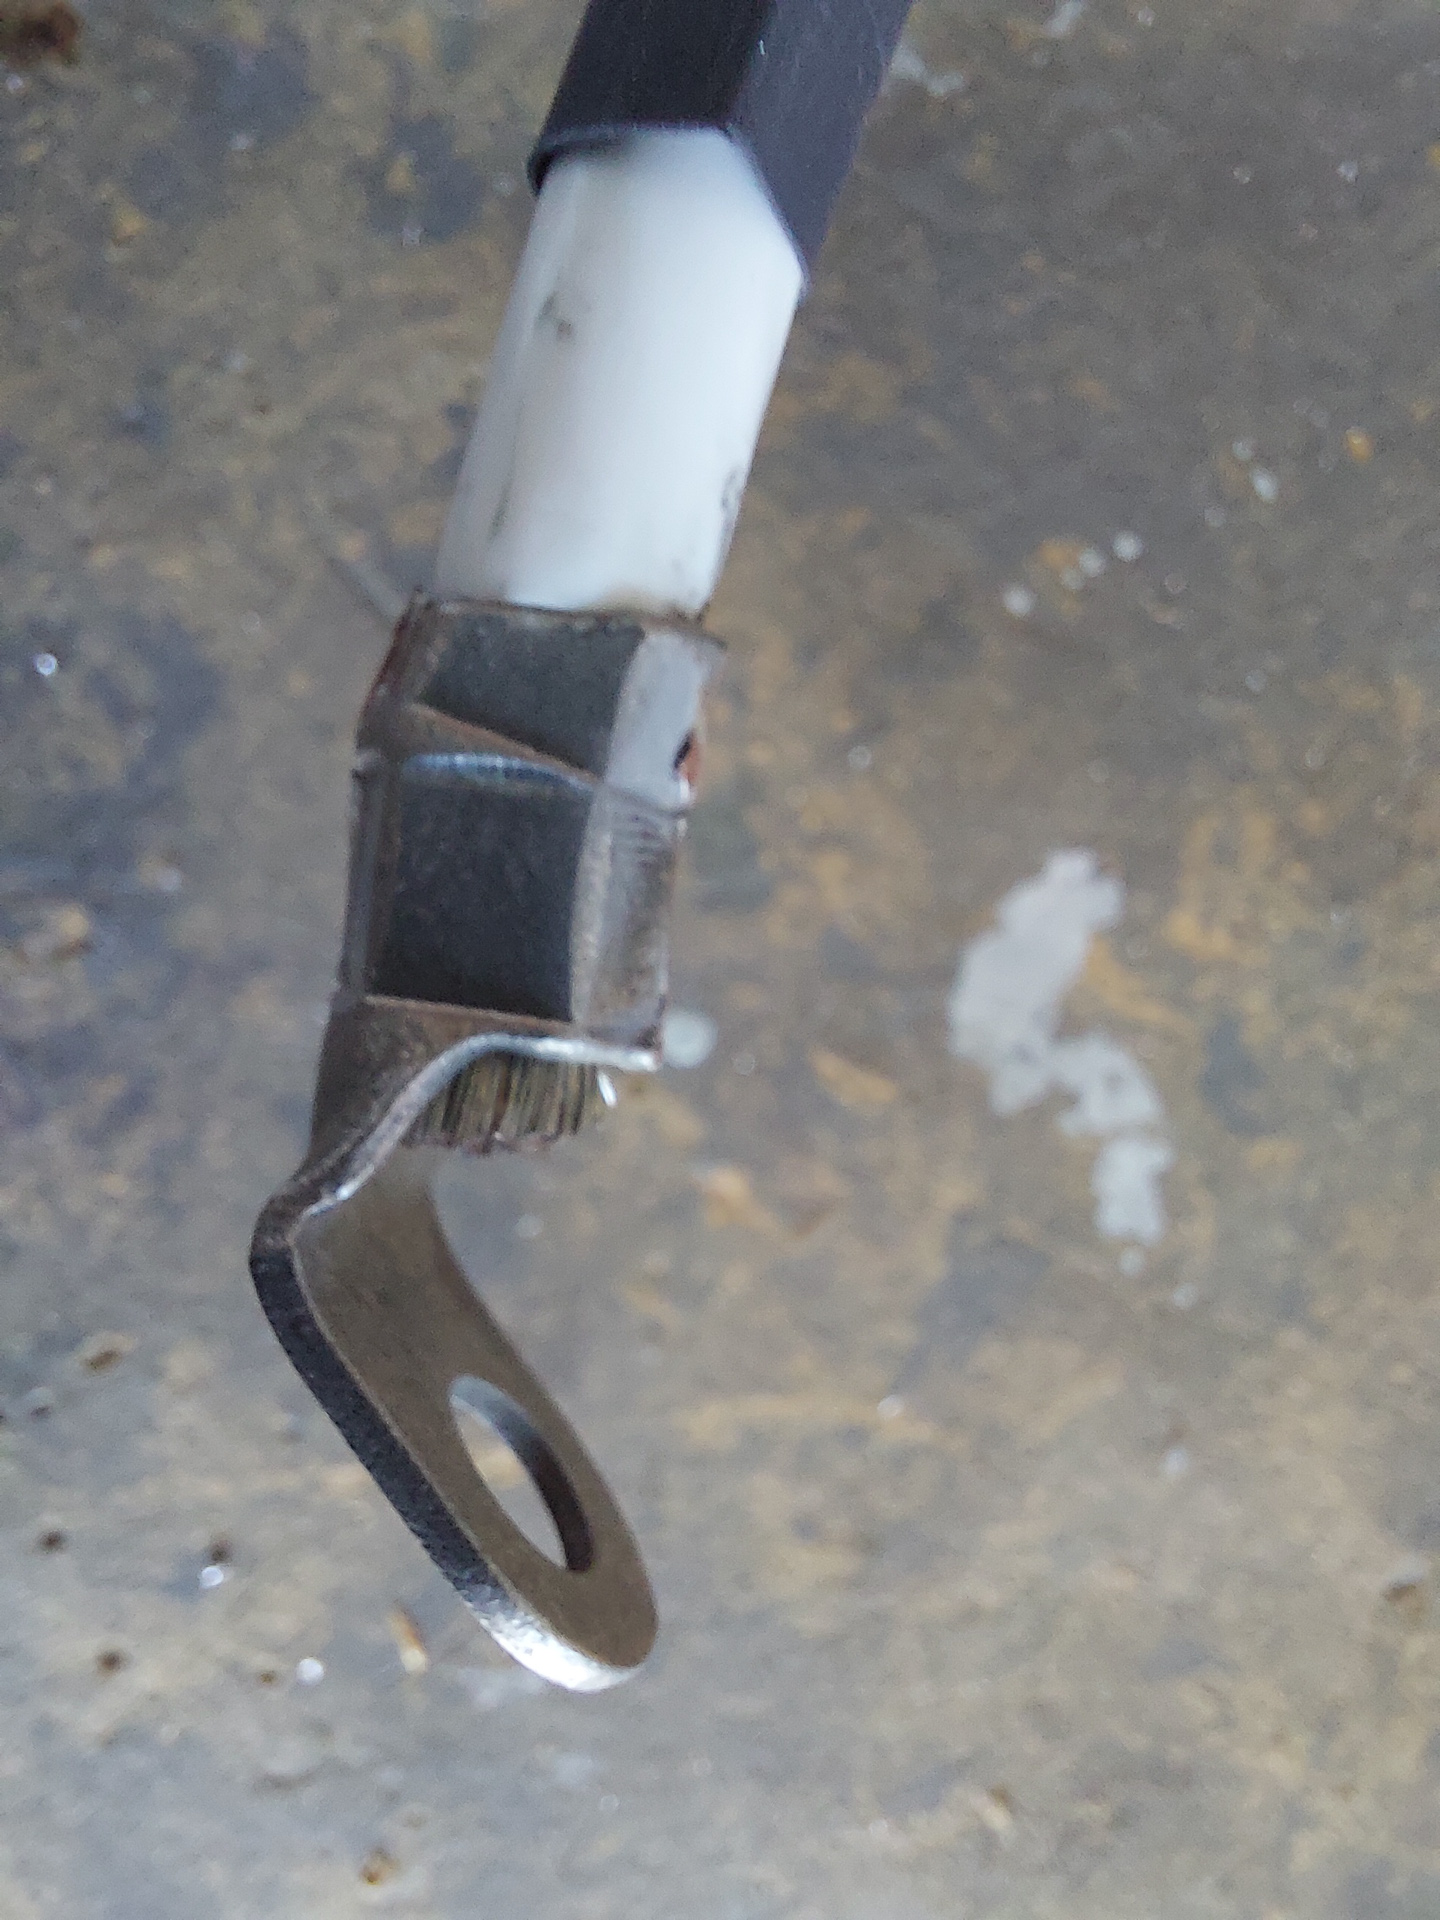
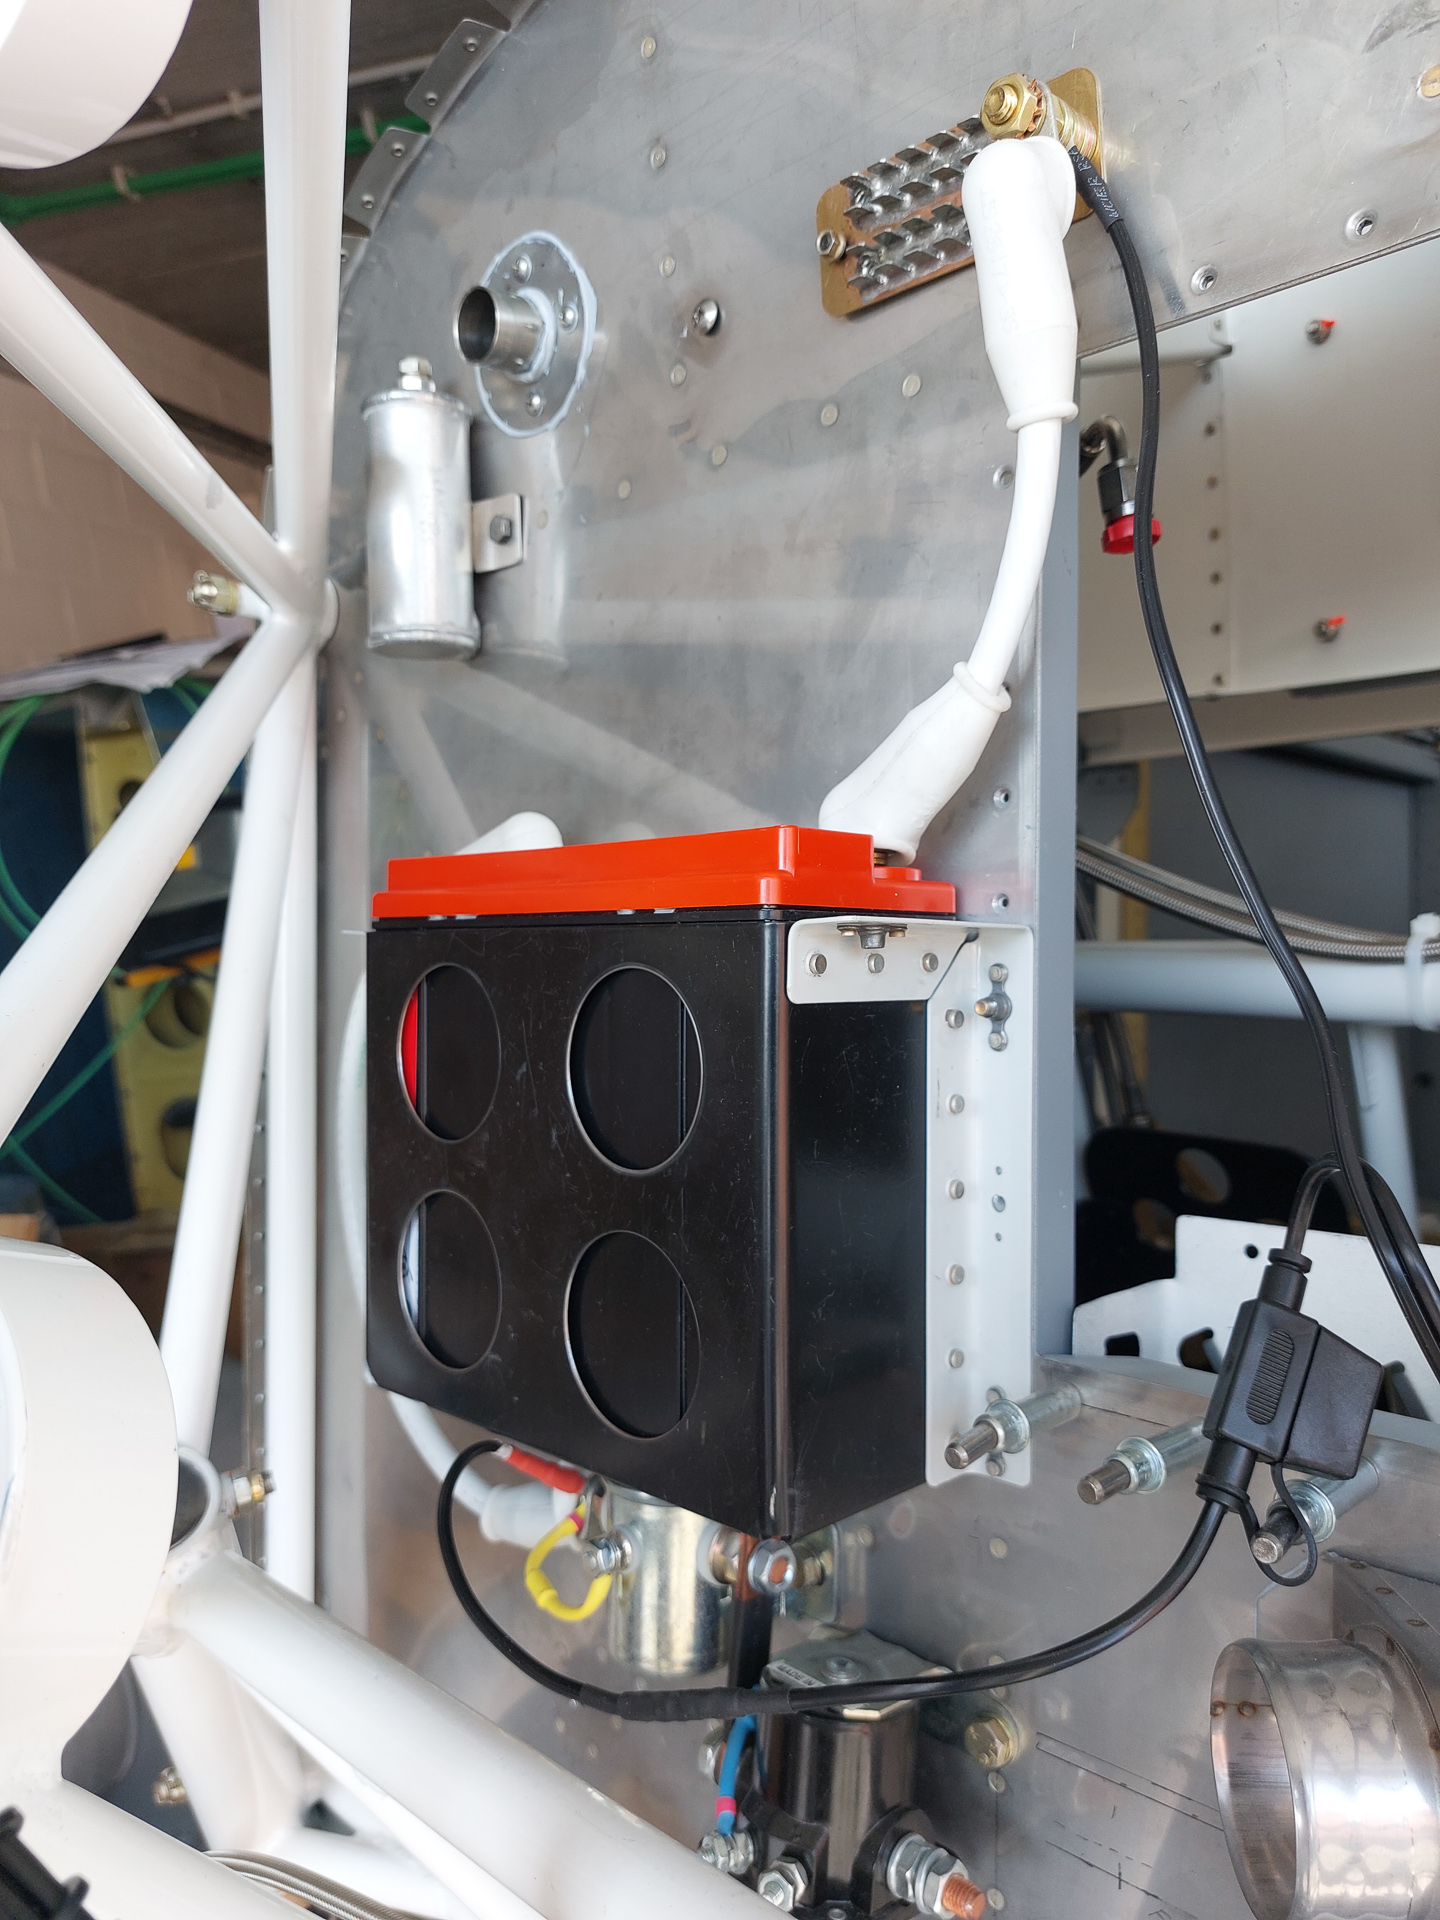
With the ground cable ready, I installed it on the ground block firewall forward side and on the other end screwed it to the battery negative.
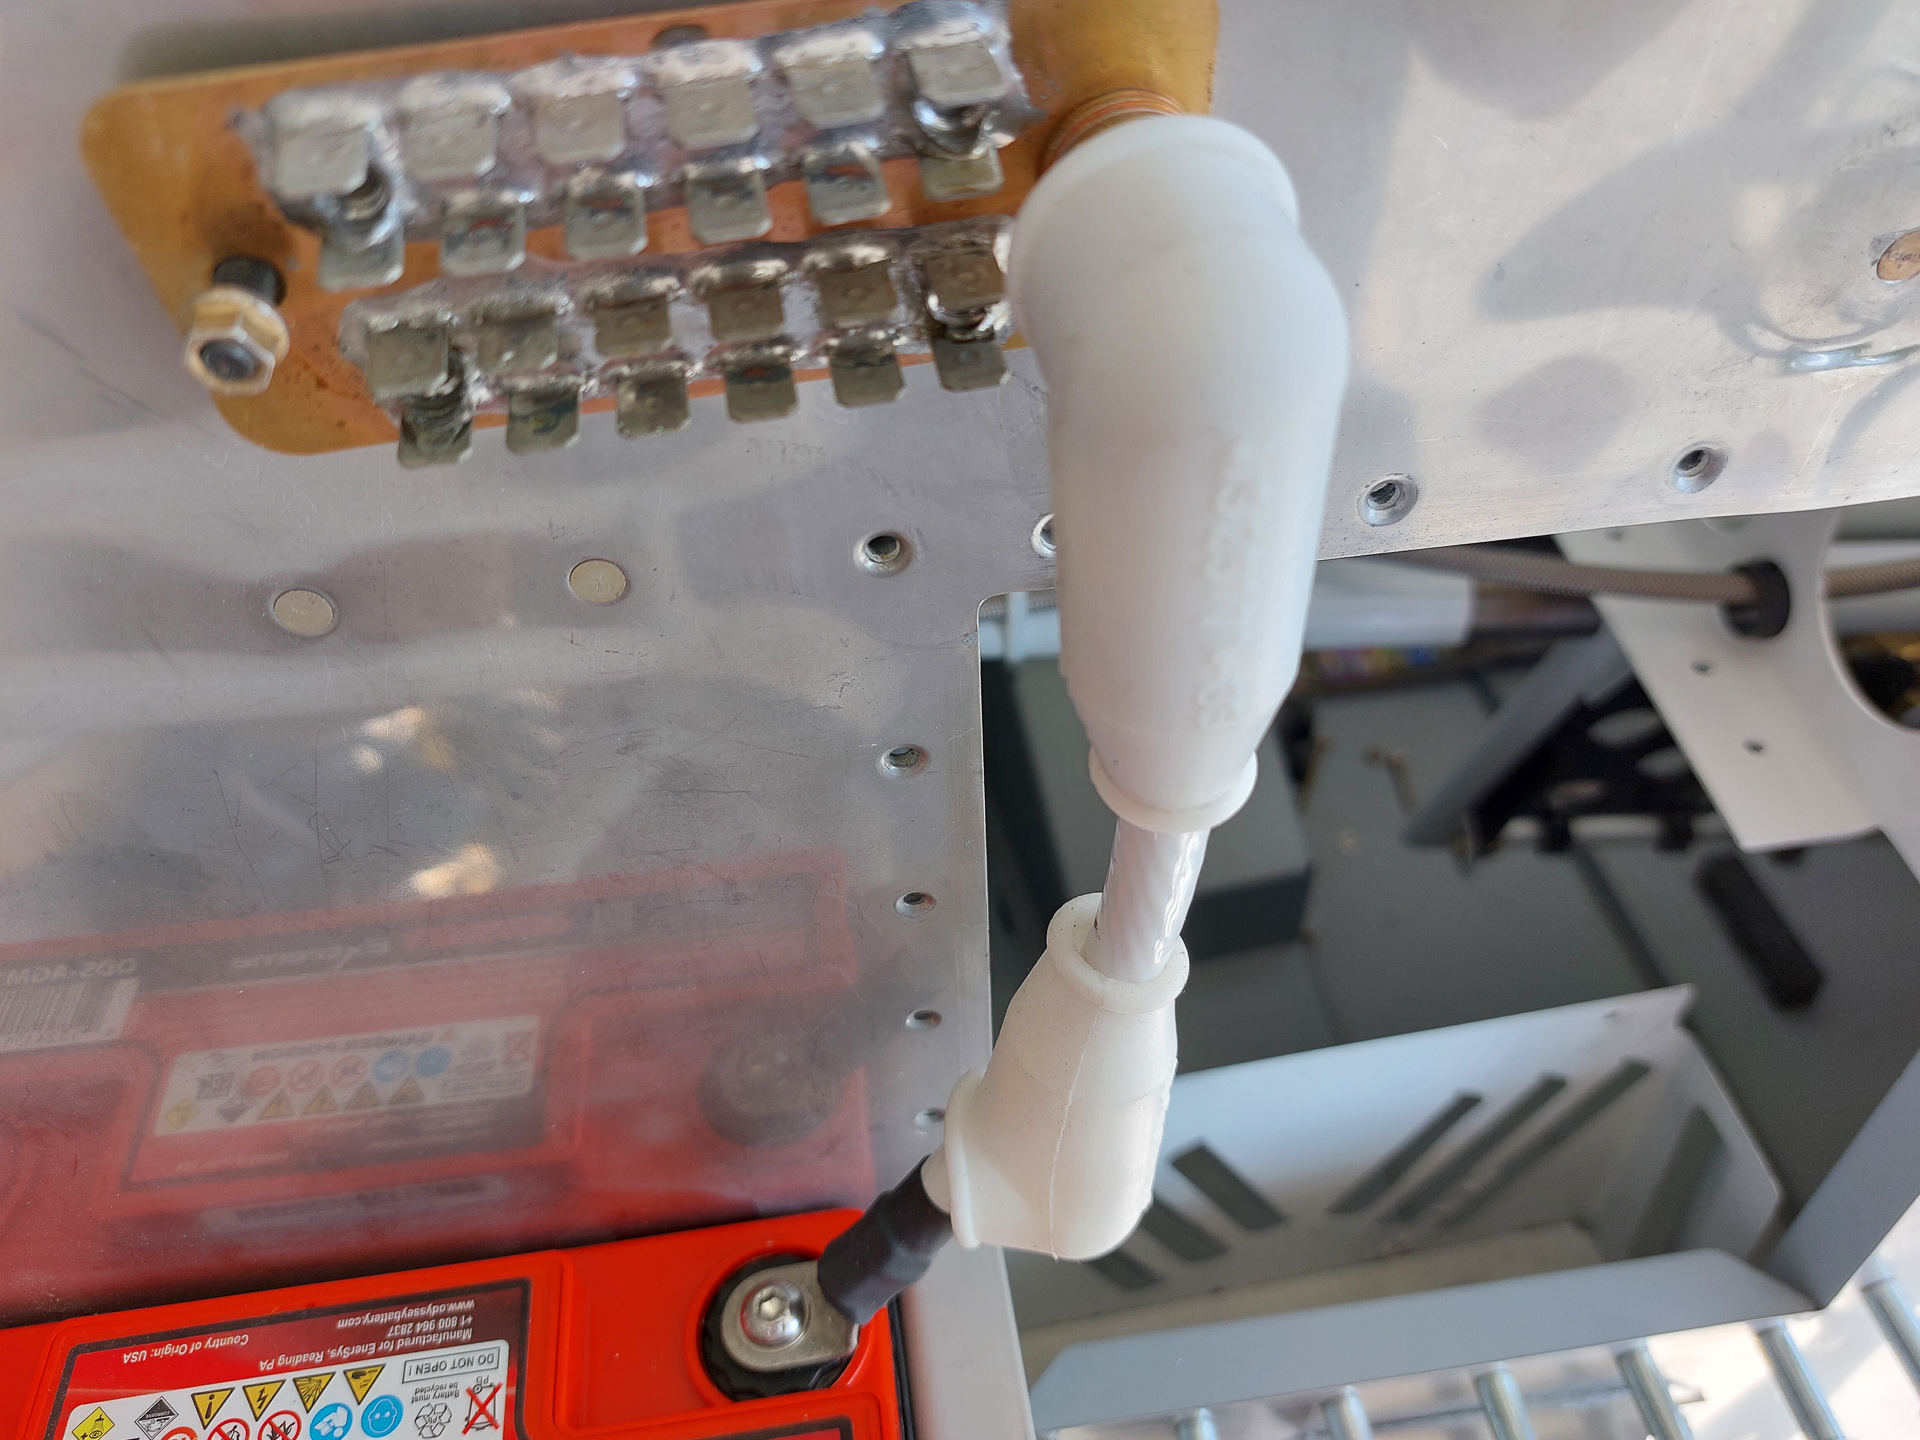
Forward view with the covers on.
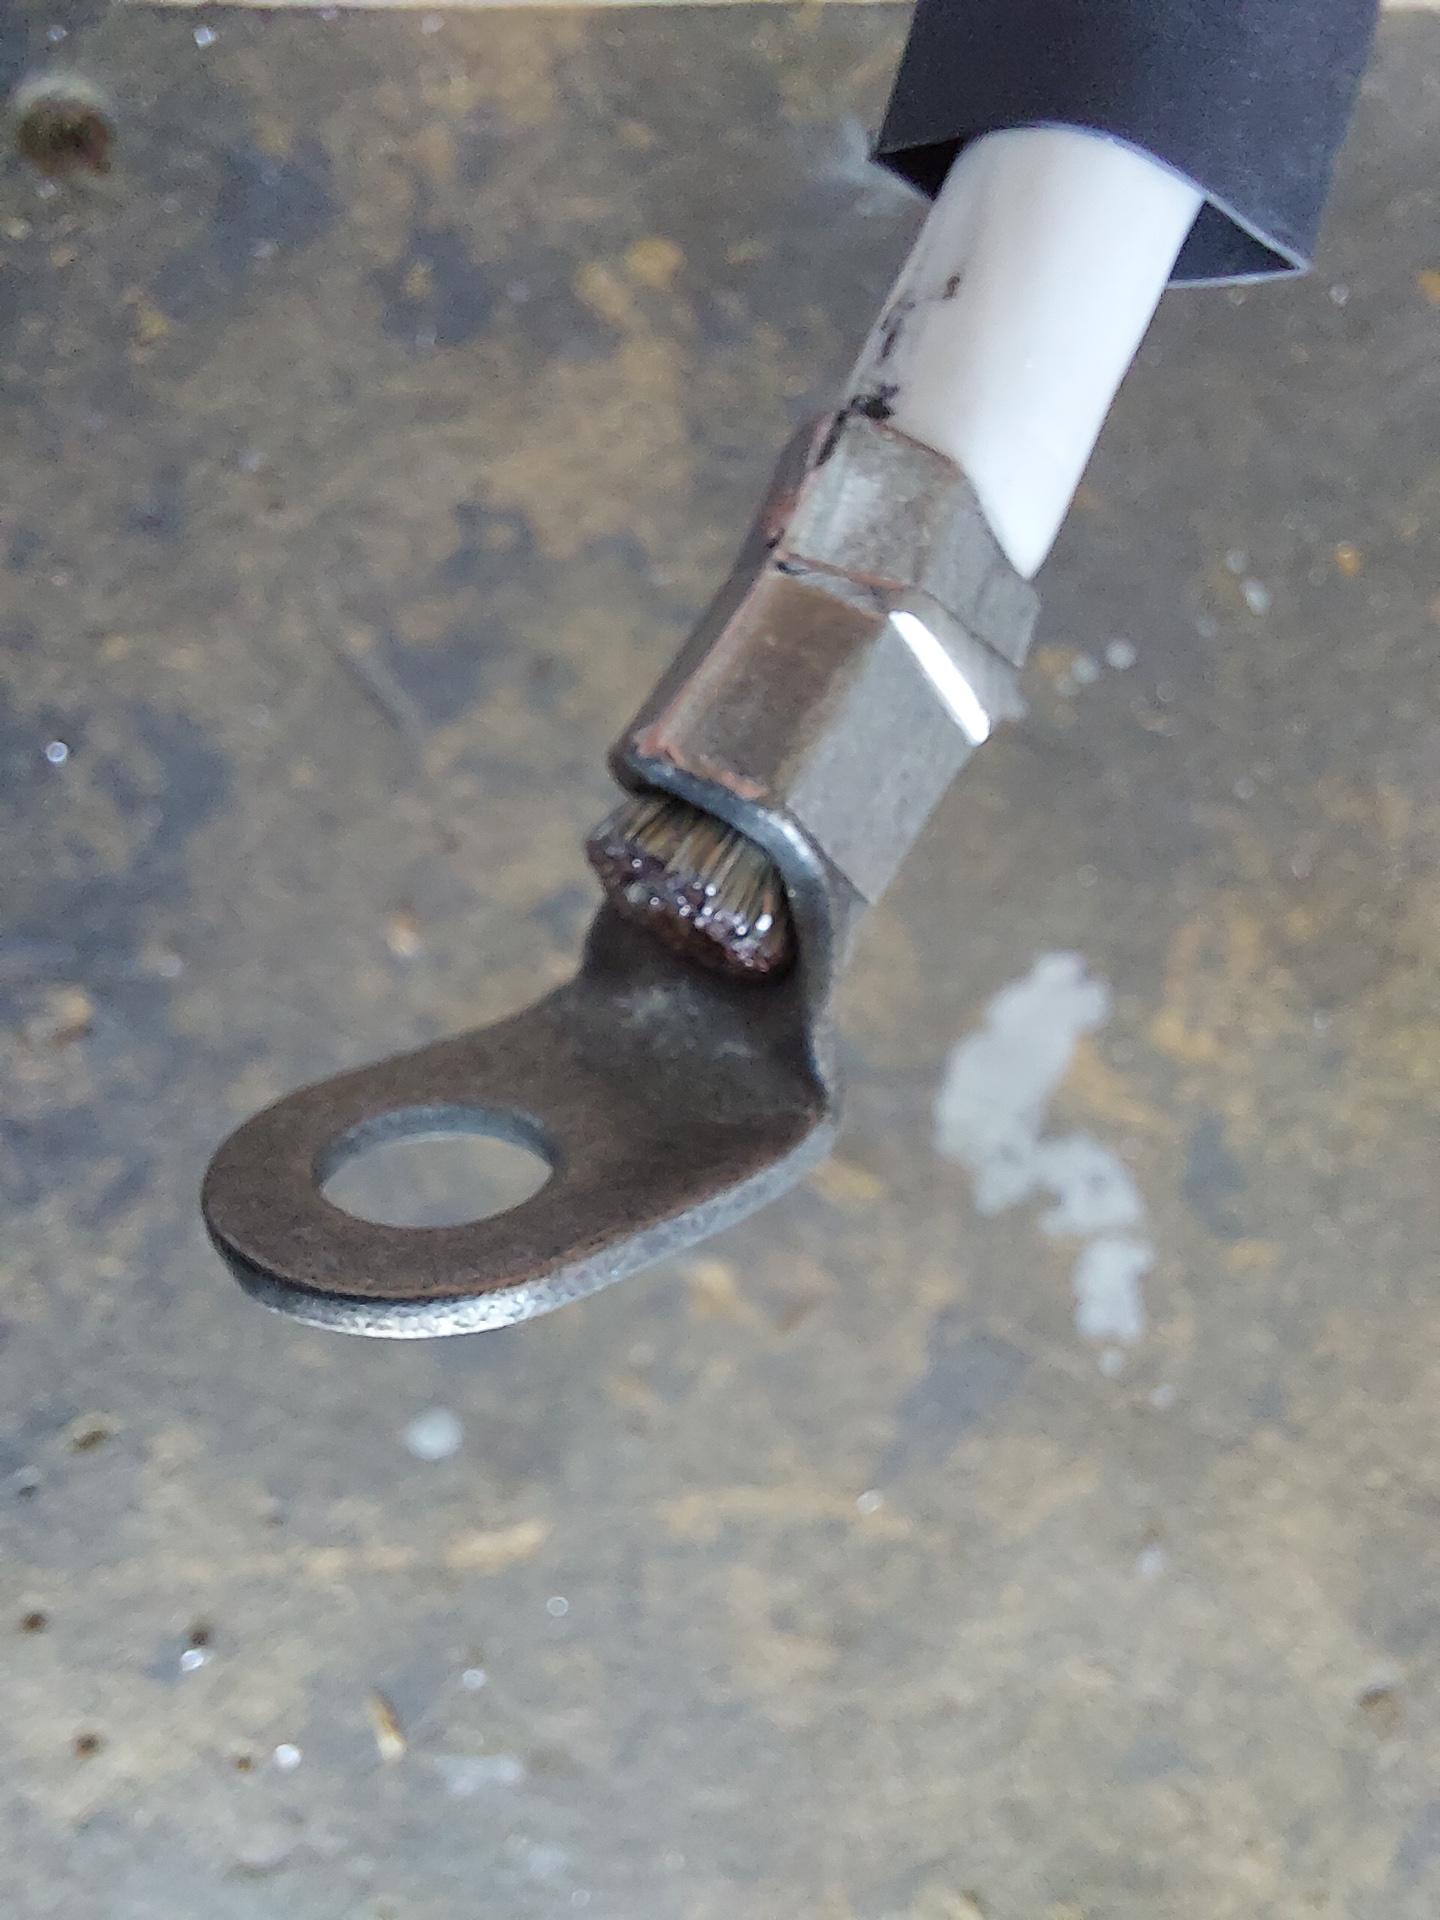
Next I moved on to the positive battery cable. One of the connectors need a good bend because of the angled connection to the master somenoid.
The other side is flat. Again, keep control of the angle of how you crimp the connector on the cable. The cable won't twist much.

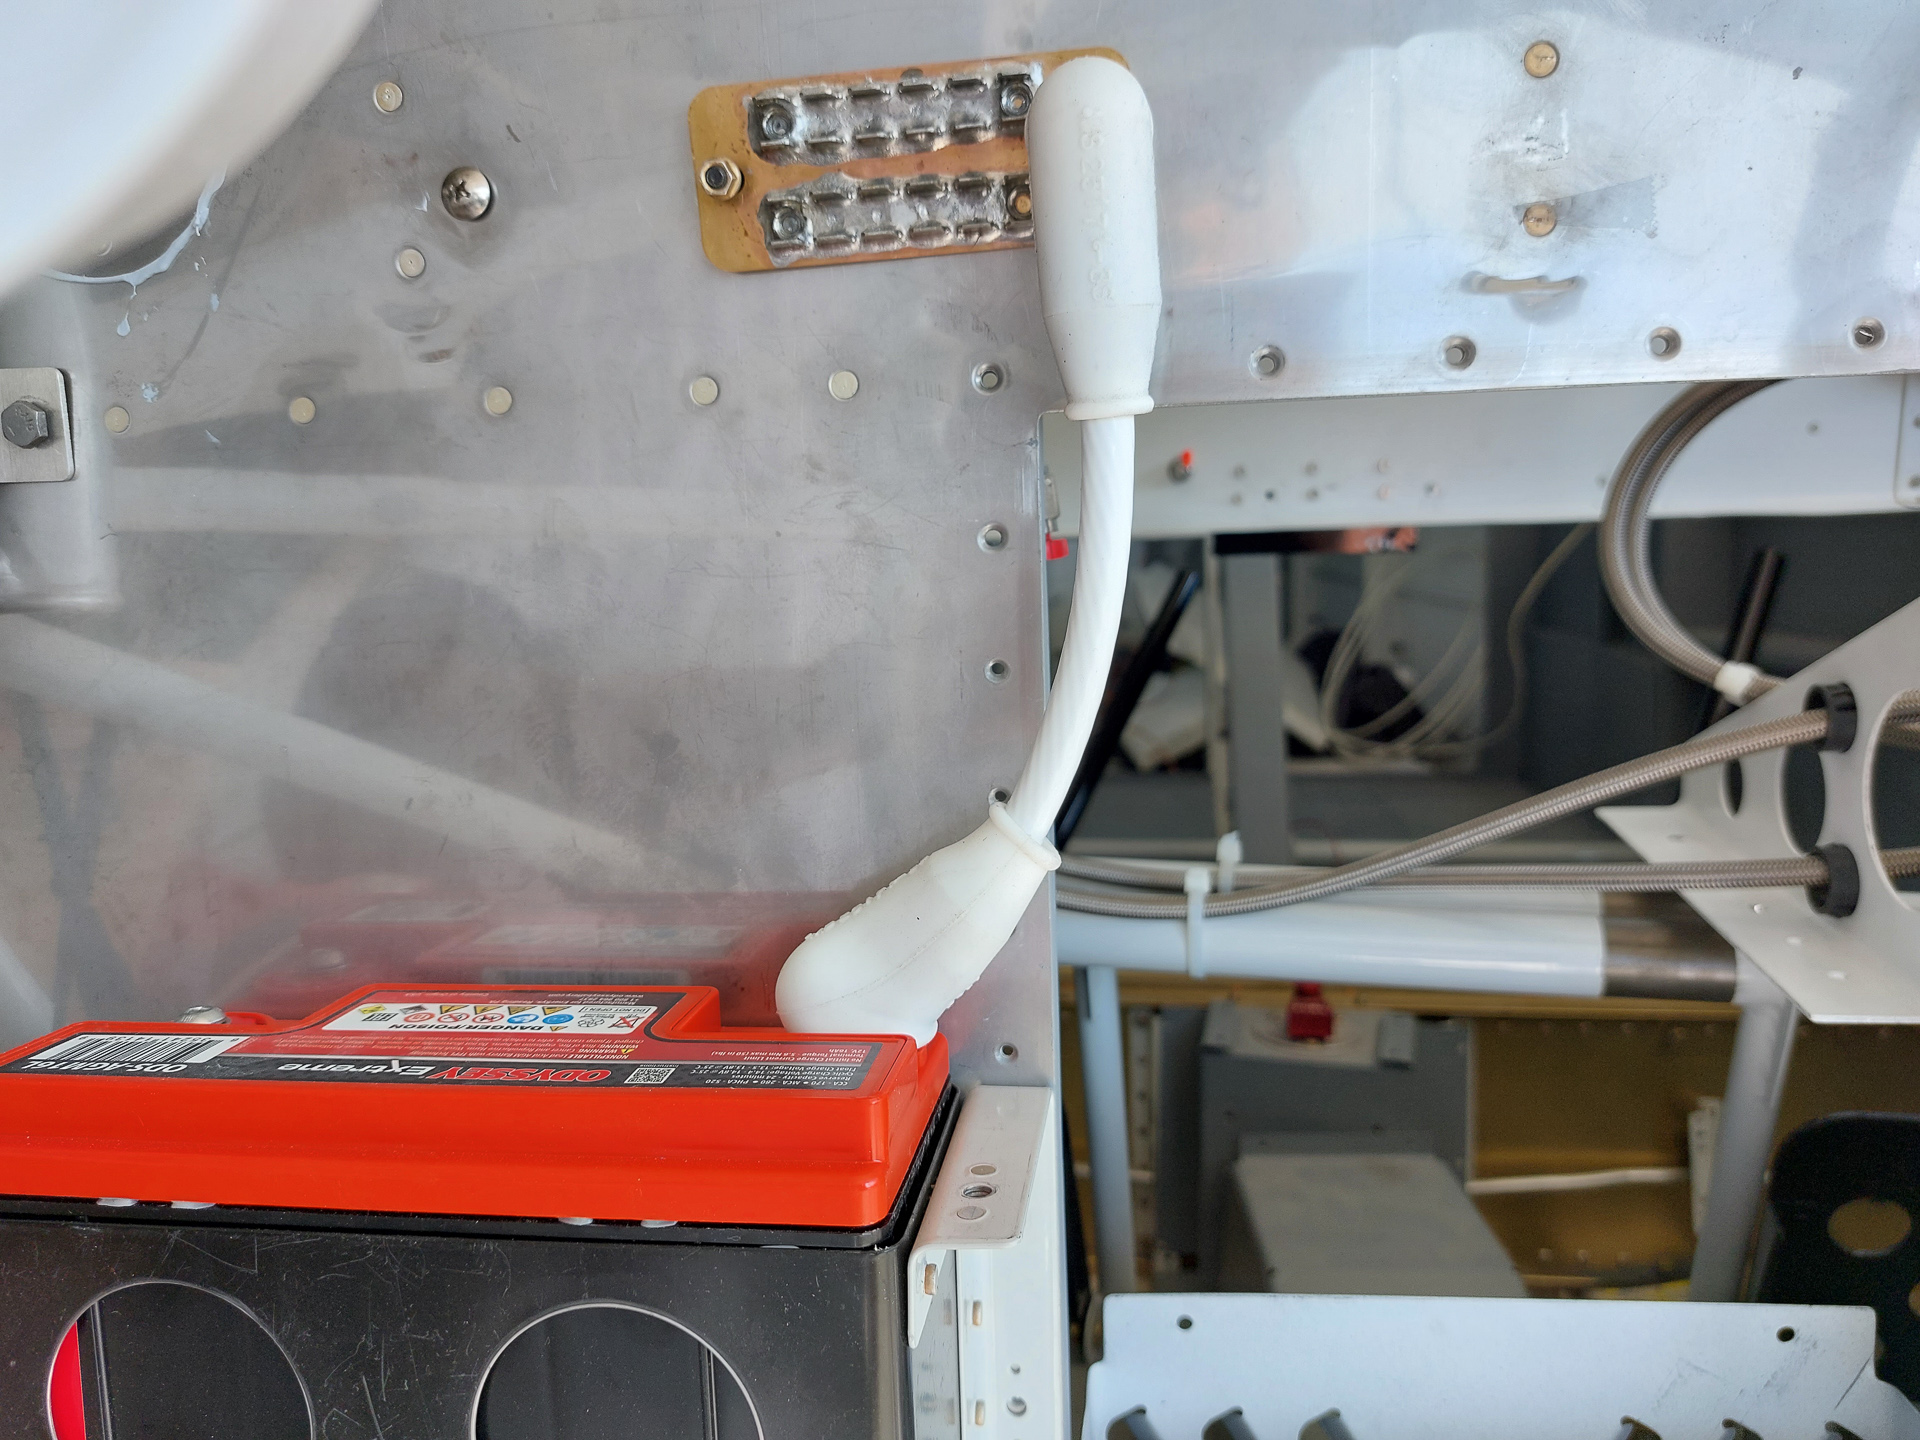
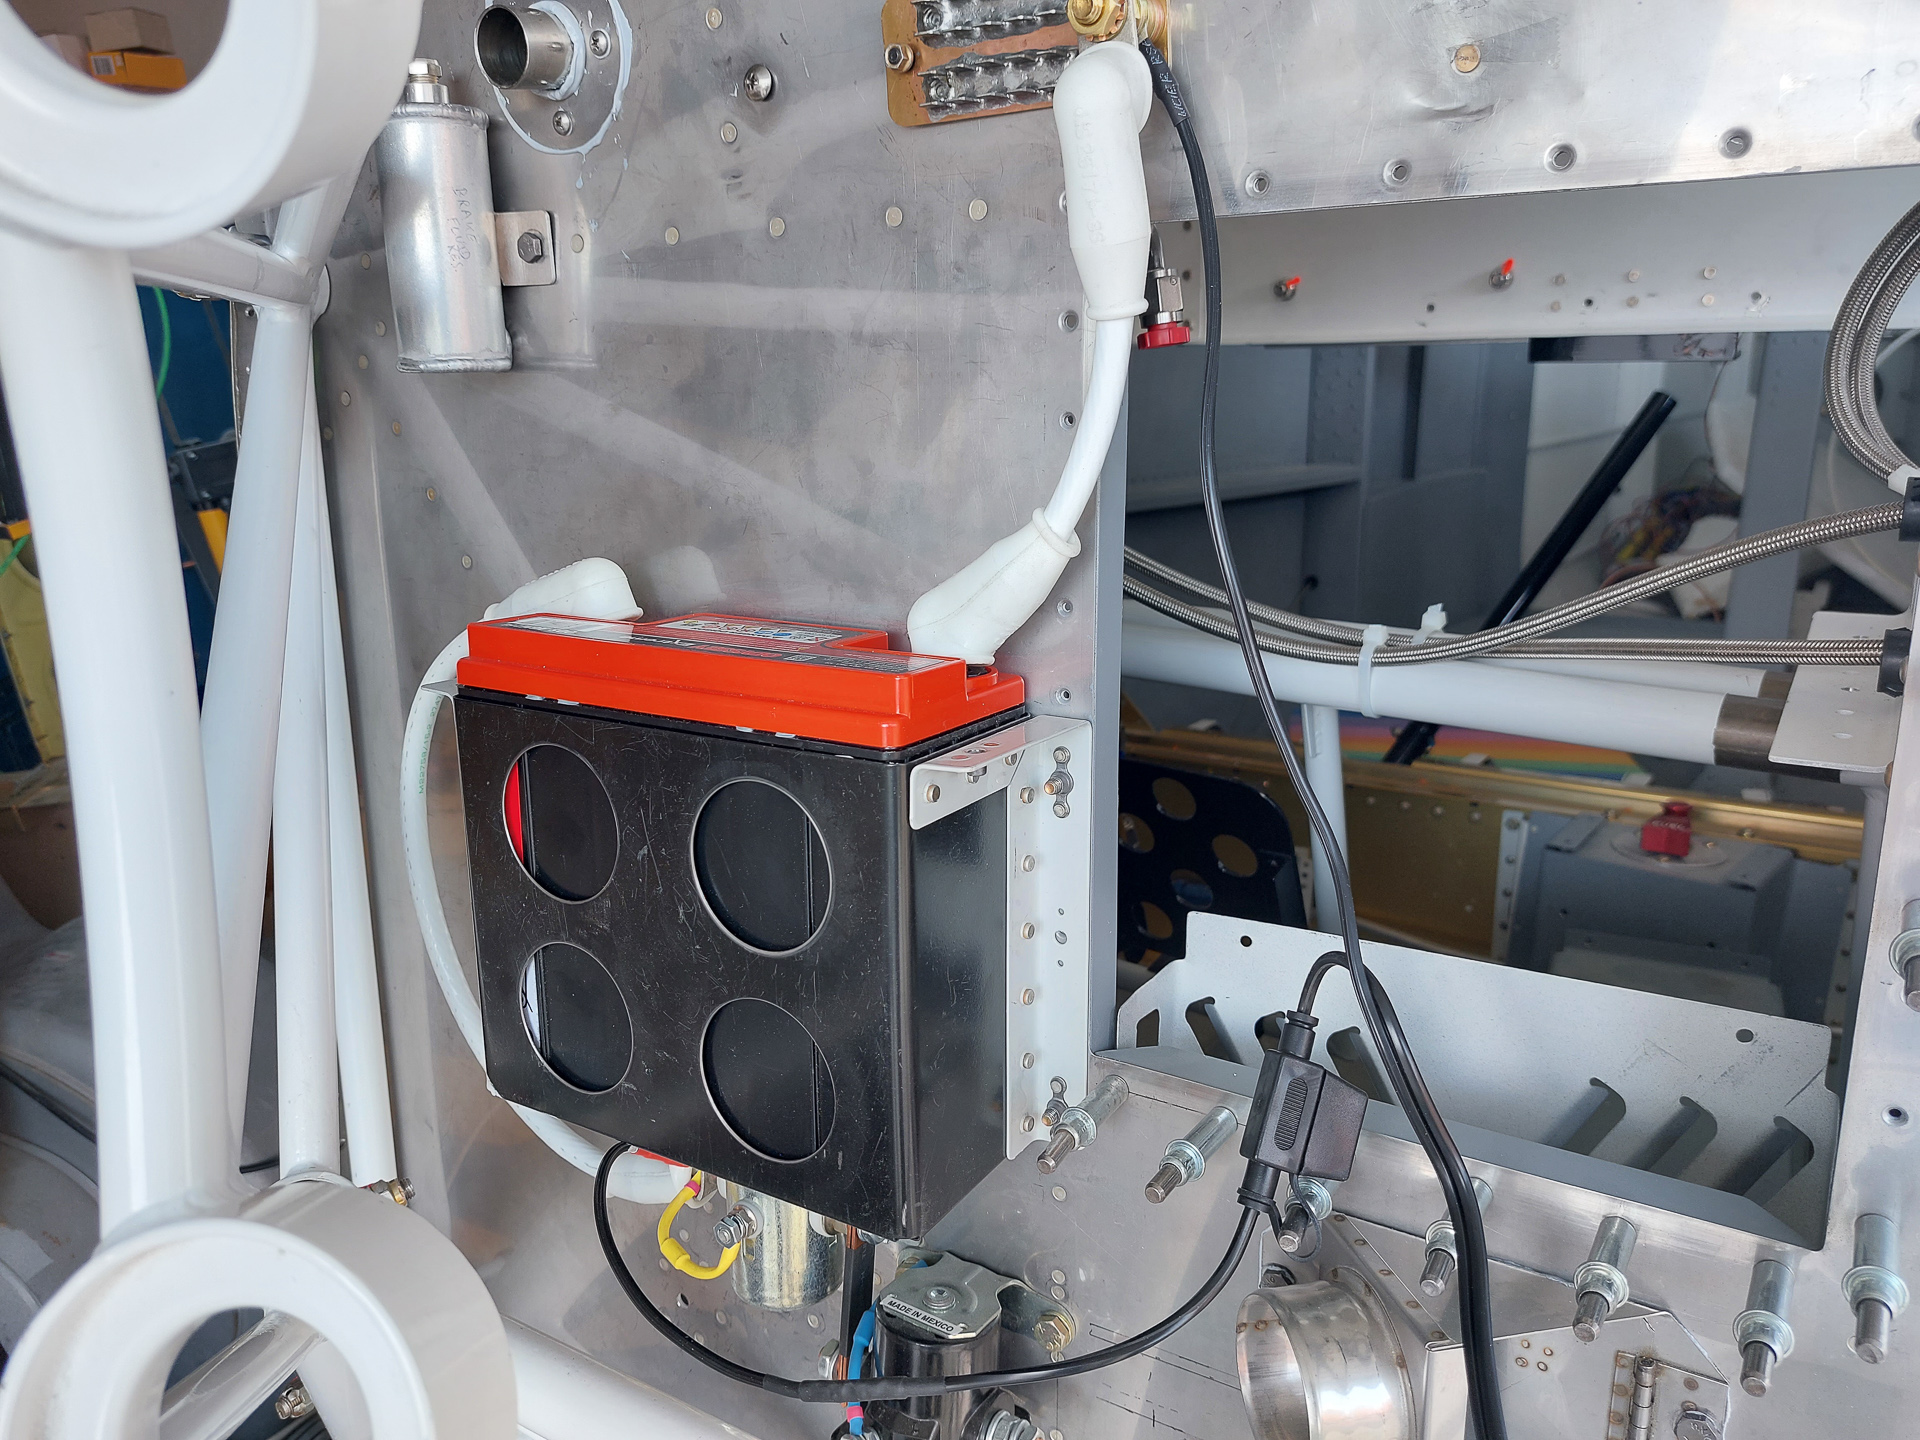
Installed the positive side as well and here is a picture of the completed work of the day.
I also connected my external charger wires on the groundplack and at the master solenoid so that I can easily switch on and off charging of the batter with the trickly charger.
I previously bought the BatteryMINDer 2012-Agm 12V / 2A Charger / Maintainer / Desulfator For Optima And Odyssey battery charger at spruce with the extention cable ring connectors.
Different angle view of the positive cable side.

Detail of the negative cable side.